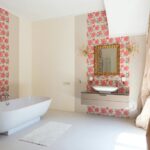
A wet room is a fully waterproofed bathroom where every surface intentionally gets wet, eliminating traditional shower enclosures. You’ll design it with a sloped floor directing water toward a linear drain, creating an open, spa-like space. Comprehensive waterproofing membranes protect all walls and floors from constant moisture. You’ll position focal points like rainfall showerheads centrally, use frameless glass screens for containment, and install non-slip surfaces for safety. This unified design requires careful ventilation and precise drainage planning to prevent mold and moisture damage. Understanding the specific installation layers and material choices determines success between a well-executed wet room and costly failures.
What Is a Wet Room?
A wet room is a bathroom where every surface gets wet by design. You’re creating a space where waterproofing protects all walls and floors from constant moisture exposure. The sloped floor directs water toward a linear drain, eliminating the need for a separate shower enclosure. This design choice creates an open, spacious feel that many homeowners prefer.
The wet room concept originated in Japan, where bathing areas remain separate from vanity and toilet zones. Frameless glass screens enhance the visual openness without blocking water flow. A handheld shower head defines functionality, offering practical advantages for bathing pets and simplifying floor cleaning. The waterproofing system is critical because water exposure is constant throughout the entire room. This comprehensive approach creates a unified, efficient bathroom.
Wet Rooms vs. Traditional Bathrooms: Why Make the Switch?
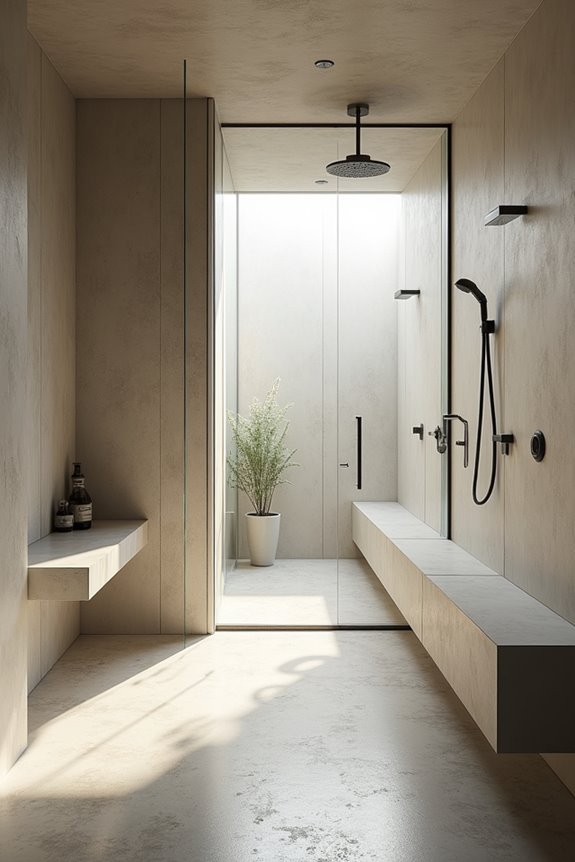
Now that you understand the spa-like appeal of wet rooms, you’re probably wondering whether one actually fits your home and lifestyle. Wet rooms create open, minimalist spaces that traditional bathrooms can’t match. The waterproof membrane does essential work because it protects your entire floor and walls from water damage. Space planning defines how functional your wet room becomes—you’ll need curbless design and wall-hung fixtures to maximize usable area. Traditional bathrooms confine water to enclosed shower stalls, limiting flexibility. Wet rooms eliminate this restriction entirely. You’ll gain valuable square footage and a seamless appearance. However, they demand careful ventilation and slip-resistant flooring like DuraGard to prevent mold and accidents. Consider your moisture tolerance and maintenance commitment before deciding.
Curbless vs. Curbed: Which Design Fits Your Space?
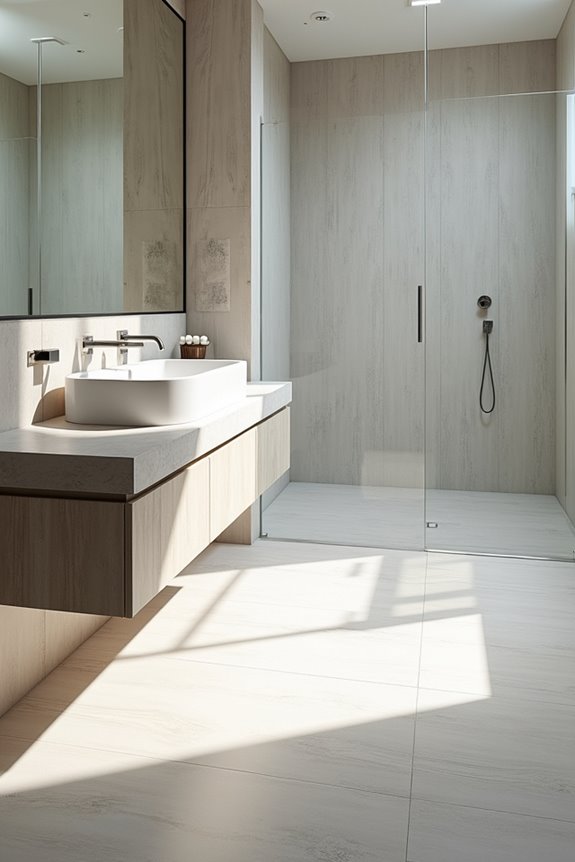
When you choose a curbless design, you gain seamless accessibility and easier cleaning since water flows directly across the entire floor to the drain. However, this choice creates water containment challenges—your room requires flawless waterproofing and precise slope angles, or moisture will seep into walls and subflooring. A curbed layout defines a contained basin that holds water more reliably, though it sacrifices the open aesthetic and creates a barrier that complicates wheelchair access.
Accessibility and Safety Benefits
Because mobility matters in bathroom design, the choice between curbless and curbed layouts directly shapes how safely you’ll move through the space. A curbless design eliminates the threshold that often causes trips, creating an unobstructed path for walkers or wheelchairs. The continuous, sloped floor guides water toward a central drain while preventing pooling hazards.
Non-slip, textured surfaces like DuraGard enhance your grip underfoot. Wall-hung fixtures reduce clutter and expand usable floor space for easier transfers. The open layout accommodates mobility aids without forcing awkward angles or tight maneuvering.
Curbed designs, by contrast, create barriers that complicate entry and exit. Curbless accessibility benefits anyone—older adults, people with disabilities, or those recovering from injury. This approach defines practical safety through thoughtful material selection and spatial planning.
Water Containment Trade-Offs
The choice between curbless and curbed layouts fundamentally shapes how water stays contained in your wet bathroom.
| Feature | Curbless Design | Curbed Design |
|---|---|---|
| Drainage | Requires linear drain with floor slope | Standard drain placement works fine |
| Water Control | Demands meticulous waterproofing details | Curb naturally guides water flow |
| Visual Impact | Creates seamless, open appearance | Defines clear wet area boundary |
| Installation | More complex door and transition work | Easier fixture and storage placement |
Curbless designs offer accessibility benefits but demand careful drainage planning around doorways and glass screens. The sloped floor does the heavy lifting because it prevents puddling in corners.
Curbed layouts simplify splash control since the raised edge contains water naturally. The curb defines where your wet zone ends, enabling standard floor heights throughout. Both approaches require precise waterproofing, yet curbless installations typically need more detailed sealing work around transitions and edges.
Plan Your Wet Room Layout: Placement and Focal Points
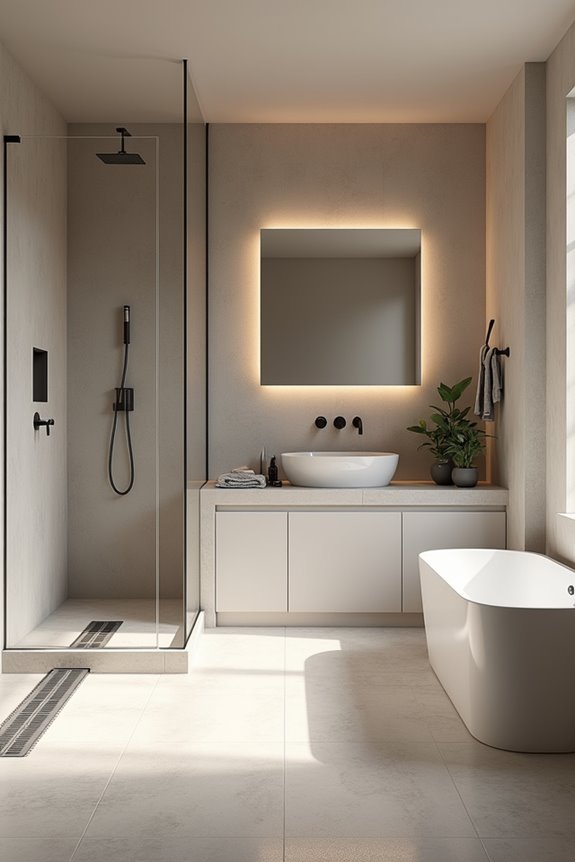
How you arrange your wet room’s key elements determines both its function and its visual appeal. Your shower placement and focal point create the room’s visual anchor, guiding how you’ll move through the space. Position a rainfall showerhead or freestanding tub as your primary focal point, establishing the wet room layout’s central feature. The shower placement at floor level defines accessibility and creates smooth water flow toward the main drain. Allow at least 36 inches of clearance around the shower area because this space prevents cramped movement and supports comfortable use. For compact footprints, a 3-foot-square shower or 3-by-5-foot tub alcove maximizes usable area without sacrificing functionality. Frameless glass screens maintain the open, spa-like aesthetic while containing water spray effectively. These strategic placement decisions create a functional wet room with clear organization and purpose.
Wet Room Drainage: Calculate Slope and Position Your Drain
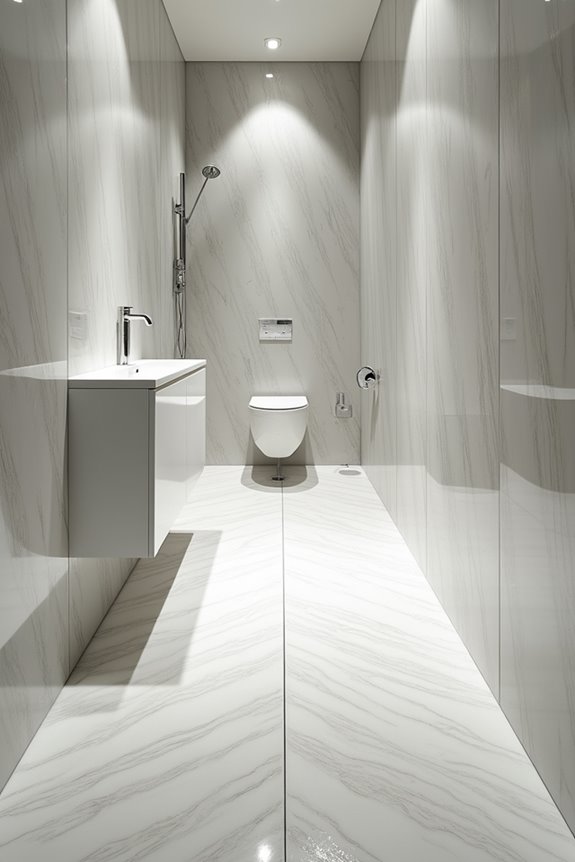
Once you’ve positioned your shower and focal points, proper drainage becomes your next priority. Your sloped floor directly channels water toward collection points, preventing pooling and damage. The slope needs at least 1/4 inch per foot drop to work effectively.
Consider these drainage essentials:
- Position your drain at the room’s lowest point, whether center or along one wall
- Install a linear drain to capture water along the shower’s length, creating effective water management
- Apply waterproofing membranes over all floor and wall surfaces before tiling to prevent leaks underneath
The linear drain functions because elongated designs collect water more efficiently than single-point drains. This positioning creates a functional wet room where water flows naturally without pooling. Your waterproofing layer defines the barrier between moisture and structural materials below.
Choose Wet Room Flooring and Wall Materials
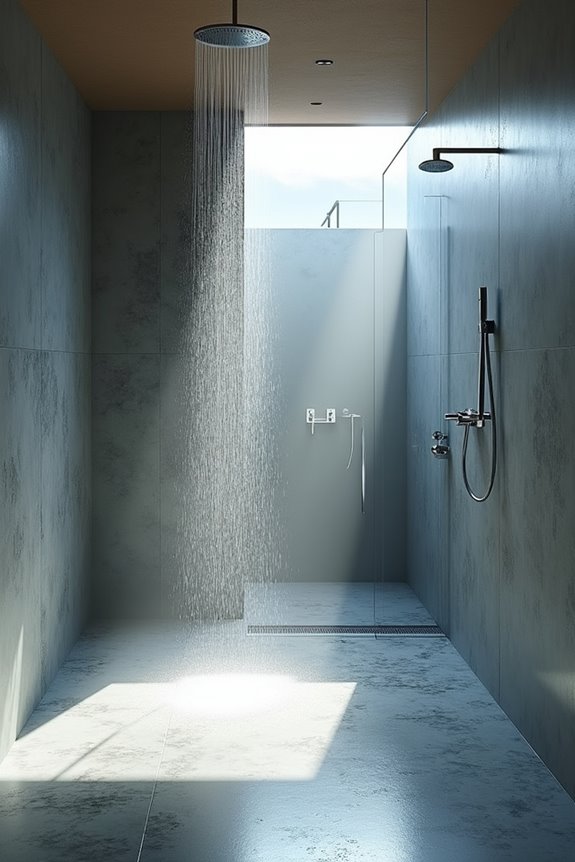
You’ll select tile and non-porous wall materials because they resist moisture and prevent mold growth in your wet room environment. Your choice between standard ceramic tile, porcelain, or DuraBath alternatives defines both durability and maintenance demands, with slip-resistant surfaces creating safer footing on constantly wet floors. Waterproofing membranes applied beneath these materials form the necessary barrier that channels water toward your drain rather than into structural layers below.
Tile Selection and Durability
What you choose for your wet room’s floors and walls directly determines how well it’ll withstand constant moisture. Your tile selection defines both functionality and aesthetics in this space.
Prioritize these elements for lasting performance:
- Textured porcelain or small mosaics increase grout lines, which creates better water containment and slip resistance across wet surfaces
- Dark-toned tiles like charcoal paired with lighter wall tiles establishes visual contrast while maintaining waterproofing integrity
- Material compatibility ensures your tiles work seamlessly with your waterproofing system
The grout prevents water from seeping beneath tiles. Textured finishes provide slip resistance when wet. Wall materials must resist moisture damage, so choose options engineered specifically for bathroom environments. These choices create a durable space that protects your investment.
Waterproofing Material Options
Because water constantly flows across wet room floors and walls, the waterproofing system you select becomes your primary defense against structural damage and costly leaks. You’ll choose among three primary options: liquid membrane, sheet membrane, or foam board backer systems. A liquid membrane creates a seamless protective layer that fills cracks and seals joints effectively. Sheet membranes offer reliable coverage across large surfaces quickly. Foam board systems work beneath your tile or stone finish, defining the foundation for your drain system. Each material sits beneath your final flooring choice, protecting the substructure underneath. Your contractor applies these materials before installing porcelain tile or stone. The waterproofing layer prevents moisture from penetrating into walls and floors, where it would cause rot and mold growth.
Slip-Resistance and Safety
How does water create a bathroom floor hazard? Moisture creates slippery surfaces that increase fall risk. You’ll want to prioritize slip-resistance when selecting your wet room materials.
Consider these flooring and wall options:
- Textured porcelain tiles increase grout lines, which boost grip and reduce slip incidents
- Small mosaic tiles create additional surface texture that enhances traction on wet floors
- DuraGard slip-resistant coatings apply protective technology directly to existing surfaces
Non-porous finishes define your safety strategy. These materials prevent water penetration and mold growth because they don’t absorb moisture. Glass enclosures or splash screens contain spray, keeping adjacent areas drier.
The curbless design does more than look modern—it eliminates obstacles that cause trips. Your bathroom layout works together; each choice builds protection into the space itself.
Waterproof Your Wet Room: Materials and Installation
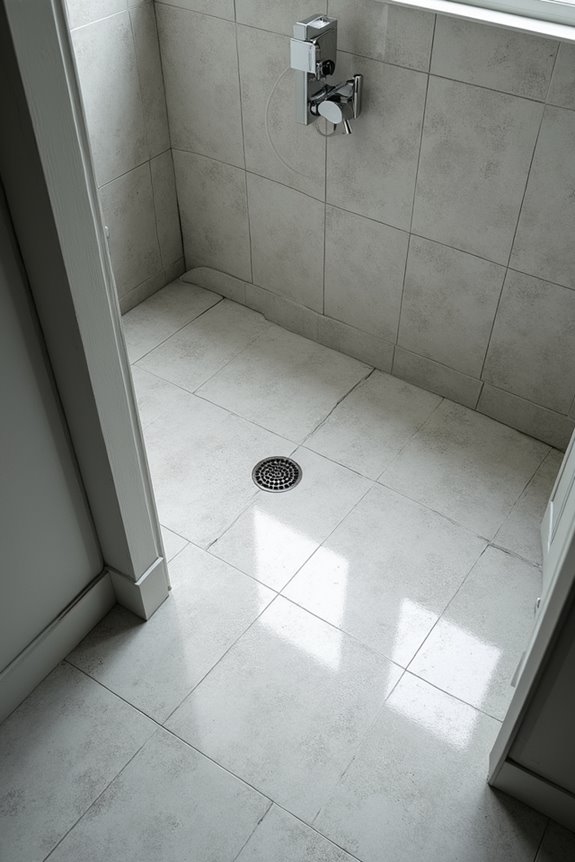
The foundation of a successful wet room relies on multiple waterproof barriers working together to keep water contained. You’ll combine sheet membranes, liquid membranes, and moisture-friendly backer materials beneath tile to create complete protection. Sheet membranes act as your first defense because they’re pre-formed plastic layers that cover large floor areas efficiently. Liquid membranes fill gaps and seams where sheets can’t reach, defining watertight transitions around pipes and corners.
Your drain placement defines the entire waterproofing strategy. Position a linear drain at the low point, then slope your floor at least 1/4 inch per foot toward it. This gradient creates natural water movement. Pay careful attention to penetrations and seams—these vulnerable points require reinforced membrane layers. Proper installation prevents costly leaks that compromise structural integrity beneath your finished tile surface.
Install Splash Screens in Your Wet Room
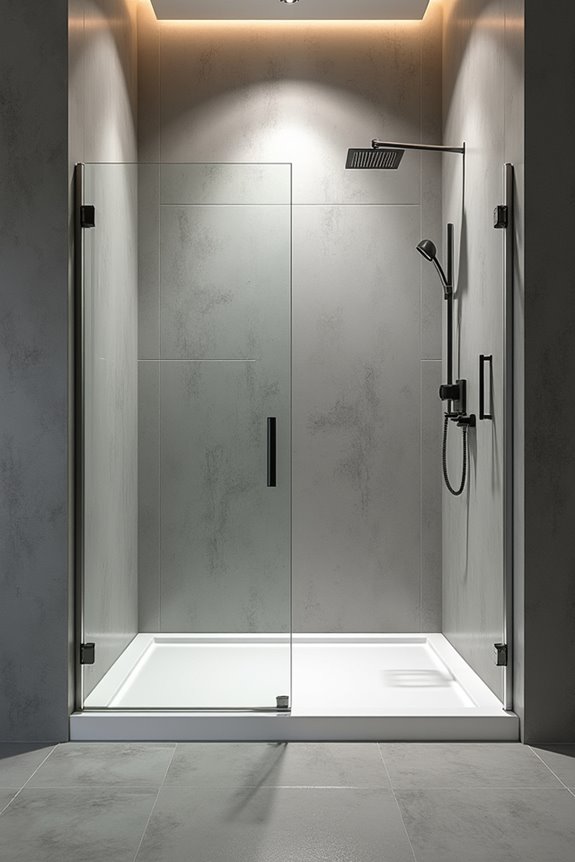
You’ll install splash screens that create effective water containment while maintaining your wet room’s open feel. Glass panels positioned strategically along shower edges define spray limits, because water droplets travel outward before falling and require physical barriers to prevent spreading. Your placement decisions—whether you choose a central door, fixed panels, or wall-to-wall coverage—directly determine how well your space stays dry outside the shower zone.
Glass Panel Functionality
Glass panels or splash screens define wet room layouts by shielding sinks and toilets from water spray while maintaining an open, minimalist feel. You’ll find several configuration options that suit different bathroom sizes and needs:
- Hinged or stationary panels create flexible water containment solutions depending on your space and access preferences
- Flush-to-floor designs eliminate gaps where water escapes, improving overall water containment effectiveness
- Wall-to-wall installations with central doors maximize your larger bathroom’s functionality while preserving sightlines
The glass performs its function because sealed, moisture-rated edges prevent leaks at critical joints. Position mixer controls toward the room side, which reduces splatter onto other fixtures and improves usability. Partial-height panels preserve visibility and natural light while full-height options provide complete protection. Your choice shapes both aesthetic appeal and practical performance.
Splash Screen Placement Options
Where should your splash screen sit in a wet room layout? Positioning matters considerably for both function and aesthetics. You can install hinged or stationary screens that sit flush with the floor or curb, creating a smooth transition in your design layout. The splash screen shields your sink and toilet from spray while maintaining that open, spa-like feel you’re after.
Consider placing mixer controls toward the room side rather than deep within the wet zone. This positioning allows easier access and better water containment. In larger bathrooms, you might run glass panels wall-to-wall with a central door, or use two fixed panels flanking an open doorway. Your splash screen design should balance containment with openness, integrating into curbless layouts that feel uncluttered and accessible.
Spray Containment Best Practices
How does water stay where it belongs in a wet bathroom? Strategic splash screen placement defines effective wet room design. You’ll want to consider these key approaches:
- Position mixer controls toward the room side of your shower to reduce spray reaching adjacent fixtures and improve water containment
- Install glass panels or splash screens that shield sinks and toilets from shower spray, creating a defined wet zone
- Choose hinged or stationary screens flush with the floor or curb to contain water while maintaining your space’s open feel
The splash screen does its job because it intercepts water before it travels beyond the shower area. In larger bathrooms, wall-to-wall screens with central doors preserve openness while containing spray effectively. Proper clearances and installation directly reduce water damage to surrounding surfaces.
Position Fixtures for a Functional Wet Room
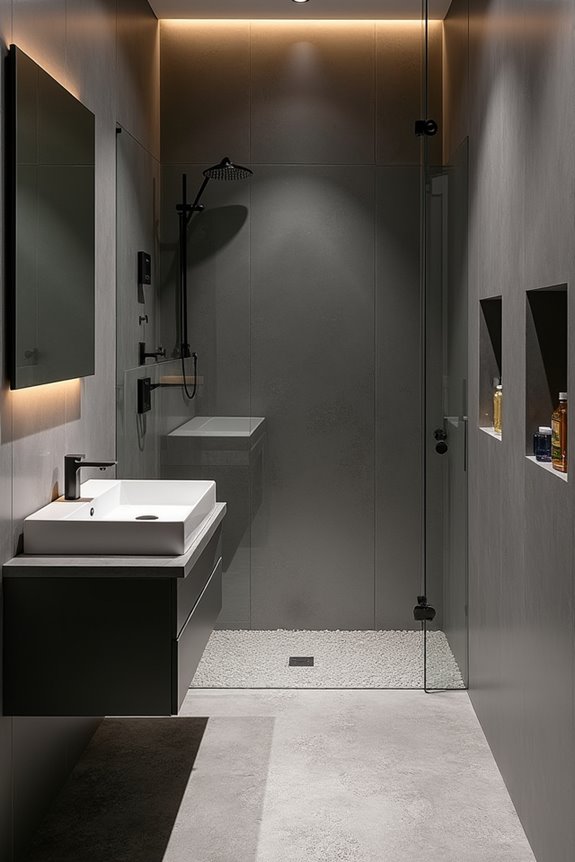
Think of your wet room layout as a puzzle where each piece—tub, shower, sink, and toilet—must work together without creating obstacles or wasting space. Position your tub against the back wall, with the shower in front or on an opposing side. This wet room design approach defines clear traffic flow and establishes visual balance.
Maintain at least 36 inches of clearance around the shower and three feet from the tub to surrounding fixtures. These space planning requirements create safe movement zones and prevent cramped conditions. Wall-hung sinks and toilets maintain an obstacle-free floor, supporting moisture management in your curbless design.
Fixtures placement also matters for comfort. Position shower controls outside the splash zone when possible, preventing water contact while operating. This thoughtful positioning enhances both safety and usability throughout your functional wet room.
Ventilate Your Wet Room to Prevent Mold
Moisture accumulates rapidly in wet rooms, creating ideal conditions for mold and mildew growth. Proper ventilation is necessary to manage moisture control effectively and protect your investment.
Moisture accumulates rapidly in wet rooms, creating ideal conditions for mold and mildew growth. Proper ventilation is essential to protect your investment.
Install a wet-rated vent fan with GFCI protection sized at approximately 1 CFM per square foot. Consider these ventilation strategies:
- Run your vent fan for at least 20 minutes after showering to remove excess moisture
- Select a fan with humidity-sensor or timer features for automatic operation
- Position an optional ceiling-mounted extractor for additional moisture control in rooms with limited natural ventilation
Windows work well when positioned high and away from direct spray. Pair them with waterproof membranes on framing and mold-resistant caulk. This combination creates multiple pathways for moisture removal, defining a properly ventilated wet room that stays dry and mold-free.
Light and Heat Your Wet Room Properly
Why does your wet room need dedicated heating and lighting solutions? Moisture-heavy environments demand thoughtful planning that prevents discomfort and damage.
An electric mat beneath your finished tile creates radiant heat that warms your feet while you shower. This heating system distributes warmth evenly across the floor, eliminating cold spots. The mat works because direct contact with warm surfaces increases comfort.
Pair your radiant heat with bright, moisture-resistant lighting fixtures. These define functional spaces and improve visibility in steamy conditions. Recessed lights work well because they’re protected from direct water spray.
Integrate humidity control with your HVAC system to maintain consistent temperatures. This approach prevents heat loss through damp spaces. Consider adding heated towel bars for supplementary warmth and practicality. Together, these elements create a balanced, functional wet room that supports daily use without compromising comfort.
Keep Essentials Dry: Storage Strategies for Wet Rooms
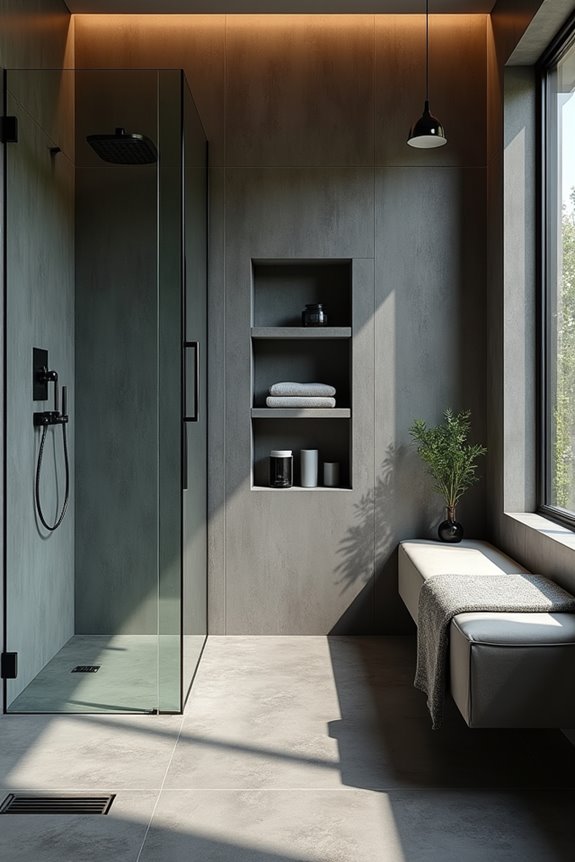
Storage in a wet room requires strategic placement that keeps your essentials protected from constant moisture. Position cabinets and shelving away from direct water spray zones to prevent damage and mold growth.
Strategic wet room storage placement keeps essentials protected from moisture while preventing damage and mold growth.
Consider these storage solutions:
- Wall-mounted cabinets with waterproof seals above the splash zone, creating protected spaces for toiletries and supplies
- Recessed shelving built into walls during construction, which defines compact storage without protruding into your bathroom layout
- Stainless steel or powder-coated metal units that resist rust and corrosion better than standard materials
Positioning matters because water naturally flows downward through drainage systems. Install ventilation fans to reduce humidity levels, which supports your waterproofing efforts and extends storage longevity. Selecting moisture-resistant materials keeps your wet room functional long-term.
Wet Room Budget: Installation and Material Costs
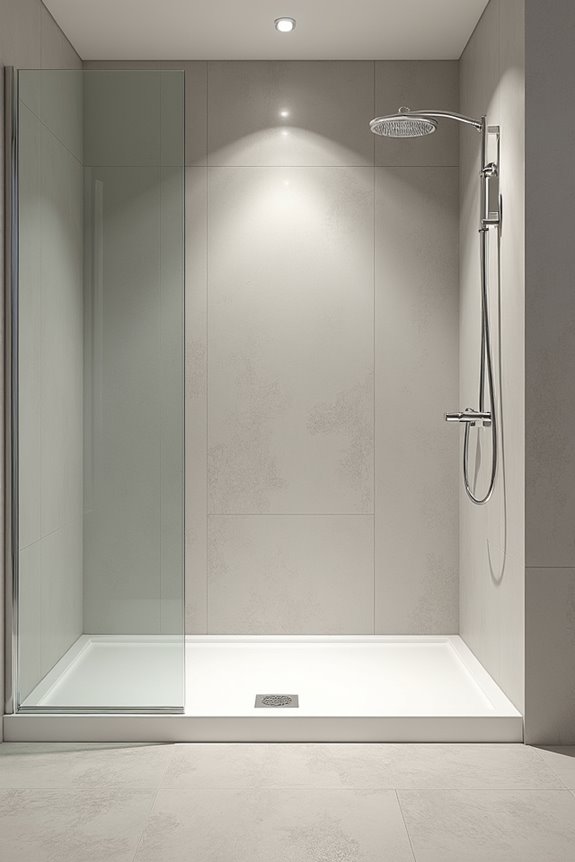
Installing a wet room demands a substantial upfront investment, but you’ll understand the costs better by breaking them into materials and labor. Waterproofing membranes represent your largest material expense, typically ranging from $1,500 to $3,000 depending on room size. Your drainage system costs $400 to $800, including the linear drain and slope infrastructure. Labor expenses usually run $2,000 to $5,000 for proper installation. The waterproofing membrane creates a watertight barrier because water constantly contacts all surfaces. Your drainage system controls how quickly water exits the room because proper slope prevents pooling. Additional costs include glass screens, tile, and fixtures. You’ll invest more upfront than traditional bathrooms, yet durability and reduced maintenance provide value over time.