

You’ll need to position your bedroom smoke detector at least 3 feet away from ceiling fan blades because fan airflow disrupts smoke’s natural rise toward sensors. Mount it on the ceiling in a corner or along a wall edge, away from direct air currents.
If ceiling space is limited, install it 4–12 inches below the ceiling on a wall.
Photoelectric detectors reduce false alarms in fan-equipped bedrooms.
Also keep your detector 36 inches away from vents and supply returns.
Understanding how room layout affects detector performance reveals critical placement strategies.
Why Bedroom Smoke Detectors Matter

Bedroom smoke detectors protect you during your most vulnerable hours, when you’re least aware of danger.
Why do smoke detectors in bedrooms require different placement strategies than other rooms? Your bedroom’s unique environment—where you sleep for extended periods—creates specific safety needs that standard placement doesn’t address. Smoke detectors protect you during your most vulnerable hours, when you’re least aware of danger.
Ceiling fans complicate installation because they obstruct smoke’s natural rise toward detectors. The spinning blades create air currents that push smoke away from sensors, reducing detection speed. Your bedroom’s specific layout defines where you’ll place protection most effectively.
Photoelectric detectors work better in fan-equipped bedrooms because they reduce false alarms from dust and air movement. Regular testing and annual battery replacement keep your detector functioning when you need it most. This approach creates reliable nighttime protection for your household.
Map Your Room: Ceiling Fans, Vents, and Constraints
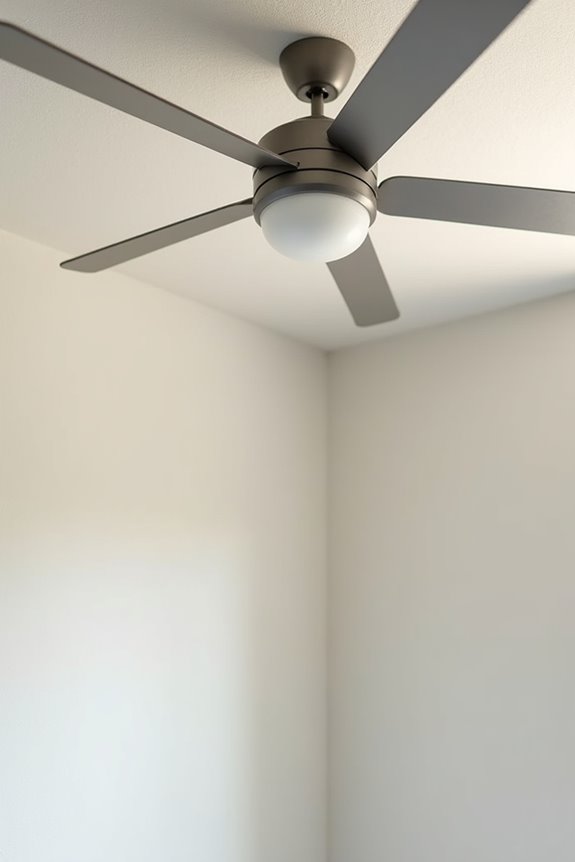
Now that you understand why bedroom detectors need thoughtful placement, you’re ready to assess your room’s layout. Mapping your space creates a clear strategy for where smoke detectors installed will work best.
Start by identifying these key elements:
- Ceiling fan location and blade radius – Measure the distance from fan blades to walls and corners to find spaces beyond the 3-foot interference zone.
- Vent and return positions – Mark where air conditioning vents and return ducts sit, since airflow diverts smoke away from detectors.
- Obstructions and dead zones – Note furniture, shelving, or architectural features that block ceiling access or create pockets where smoke won’t reach.
The ceiling fan does pull air upward because warm smoke rises. This airflow defines where detectors can function reliably. Your mapped layout now guides installation decisions.
Apply the 3-Foot Rule From Fan Blades
Where you place your detector relative to the ceiling fan determines whether smoke can reach it reliably. You’ll want to maintain a 3-foot minimum distance from fan blades to prevent airflow interference. This spacing creates an effective detection zone that captures smoke before the fan disrupts its natural rise.
| Distance from Fan | Placement Quality | Smoke Alarm Performance | Coverage Status | Recommendation |
|---|---|---|---|---|
| Less than 3 feet | Poor | Compromised | Shadowed | Avoid |
| 3–5 feet | Good | Reliable | Central | Ideal |
| 5–8 feet | Excellent | Optimal | Protected | Best choice |
| 8+ feet | Good | Reliable | Adequate | Acceptable |
| Against wall near fan | Fair | Reduced | Limited | Last resort |
The ceiling fan does push air downward because rotating blades create directional airflow patterns. You’ll position your smoke alarms where they capture smoke independently of fan operation, keeping your bedroom protected.
Keep 36 Inches Away From Supply and Return Vents
Beyond the fan blade spacing you’ve already addressed, HVAC vents create another airflow challenge that demands your attention. Supply and return vents produce drafts that push smoke away from or directly into your detector, preventing reliable operation. You’ll want to maintain 36 inches away from vents to establish a stable sensing zone.
Here’s what you need to know:
- Supply vents actively blow conditioned air outward, deflecting smoke before it reaches your detector’s sensing chamber
- Return vents pull air inward, creating negative pressure that can draw smoke away from detection points
- Turbulent zones near air registers define unreliable detection areas where smoke behavior becomes unpredictable
Position your detector in the bedroom’s central area, away from both ceiling fans and vent locations. This placement creates optimal conditions for consistent smoke detection performance throughout your space.
Avoid Drafts Near Windows and Doorways

You’ll want to keep your smoke detector away from windows and doorways because drafts create airflow that interferes with smoke detection. Doors opening and closing push air currents through your bedroom, which can carry smoke away from the detector before it registers a threat. Position your detector in a stable, central location where air movement stays minimal and smoke accumulates naturally for reliable protection.
Airflow Interference From Doors
Because doors and windows create air currents that move through your bedroom, they’ll interfere with how smoke reaches your detector.
Door openings generate drafts that push smoke away from detection zones. This airflow disrupts the smoke’s natural path upward toward your ceiling-mounted unit. You’ll want to avoid placing your detector directly above doorways or within three feet of any door frame.
Consider these placement strategies:
- Position your detector at least four feet away from bedroom doors to minimize draft interference
- Avoid corner placements near doors, since airflow concentrates in these areas
- Choose wall-mounted locations 4–12 inches below the ceiling if doors obstruct ceiling placement
The detector’s distance from doors defines how effectively it captures smoke. Proper spacing creates reliable protection without false alarms from convective air movements disrupting smoke collection patterns.
Window Draft Obstruction Risks
How do windows affect smoke detector placement in your bedroom?
Windows create drafts that interfere with smoke detection. Cold air entering through window frames pushes smoke away from your detector’s sensor. This movement determines whether your detector catches fire early or misses it entirely. You’ll want to avoid installing detectors directly above windows or within their draft zones.
Position your detector at least several feet away from windows and window-adjacent walls. The air currents near glass panes carry smoke in unpredictable directions. A wall-mounted detector placed 4–12 inches below the ceiling works well here.
This spacing provides reliable protection without interference. Your detector can now sense smoke before drafts carry it away, giving you early warning during a fire.
Choose Ceiling or Wall Mounting (Fan Placement Changes This)
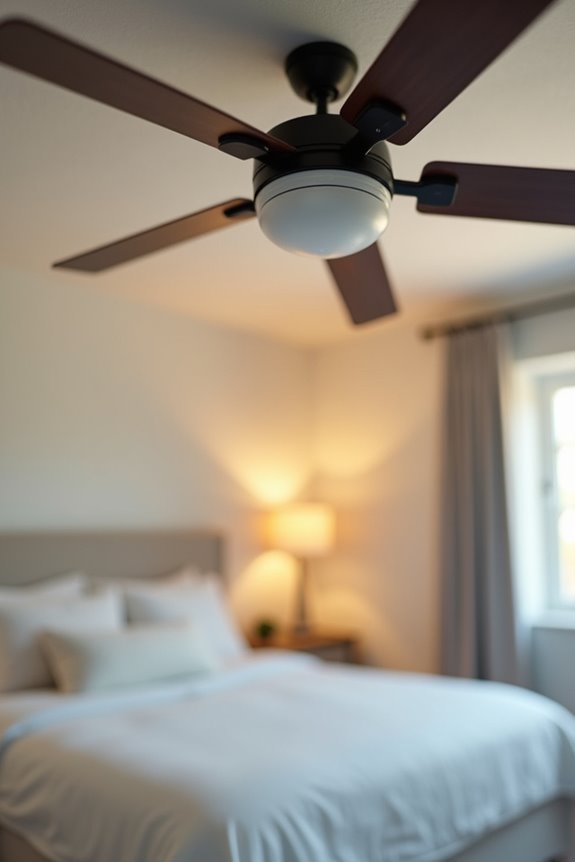
When a ceiling fan occupies your bedroom’s center space, it directly determines where your smoke detector can go. Your ceiling fan creates airflow patterns that interfere with smoke detection, making strategic placement necessary for your safety.
Ceiling fans create airflow patterns that interfere with smoke detection, making strategic detector placement essential for bedroom safety.
You’ll need to choose between two mounting options:
- Ceiling mounting — Position the detector at least 3 feet away from fan blade tips, ideally in a corner or along a wall edge where airflow won’t reach it.
- Wall mounting — Install the unit 4–12 inches below the ceiling, positioned away from the fan’s direct air path and any furniture that blocks smoke access.
The fan does interfere with detection because its blades push air downward, preventing smoke from rising naturally to your detector. Wall mounting often works better when your fan dominates the ceiling space.
Select the Right Detector Type for Your Bedroom
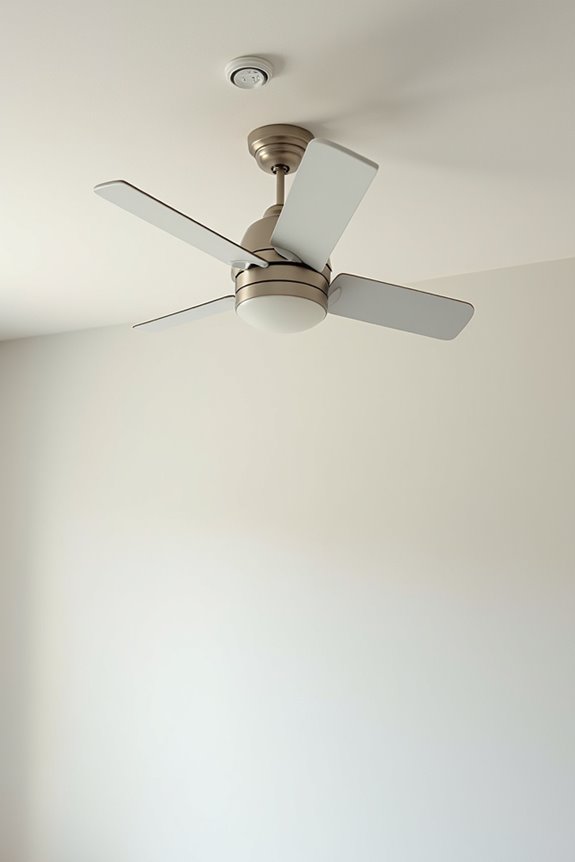
What detector type you choose significantly impacts how well your bedroom’s smoke alarm performs around a ceiling fan. Photoelectric detectors work best in bedrooms with fans because they respond well to smoldering fires and reduce nuisance alarms. These detectors use a light beam to sense smoke particles, making them less sensitive to the air disturbance fans create.
Ionization detectors, by contrast, respond better to fast-flaming fires. However, they trigger false alarms more easily when fans disrupt airflow patterns. The photoelectric smoke alarm performs better because it avoids reacting to moving air currents that fans generate. Choosing photoelectric technology improves your bedroom’s ability to stay protected while minimizing frustrating false alerts.
Understand NFPA 72 Placement Rules for Bedrooms
NFPA 72 Placement Rules for Bedrooms
Where you position your bedroom’s smoke detector directly determines how quickly it’ll detect fire danger.
NFPA 72 establishes clear guidelines for smoke detector placement in bedrooms. Understanding these foundational rules before installing your device will help you achieve proper protection.
NFPA 72 establishes clear guidelines for bedroom smoke detector placement to help you achieve proper protection before installing your device.
- Mount detectors on the ceiling as close to the room’s center as possible for optimal smoke detection speed
- Keep detectors at least three feet away from ceiling fans to prevent airflow from disrupting smoke detection capability
- Maintain distance from vents, walls, and furniture that obstruct smoke flow toward your detector
The ceiling placement works better because smoke rises naturally toward it. Wall mounting provides an alternative—position detectors 4–12 inches below the ceiling when ceiling installation isn’t feasible. These placement standards define how effectively your detector protects you and your family during emergencies.
Plan Your Detector Location: Step-by-Step
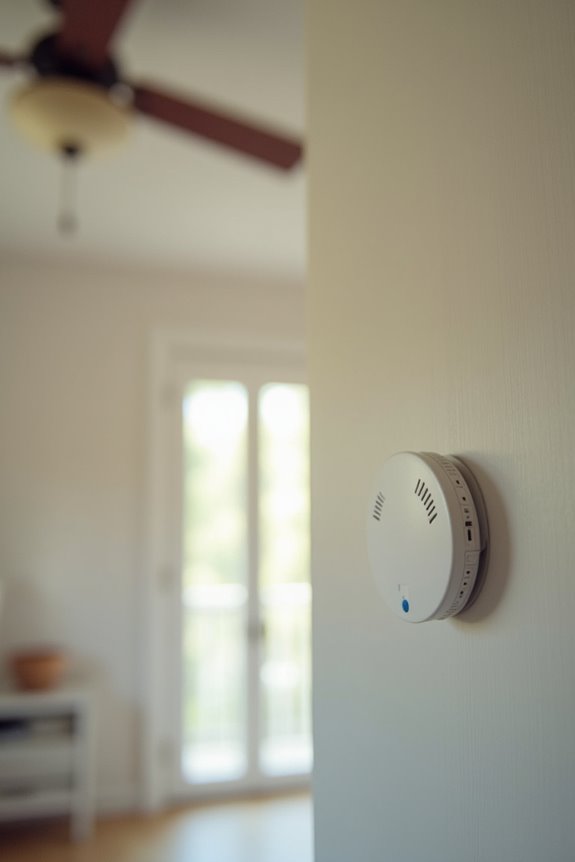
You’ll measure the distance from your ceiling fan’s blades to identify spots at least 3 feet away where smoke can reach quickly. Next, you’ll locate airflow obstruction points—vents, doorways, and areas near the fan—because turbulent air creates dead zones that delay smoke detection. Finally, you’ll evaluate whether your ceiling allows center placement or if a wall mount 4–12 inches below the ceiling defines your best option.
Measure Distance From Fan
How you position your smoke detector relative to the ceiling fan fundamentally defines its effectiveness and reliability.
Measuring distance from your ceiling fan creates a detection zone free from airflow interference. You’ll want to:
- Maintain at least 3 feet between the detector and any blade edge to avoid disruption
- Keep the unit outside the fan’s direct airflow path, which can carry smoke away from sensors
- Position the detector near your room’s center, equidistant from walls and fan blades
The ceiling fan does push air downward because its blades circulate room air for comfort. This airflow disrupts smoke patterns before your detector can sense them. A photoelectric unit works well in bedrooms since it resists false alarms from fan-driven air movement. Measure twice before installing to achieve optimal placement that protects your space effectively.
Identify Airflow Obstruction Points
Once you’ve measured your distance from the ceiling fan, the next step involves mapping out where air actually moves throughout your bedroom. Supply vents and return air ducts create invisible pathways that push air across your room. These airflow obstruction points define where smoke won’t reach your detector effectively. The supply vent does redirect air because it forces conditioned air outward from your HVAC system. Return vents do pull air inward because they collect warm or cool air for recirculation. Windows and doors create drafts because outside air enters through small gaps. You’ll want to identify these zones by observing where curtains move or where you feel air movement. Mark these locations on your bedroom layout. Position your detector away from all these obstruction points to maintain reliable smoke detection when you need it most.
Evaluate Ceiling vs. Wall
Where should your smoke detector actually go—ceiling or wall? Your choice depends on your specific ceiling fan situation and room layout.
Consider these factors:
- Ceiling placement — Mount detectors as close to room center as possible, at least 3 feet from fan blade tips. This positioning creates optimal smoke detection coverage while avoiding airflow interference that reduces detector sensitivity.
- Wall mounting alternative — Position the detector’s top edge 4–12 inches below the ceiling line. Wall mounting provides a practical solution when ceiling fans obstruct ideal placement, maintaining detection efficiency without compromise.
- Room size assessment — Large bedrooms with multiple fans warrant additional detectors. This approach provides complete smoke coverage within 21-foot detection radius, eliminating dangerous coverage gaps.
Your decision directly determines how effectively your detector identifies smoke emergencies.
Prevent False Alarms From Airflow and Moisture
False alarms in bedrooms often stem from airflow and moisture problems that you can prevent with careful placement. Avoid mounting detectors directly over or beneath air vents, as strong drafts divert smoke before it reaches your sensor. The fan blade creates airflow because it’s designed to circulate air throughout your room. Position your detector at least three feet away from ceiling fan blade tips to maintain clear smoke detection pathways.
Keep detectors away from bathrooms and other high-moisture sources. Steam and humidity trigger false alarms by mimicking smoke particles. Consider photoelectric or multi-technology detectors, which reduce false alarms from cooking fumes and rapid humidity changes. Regular maintenance defines successful detection. Clean your detector monthly and test it to verify dust and moisture aren’t causing false triggers.
Verify Coverage and Avoid Common Mistakes
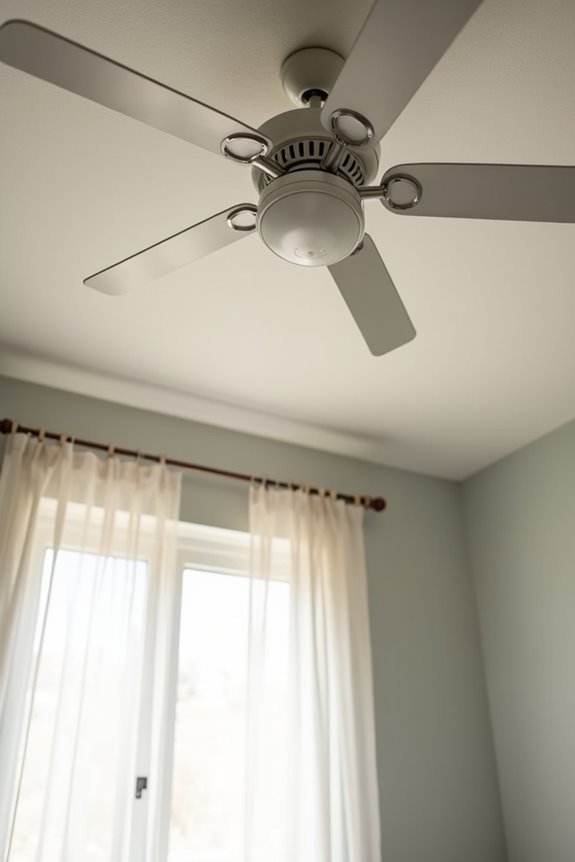
How you position your detector defines whether it’ll actually detect smoke in an emergency. Smoke detector placement creates the difference between protection and false confidence in your bedroom safety.
Verify your coverage by checking these essential points:
Verify coverage by measuring 21 feet from your detector, keeping it 3 feet from fans, and avoiding doorways and vents.
- Measure 21 feet from your detector—confirm the room’s center falls within this radius for complete detection
- Confirm the detector sits 3 feet minimum from ceiling fan blades to prevent airflow interference
- Check that no doorways or vents direct air currents toward your mounted unit
The ceiling works best because smoke rises naturally upward. However, if a fan blocks ceiling mounting, wall-mounting 4–12 inches below the ceiling line maintains effective coverage. You’ll avoid common mistakes by keeping detectors away from doorways and direct airflow paths. These placement decisions create genuine protection when you need it most.
Install, Interconnect, and Test Monthly
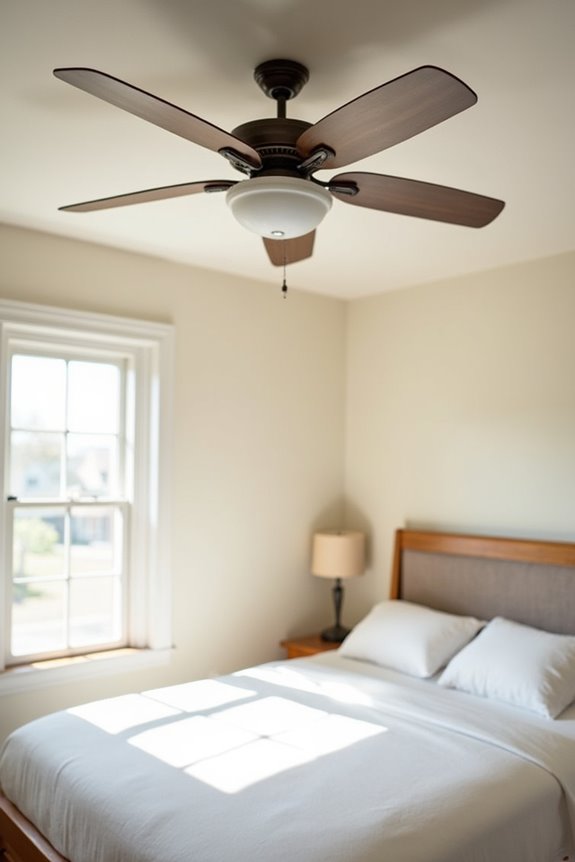
Once you’ve positioned your detector 3 feet from the ceiling fan, you’ll follow the manufacturer’s installation instructions to mount it securely. You’ll interconnect multiple detectors—either hardwired or wireless—so they all sound together when one detects smoke, which creates faster alerts throughout your bedroom and home. You’ll test each detector monthly by pressing its test button for 3 seconds, and you’ll replace batteries annually or when the low-battery chirp sounds, maintaining reliable protection year-round.
Installation Steps And Process
Now that you’ve identified the right location, the actual installation requires three distinct actions: placing the detector correctly, linking it to other detectors when possible, and committing to monthly testing.
- Mount securely – Use the provided hardware to attach your detector to ceiling or wall, keeping it level and stable away from ceiling fan blades.
- Connect detectors – Link units through wiring or wireless systems so one alarm triggers all alarms throughout your bedroom and home.
- Test monthly – Press the test button to verify functionality, then replace batteries yearly.
The detector provides limited protection sitting in a box. Active protection requires proper placement and maintenance. You’re building a reliable safety network that prepares your family for emergencies.
Monthly Testing And Maintenance
Installing your smoke detector correctly sets the foundation, but your work doesn’t end there. You’ll want to test your detector monthly to confirm it’s working properly. Press and hold the test button for several seconds. The alarm should sound loudly throughout your bedroom, waking you if needed during sleep.
Replace batteries at least once yearly, even if they seem fine. The detector requires this because fresh batteries maintain consistent operation. Consider interconnecting detectors if your system supports it. This creates a connected network where one alarm triggers all others.
Clean your detector regularly to remove dust and debris. Dust buildup blocks sensors and causes false alarms. Gently vacuum around the unit using a soft brush attachment. Schedule professional checks annually to maintain compliance and reliability. These steps define responsible smoke detector placement and ownership.
Interconnection Methods For Alarms
After you’ve installed your detectors in proper locations, connecting them creates a unified safety system where one alarm triggers all others throughout your bedroom and connected spaces.
You can interconnect your alarms using three primary methods:
- Hardwired systems – Electricians install detectors into your home’s electrical wiring, providing continuous power and automatic interconnection without battery dependency.
- Wireless interconnection – Battery-powered detectors communicate via radio signals, eliminating installation complexity while maintaining synchronized alerts across rooms.
- Interconnected battery-powered units – Individual detectors link through wireless protocols, offering flexibility for renters or homes where hardwiring isn’t feasible.
The interconnection improves your response time because all alarms sound simultaneously rather than sequentially. This unified alert system reaches you faster, wherever you’re located in your home. Test these connections monthly to verify they’re functioning reliably together.