You’ll create balanced illumination by spacing fixtures roughly half your ceiling height apart—about four feet on an eight-foot ceiling. Position lights slightly in front of or behind seating to avoid glare and unflattering shadows on faces. Layer ambient, task, and accent lighting using different fixture sizes: 6-inch fixtures for general coverage, 4-inch for artwork. Keep lights at least three feet from walls. Install dimmers with warm color temperatures (2700K–3000K) to adjust brightness throughout the day. These strategic choices eliminate harsh shadows while defining comfortable zones for various activities.
Know When Recessed Lighting Works in Your Living Room
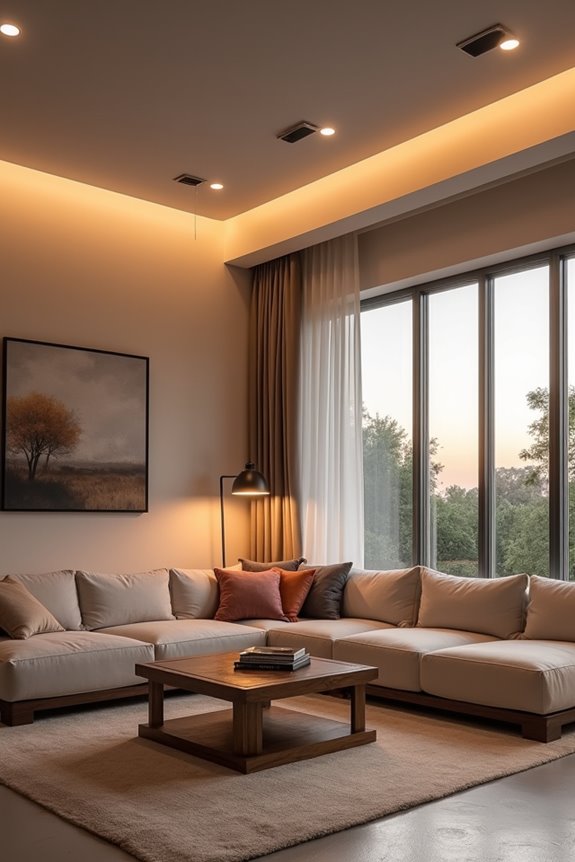
When should you choose recessed lighting for your living room? Recessed lights work best when your ceiling height allows proper bulb placement and beam spread. Recessed lighting creates a clean aesthetic because fixtures sit flush within the ceiling. This design choice works particularly well in rooms with lower ceilings where protruding fixtures feel cramped.
Your lighting plan should include dimmers, which define ambiance by letting you adjust brightness throughout the day. Position lights at roughly half your ceiling height for even room illumination and to avoid glare. Avoid placing fixtures directly above seating areas, as this creates unwanted glare on occupants.
Recessed lights flood your living room effectively when other fixtures aren’t feasible. They complement your overall design while maintaining visual balance and functional task lighting throughout the space.
Plan Your Layout With Proper Spacing and Balance
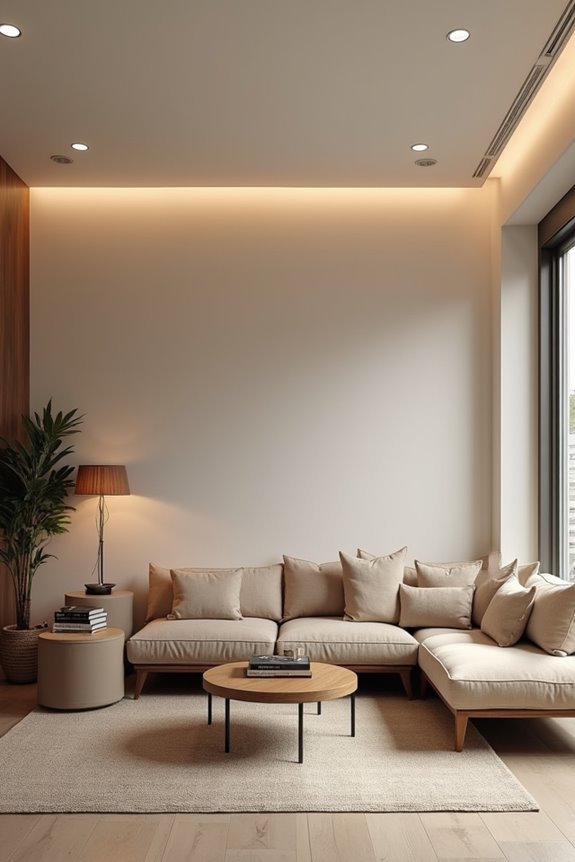
Now that you’ve decided recessed lighting fits your living room, your next step involves mapping out exactly where each fixture goes. Proper recessed lighting spacing creates uniform illumination throughout your space. Divide your room into zones based on how you’ll use each area. Space fixtures roughly half your ceiling height apart—for an 8-foot ceiling, position them about 4 feet from each other. Keep lights at least 3 feet away from walls. This distance minimizes harsh shadows and glare that make spaces feel unwelcoming. Install separate lighting controls for different zones. This approach defines ambient and task balance without overwhelming your room. Strategic light placement prevents over-illumination while providing adequate brightness in every corner. Your fixture spacing directly determines whether your living room feels inviting or uncomfortable.
Layer Ambient, Task, and Accent Lighting for Visual Depth
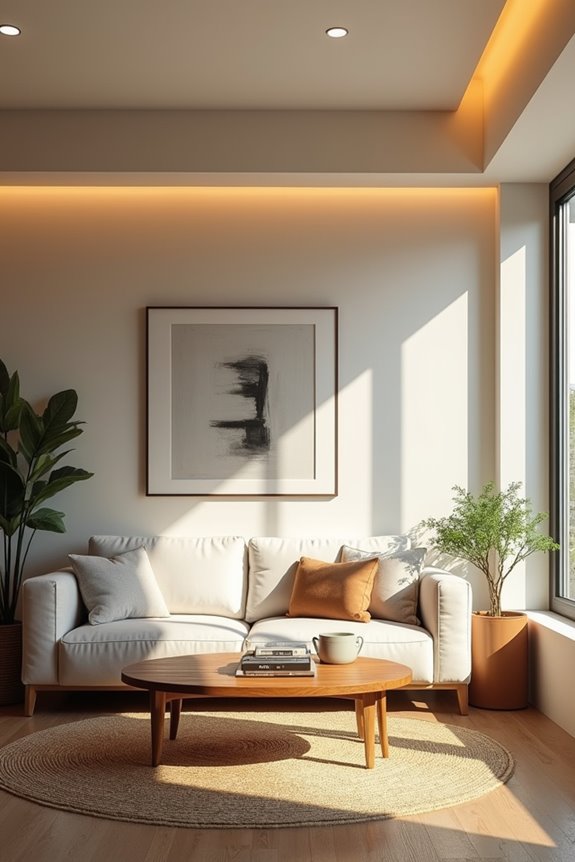
You create visual depth by layering three distinct lighting types, each serving a specific function in your living room. Ambient lighting provides even general illumination across the entire space, while task lighting targets activities like reading, and accent lighting highlights artwork or architectural features. This layered approach defines how your room feels and functions, preventing the flat, one-dimensional quality that single light sources often produce.
Creating Visual Depth Strategically
Strategic layering of ambient, task, and accent lighting creates visual depth in your living room by defining distinct zones and drawing attention to key areas. Start with a lighting grid of recessed fixtures spaced roughly half your ceiling height apart to distribute ambient lighting evenly. Add adjustable fixtures near seating or desks to provide task lighting where you need it most. Position accent lights 12–18 inches from walls, angled 30 degrees toward wall artwork or architectural features you want to emphasize. The recessed lights work effectively because they eliminate harsh shadows and glare when positioned at least 3 feet from walls. Install dimmable LEDs throughout to control brightness and adapt your space for different activities and moods.
Three-Layer Lighting Framework
Layering creates visual depth that divides a flat space into defined zones. The three-layer approach—ambient, task, and accent lighting—forms the foundation of effective can light design.
You’ll start with ambient lighting using a grid of recessed can lights that fills your room evenly. Next, add task lighting with adjustable cans positioned over seating areas where you actually need brightness. Finally, use accent lighting to highlight artwork or architectural features, positioning fixtures 12–18 inches from walls.
The three-layer lighting framework works because each layer serves a specific purpose:
- Ambient cans create overall illumination without harsh shadows
- Task lighting provides focused brightness exactly where activities occur
- Accent lights emphasize special features through strategic angles
Balance these layers by pairing dimmable cans with other fixtures. Proper ceiling spacing—roughly half your ceiling height—maintains even coverage throughout your living room.
Position Lights Around Seating, Entertainment, and Artwork
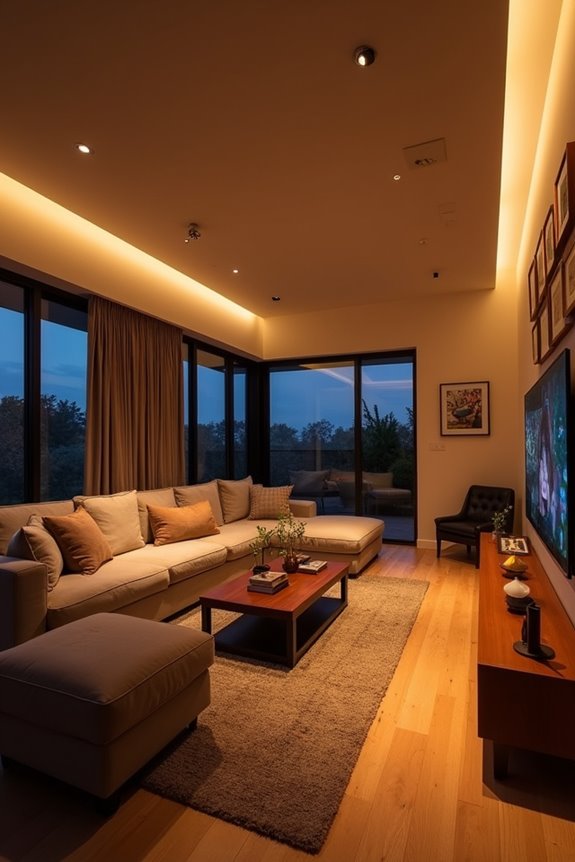
How you arrange can lights throughout your living room directly shapes how comfortable the space feels. Position recessed lighting slightly in front of or behind seating rather than directly overhead. This placement minimizes glare on screens and creates even ambient lighting across your entertainment zones.
For artwork, use adjustable fixtures mounted about 30 inches from the wall. Angle the beam approximately 30 degrees toward each piece to achieve uniform illumination without hotspots. Choose 4-inch fixtures for accent lighting around seating areas and 6-inch fixtures for broader ambient coverage, maintaining balanced brightness throughout.
Space lights roughly half your ceiling height apart—so an 8-foot ceiling needs about 4-foot spacing. Avoid placing lights within 3 feet of walls to prevent harsh shadows near seating. Install dimmers to modulate overall brightness and preserve comfortable mood in your viewing zones.
Select Recessed Fixture Size and Trim for Your Purpose
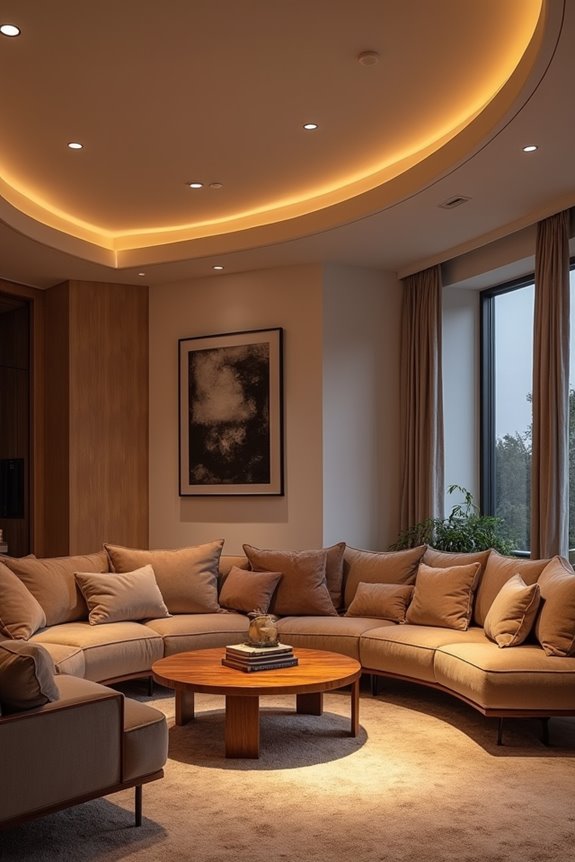
What size recessed light you choose directly shapes how your living room feels and functions. Your fixture size and trim options work together to define the atmosphere you’re creating.
Choosing Your Fixture and Trim:
- 4-inch recessed lights deliver focused task or accent lighting for reading nooks and artwork displays
- 6-inch fixtures produce broader ambient illumination that fills your entire living room evenly
- Baffle, reflector, and adjustable trims each serve different purposes—baffle trims reduce glare, reflector trims increase brightness, and adjustable trims let you aim light toward specific features
The trim you select directly affects how light behaves because different materials reflect or absorb light differently. Baffle trims create softer, less harsh lighting, while reflector trims amplify brightness for task lighting areas. Adjustable or eyeball trims give you flexibility to redirect light toward your entertainment setup or accent walls whenever you need it.
Use Warm Color Temperatures and Dimmers to Set the Mood
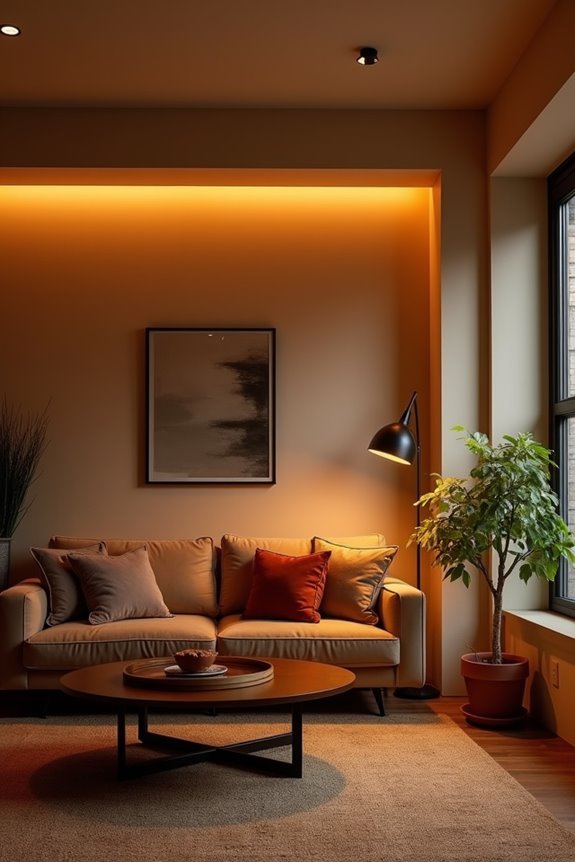
Once you’ve selected your fixture sizes and trims, the color temperature and brightness control of your lights become equally important. Warm color temperatures between 2700K–3000K create the living room mood you’re after. These recessed lighting options pair perfectly with dimmers, letting you adjust brightness for different activities throughout your day.
| Activity | Brightness | Color Temp | Effect |
|---|---|---|---|
| Reading | 75% | 2700K | Task-focused comfort |
| Entertaining | 50% | 2800K | Welcoming atmosphere |
| Relaxing | 25% | 3000K | Calming ambiance |
| Evening wind-down | 10% | 2700K | Sleep preparation |
Combining 4-inch and 6-inch fixtures with dimmers balances ambient lighting while preserving warmth. Dimmed warm lighting reduces glare and eliminates harsh shadows. Test your can lights at various dimming settings to confirm even illumination across your space without hotspots.
Eliminate Shadows and Glare With Strategic Placement
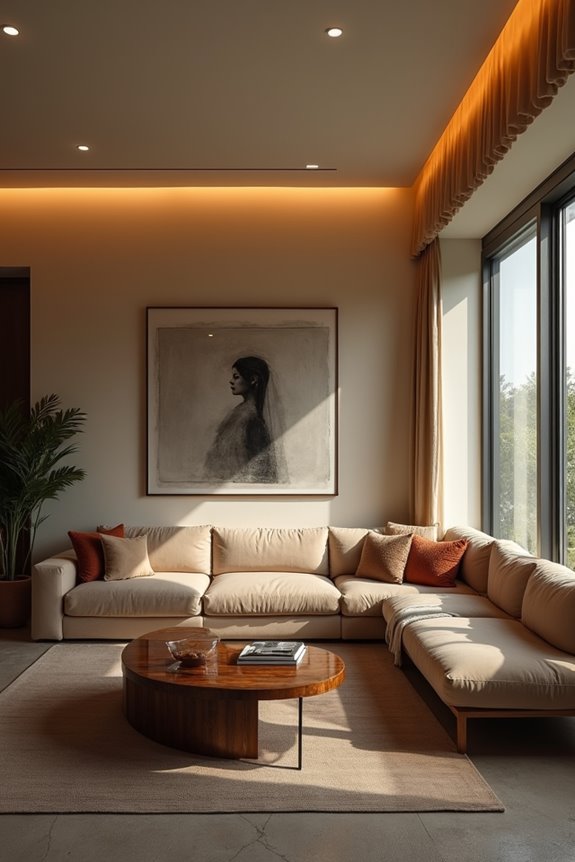
You’ll want to avoid placing can lights directly above your seating, as this positioning creates harsh glare and eye strain for anyone sitting underneath. Instead, position your fixtures slightly in front of or behind seating areas to eliminate this problem. Angling fixtures toward artwork or accent walls defines areas of interest while keeping direct light off faces, which prevents discomfort and shadows across the room.
Positioning Lights Above Seating
How you position can lights around seating fundamentally changes comfort and visibility in your living room.
Strategic recessed lighting placement creates an even glow without harsh shadows on faces. Position your can lights slightly in front of or behind seating areas, never directly overhead. This offset positioning reduces glare on screens and eliminates unflattering shadows across your face.
Consider these positioning strategies:
- Space fixtures approximately half your ceiling height apart (4 feet for 8-foot ceilings)
- Maintain at least 3 feet from walls for balanced illumination throughout the seating area
- Install adjustable trims to direct light precisely where you need it
Dimmers let you control how your living room feels during different times of day. They allow you to balance can lights with other lighting types, preventing overpowering brightness while preserving comfortable ambience. This measured approach to spacing and control improves your seating experience.
Angling Fixtures For Artwork
Artwork demands different lighting than general seating areas because paintings and prints reflect light unpredictably. Position can lights roughly 30 inches from the wall, aiming slightly downward to avoid hot spots. This fixture angling creates an even art wash lighting across the entire piece.
Adjustable trims and eyeball trims let you fine-tune light direction precisely. These recessed lighting options reduce glare on glossy surfaces or metal frames. Baffle trims diffuse stray light by scattering rays across wider areas, limiting unwanted reflections.
Choose 4-inch fixtures for targeted artwork lighting. Keep ambient lighting separate from your wall art illumination—this prevents overly bright surroundings that wash out the piece. Strategic downlighting and glare reduction techniques support professional wall art illumination throughout your living room.