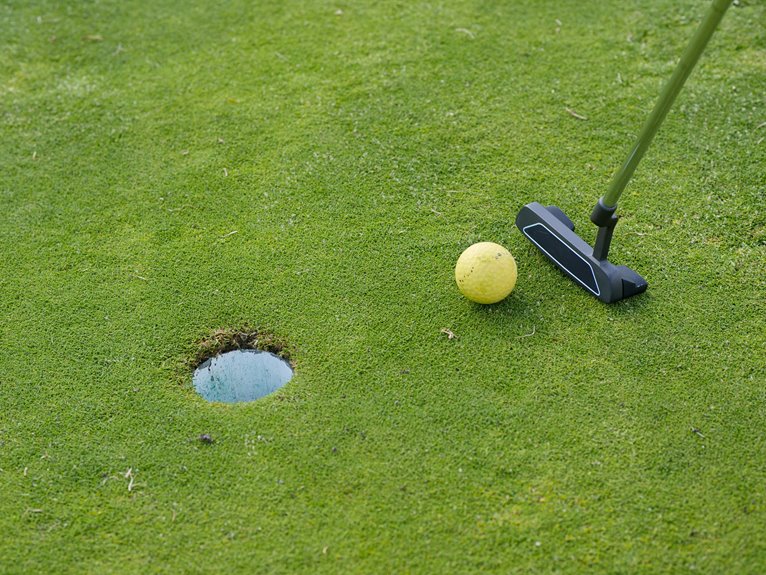
A backyard putting green costs $1,500 to $75,000, depending on size and site conditions. Small DIY kits under 400 square feet run $2,600–$9,000, while professional installations of 1,000 square feet average $28,000. Your actual expense depends on turf quality ($4–$20 per square foot), base preparation, and design complexity. Site prep—grading, drainage, and compaction—requires attention and significantly impacts final pricing. Understanding these cost drivers before you build defines your realistic budget.
Size, Turf, and Site: The Real Cost Drivers
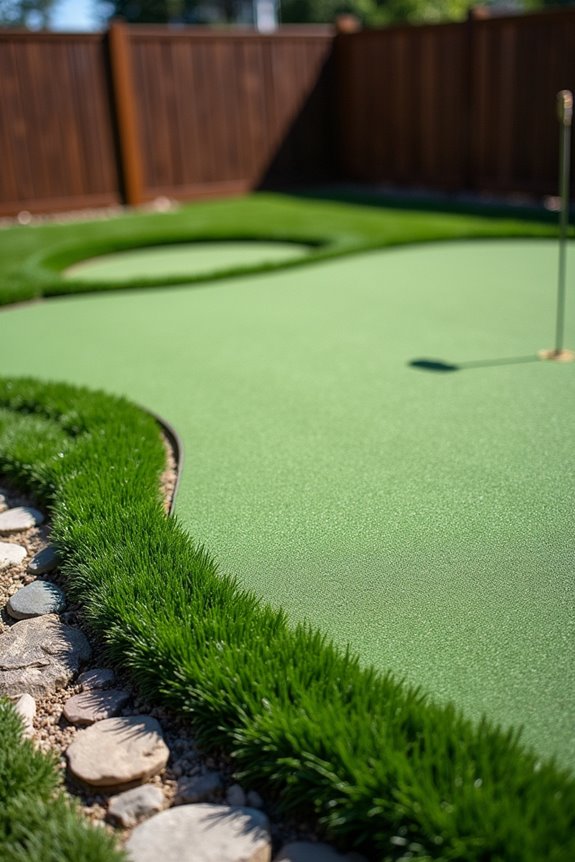
What actually determines whether you’ll spend $500 or $15,000 on a backyard putting green? Three factors define your final cost: size, turf quality, and site preparation.
Size drives pricing most dramatically. A 100–500 sq ft DIY project costs far less than a 2,000+ sq ft installation. Smaller greens run $25–$30 per sq ft, while larger ones drop to $20–$25 per sq ft.
Smaller greens run $25–$30 per sq ft, while larger installations drop to $20–$25 per sq ft.
Turf quality creates substantial price differences. Basic synthetic turf costs $4–$10 per sq ft, whereas premium golf-grade turf reaches $10–$20 per sq ft. The better material performs longer.
Site preparation matters equally. Leveling ground, removing debris, and improving drainage aren’t included in base pricing. These hidden expenses add thousands to your backyard putting green cost and warrant serious consideration before you build.
How Big Should Your Putting Green Actually Be?
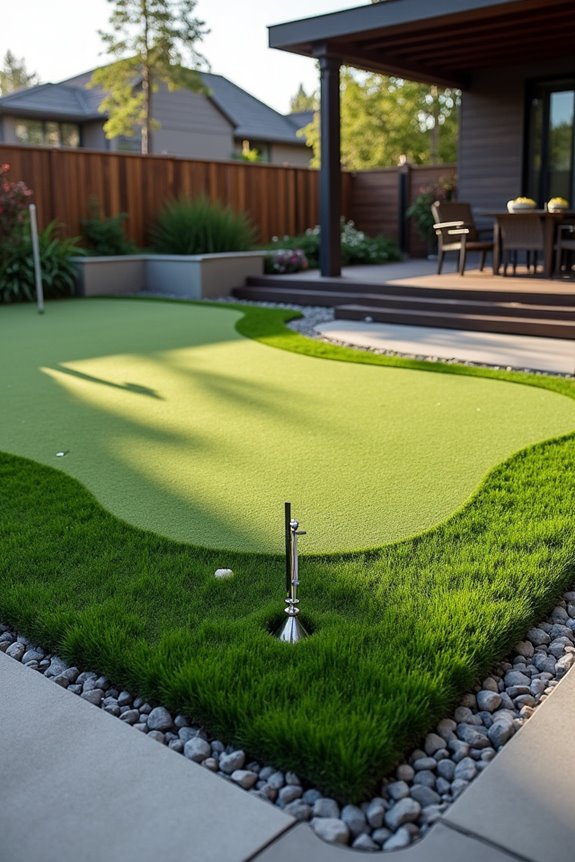
Determining the right size for your putting green shapes both your budget and how much you’ll actually use it. Your space defines what’s realistic. Consider your yard’s layout, drainage patterns, and whether you want bunkers or water features included.
| Size Range | Cost Per Sq Ft | Total Investment | Best For |
|---|---|---|---|
| Under 400 sq ft | $30–$35 | $12,000–$14,000 | Compact yards |
| 400–2,000 sq ft | $25–$30 | $10,000–$60,000 | Most homeowners |
| 2,000+ sq ft | $20–$25 | $40,000–$75,000 | Professional installations |
| DIY kits (200–500 sq ft) | $13–$18 | $2,600–$9,000 | Budget-conscious builders |
| 1,000 sq ft example | $28 | $28,000 | Mid-range option |
A 1,000 square foot installation costs roughly $28,000 because mid-sized projects balance quality materials with reasonable labor expenses. DIY versus professional installation creates different price points. Smaller setups work best when you understand your actual usage patterns and available space.
Premium Turf: Why It Costs More (and Matters)
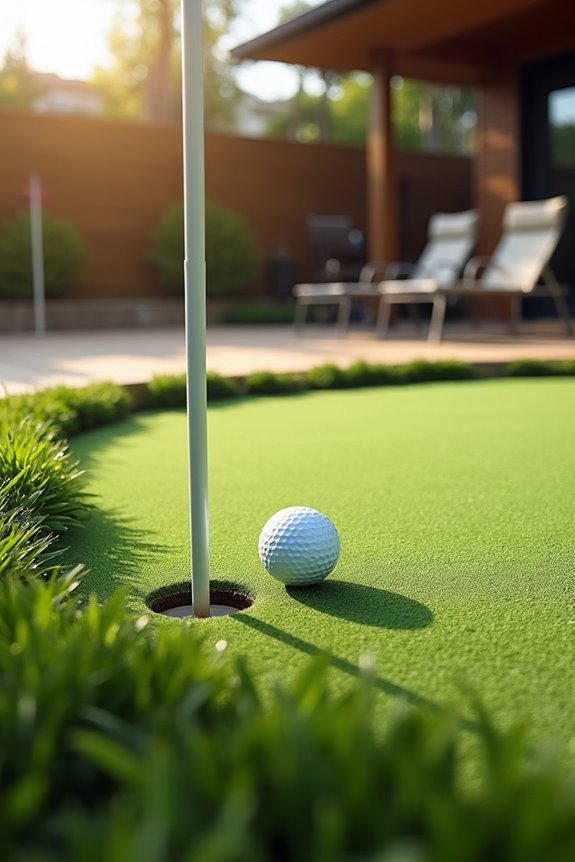
Once you’ve settled on your green’s size, the turf type you select becomes the next major cost factor. Premium turf costs $10–$20 per square foot, considerably more than basic options. You’re paying extra for superior look, feel, and wear resistance that defines long-term performance.
Premium materials use advanced construction methods, including optimized surface drainage and turtle-backed shapes. These features create better playability and durability by shedding water effectively. The turf withstands frequent use without deteriorating quickly.
Installation costs increase with premium selections because specialized techniques matter. Customizing speed preferences and simulating professional greens pushes expenses higher still.
Premium turf reduces ongoing maintenance demands significantly. You’ll enjoy consistent practice results over time, making the upfront investment worthwhile for serious golfers.
Building the Foundation Right: Base Prep & Installation
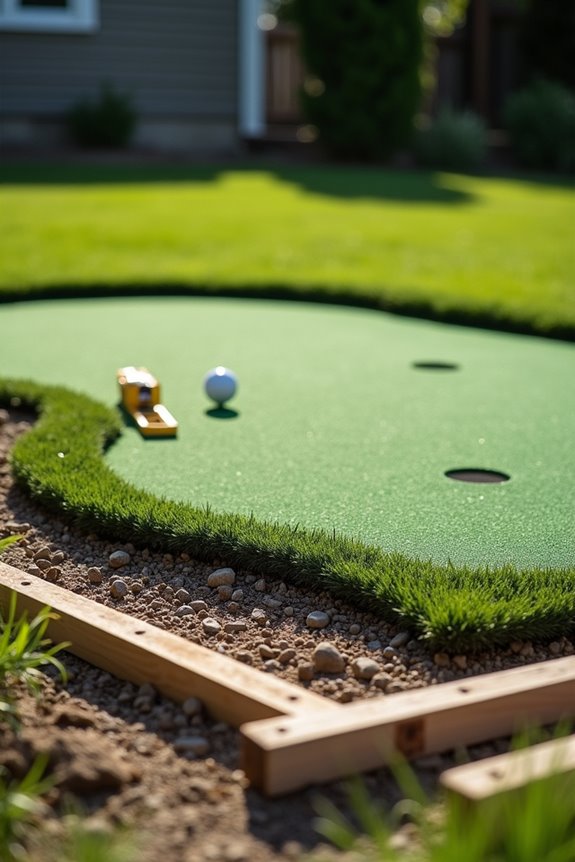
You’ll need a solid foundation beneath your putting green because the turf’s performance depends entirely on what sits underneath. Excavation, grading, and compaction create the stable base that prevents settling and uneven surfaces over time. A 2–4 inch gravel layer, combined with proper drainage pipes, determines how well water moves away from your green and keeps the putting surface playable year-round.
Excavation, Grading, and Compaction
What distinguishes a putting green that lasts decades from one that fails within years? Proper excavation, grading, and compaction. You’ll want to start by excavating the site to remove existing soil and create a level base. Grading shapes the surface so water naturally flows away from your green. Compaction then firms the soil beneath, preventing future settling that’d damage your putting surface.
The foundation performs its job because it’s built correctly. You’re looking at a 2–4 inch gravel layer topped with 6–8 inches of compacted aggregate. This combination creates both drainage and stability—water moves through quickly while the material stays solid underfoot. Difficult access increases labor costs and equipment needs, but skipping proper compaction invites problems. Complex slopes or retaining features add expense beyond standard preparation work.
Drainage Systems and Base Materials
Because water that pools beneath your putting surface destroys it from underneath, drainage demands as much attention as the green itself. You’ll need a gravel base consisting of 2–4 inches of material, topped with 6–8 inches of compacted aggregate that creates stability while allowing water movement. Pea gravel protects this foundation by filtering water away from the base materials below. Drainage pipes channel excess moisture off-site, preventing saturation that weakens the entire structure. The drainage system performs this work because proper water removal extends your green’s lifespan significantly. These components aren’t included in basic pricing, so budget separately for site preparation. Quality base prep determines how long your investment performs, making this foundation phase worth the additional expense.
Leveling for Optimal Performance
Once your drainage system’s in place, the next step involves creating a perfectly level surface. Professional-grade leveling directly defines how well your ball rolls across the green. You’ll need precise base preparation that accounts for even the slightest slopes, since minor grade variations compound over time.
Here’s what leveling accomplishes:
- Eliminates ball inconsistencies – A level surface creates predictable roll patterns every time
- Extends turf lifespan – Even compaction prevents premature wear and drainage pooling
- Reduces maintenance needs – Proper leveling minimizes future settling and regrading costs
The leveling process involves compacting your gravel base in layers and using laser levels to verify accuracy. This foundation quality investment pays dividends through years of reliable performance, keeping your putting green functioning as intended without constant adjustments or repairs.
Design Complexity: From Simple Flat Greens to Tour-Quality
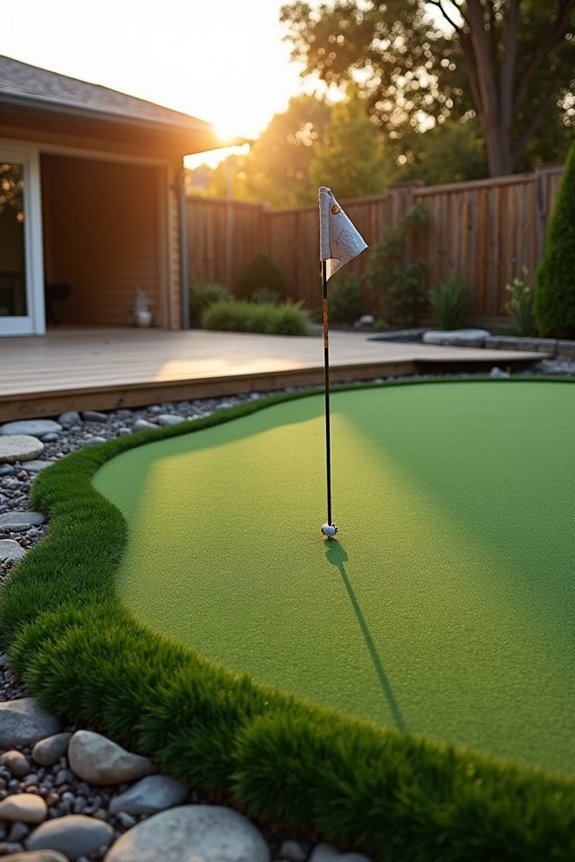
How you shape your putting green fundamentally defines both its cost and playability. A simple flat design keeps your installation cost minimal, while tour-quality greens with multiple tiers, undulations, and varied contours significantly increase expenses. The complexity you choose creates different price points across the market.
Simple flat greens run substantially lower than premium installations. Tour-quality greens typically price from $20 to $30 per square foot, with higher-end custom designs pushing toward the upper end. Complex designs incorporating fringes, breaks, bunkers, water features, and tee boxes add substantial costs.
Your design complexity influences more than raw turf area. Base preparation, drainage systems, and structural features all factor into final pricing. Professional design services and expert installation involve higher upfront fees but deliver improved durability and performance long-term.
Site Prep: The Hidden Cost Multiplier
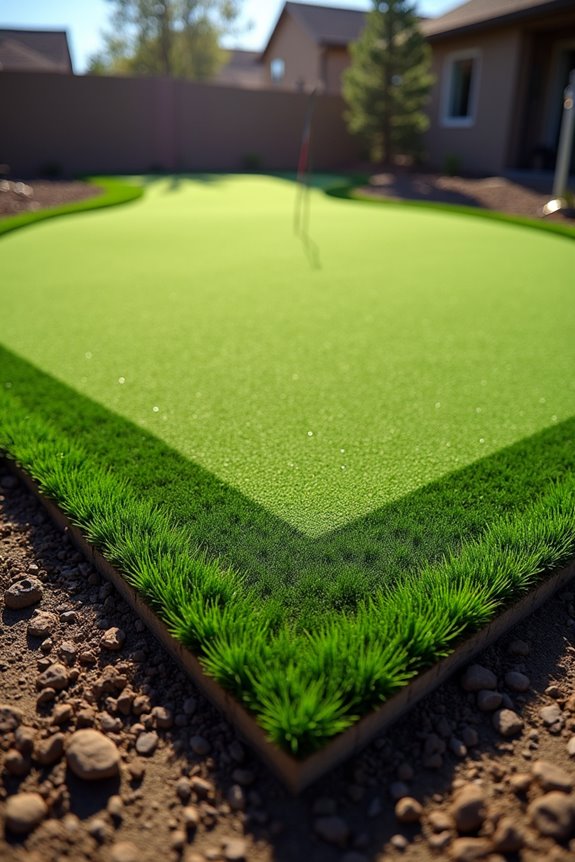
While your design choices set the visual framework for your putting green, what happens beneath the surface often determines your final bill. Site prep creates the foundation that defines your project’s total investment.
Your installation costs climb significantly when you account for necessary groundwork. The excavation, grading, and compacting process forms a major portion of upfront expenses. Drainage installation prevents water pooling that damages turf and playing surfaces.
Consider these site-prep factors:
- Extensive grading requirements for sloped terrain
- Retaining walls or bunkers requiring structural support
- Distance from material suppliers affecting equipment time
Access difficulties and material proximity increase labor hours substantially. Special features like integrated drainage systems or lighting add to costs beyond square footage alone. You’re investing in proper foundation work that keeps your green performing reliably for years.
DIY Kits vs. Professional Installation: Where You Actually Save
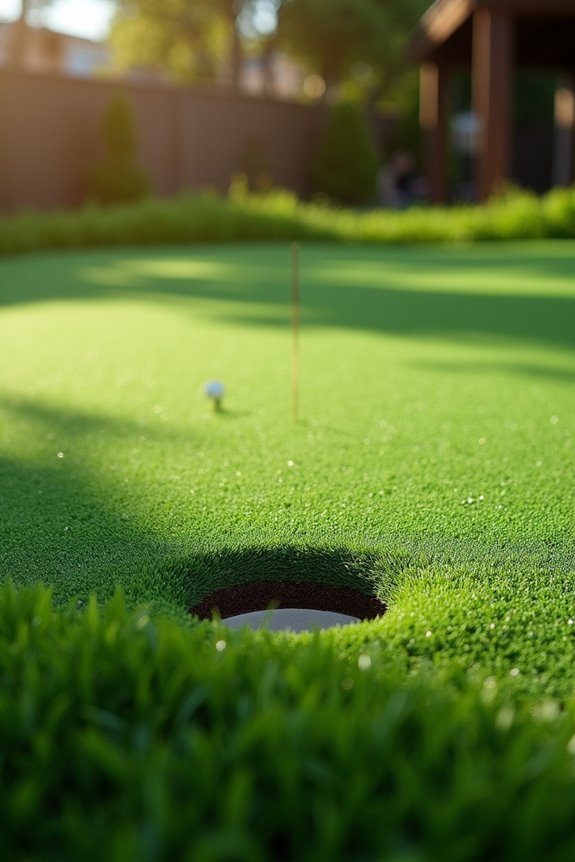
When you choose a DIY kit, you’ll save $4–$10 per square foot in labor costs, though you’re accepting responsibility for installation quality and long-term upkeep. Professional installations cost more upfront, but they come with guarantees and reduce future maintenance problems because experts handle grading and site preparation correctly. Your actual savings depend on whether you value immediate cost reductions or prefer paying more now to avoid expensive repairs later.
Labor Costs and Savings
Where does your money actually go when you’re building a backyard putting green?
Your labor costs define the overall project expense. DIY installation reduces labor to $4–$10 per square foot, while professional installation ranges from $20–$35 per square foot depending on your green’s size. Smaller greens under 400 square feet cost more per square foot because professionals charge fixed overhead costs across less area.
Consider these key differences:
- DIY kits include synthetic turf, seam tape, spikes, and flags with step-by-step guidance
- Professional installation handles grading and site preparation, eliminating future problems
- Smaller projects create disproportionately higher per-square-foot professional costs
The trade-off matters. DIY saves money upfront but demands your time and specialized tools. Professional installation costs more initially yet delivers faster completion and durable results.
Quality and Reliability Trade-offs
Cost savings from DIY installation don’t guarantee equal performance. You’ll spend $4–$10 less per square foot on labor, but this creates maintenance trade-offs that extend beyond your initial investment.
Professional installations include site grading and drainage systems. These foundational elements define how your green performs over time. DIY kits lack formal guarantees, meaning you’re responsible for proper base preparation and upkeep.
The difference emerges through durability. Professional setups typically maintain shape and consistency for years. DIY greens depend heavily on user maintenance and initial installation quality.
Your installation costs reflect what you’re actually purchasing: a finished product versus components requiring skilled assembly. Consider whether you possess the expertise for base prep. This decision ultimately determines whether your green plays reliably or demands constant adjustments.
Long-term Maintenance Expenses
The true cost difference between DIY and professional greens emerges over time, not at purchase. Your installation choice directly defines your long-term maintenance costs and effort level.
DIY kits require ongoing attention you’ll handle yourself:
- Debris removal and brushing keep synthetic turf performing consistently
- Rolling and occasional sand application maintain proper ball roll
- Annual inspections catch wear before major repairs become necessary
Professional installations create higher upfront expenses but often include maintenance support. You’ll spend less time managing your green personally. Natural greens demand frequent mowing, irrigation, and licensed pesticide applications—costs that compound yearly.
Synthetic turf maintenance costs significantly less than natural alternatives. Compare service contracts from installers against your DIY product expenses and time investment. This comparison determines whether you’ll actually save money long-term.
Residential Backyard Greens: What to Budget
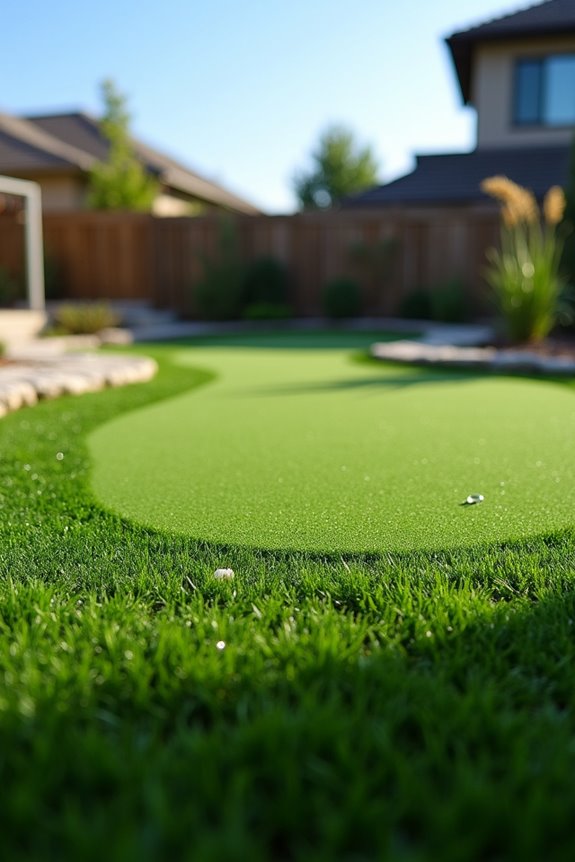
How much you’ll spend on a backyard putting green depends on three primary factors: size, surface quality, and design complexity. Your backyard putting green cost typically ranges from $1,500 to $15,000+, with per square foot pricing varying by dimensions. Projects under 400 square feet run $30–$35 per square foot, while 400–2,000 square feet cost $25–$30 per square foot. Larger installations of 2,000+ square feet drop to $20–$25 per square foot.
DIY installation reduces labor expenses significantly, though materials and base preparation still drive total spending. Site conditions matter too. Leveling, drainage improvements, and access work add costs beyond standard estimates. Bunkers, water hazards, lighting, and custom undulations create premium finishes that push budgets higher. Understanding these variables defines realistic expectations before breaking ground.
Indoor Putting Greens: Space & Cost Realities
When you choose an indoor putting green, you’ll face three practical realities that directly impact your final cost. Space constraints define whether you can fit a full-size mat or need a compact roll-up system, since confined rooms create limitations that shrink your options and your budget. Your installation expenses rise when you account for lighting adjustments, floor preparation, and underlayment—these elements work together because proper flooring support and adequate brightness maintain consistent ball roll and safe play conditions.
Space Constraints and Limitations
Space Constraints and Limitations
Where you’ll place your indoor putting green fundamentally shapes both its design and cost. Your backyard space limitations directly affect installation costs and material choices. Tight quarters demand creative solutions that standard outdoor greens don’t require.
Consider these space-related factors:
- Ceiling height restrictions – Low ceilings eliminate certain green heights and ball trajectory options
- Doorway and hallway widths – Narrow passages require custom-cut sections or portable roll-up alternatives ($50-$500)
- Drainage and perimeter constraints – Indoor moisture control needs special flooring preparation and ventilation access
The compact nature of interior spaces creates higher per-square-foot expenses than outdoor installations. Your room’s dimensions define whether you’ll need professional custom fitting or can use standard kit options. Measuring twice prevents costly mistakes. Identifying electrical access points and ventilation needs before purchase establishes realistic budgets between $1,000 and $10,000.
Indoor Installation Costs
What separates a budget indoor putting green from a premium one often comes down to installation expenses you’ll face upfront. You’re looking at costs ranging from $1,000 to $10,000, depending on the choices you make. Your space constraints directly influence pricing, since compact areas require creative solutions. Quality synthetic turf materials cost more than basic options, but they perform better long-term.
Lighting requirements add significant expense to your project. You’ll need proper illumination to practice effectively indoors, which sometimes demands electrical work. Base preparation creates a stable foundation because uneven floors compromise putting accuracy. Installation professionals account for your room’s specific conditions when quoting prices. These upfront investments define your green’s playability and durability for years ahead.
Lighting and Flooring Preparation
How you prepare your indoor space determines whether your putting green performs consistently. Your backyard putting green’s success relies on two foundational elements: proper flooring preparation and adequate lighting.
Key preparation considerations:
- Flooring preparation ranges from $1,000 to $10,000, depending on subfloor conditions and base material quality
- Lighting adjustments add $500 to $3,000, with costs varying by fixture type and room coverage needs
- Climate control and drainage systems prevent turf deterioration and support reliable ball roll
The flooring does everything because it supports the turf surface and defines ball movement. Lighting creates visibility for accurate putting practice, converting dim basements into functional practice spaces. You’ll want professional-grade LED fixtures that illuminate the entire green without casting shadows. These investments eliminate performance inconsistencies that frustrate golfers seeking realistic practice conditions.
Club-Quality Greens: Premium Pricing Explained
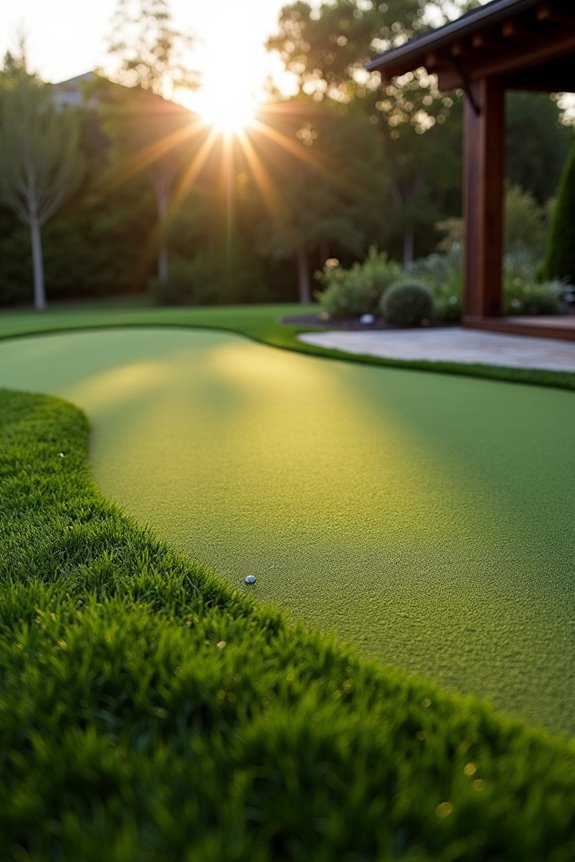
If you’re considering a tour-grade putting surface, you’re looking at a substantial investment that typically ranges from $20,000 to $100,000 or more.
Club-quality greens demand premium synthetic turf and advanced drainage systems that define professional performance. Site preparation creates the foundation for longevity, requiring skilled crews to excavate and level terrain precisely. The drainage work does most of the heavy lifting because water management prevents surface degradation and maintains consistent play conditions.
Premium synthetic turf and advanced drainage systems create the foundation for championship-level putting performance and durability.
Material costs climb significantly when you add custom undulations, bunkers, or water hazards. Tour-grade design brings precision to your landscape. Premium facilities often expand projects beyond a single green, incorporating multiple tee boxes and integrated lighting systems.
These enhancements increase overall expenses considerably. You’re purchasing durability, accuracy, and the infrastructure supporting championship-level play standards in your own yard.
Portable Roll-Up Mats: The Budget Option
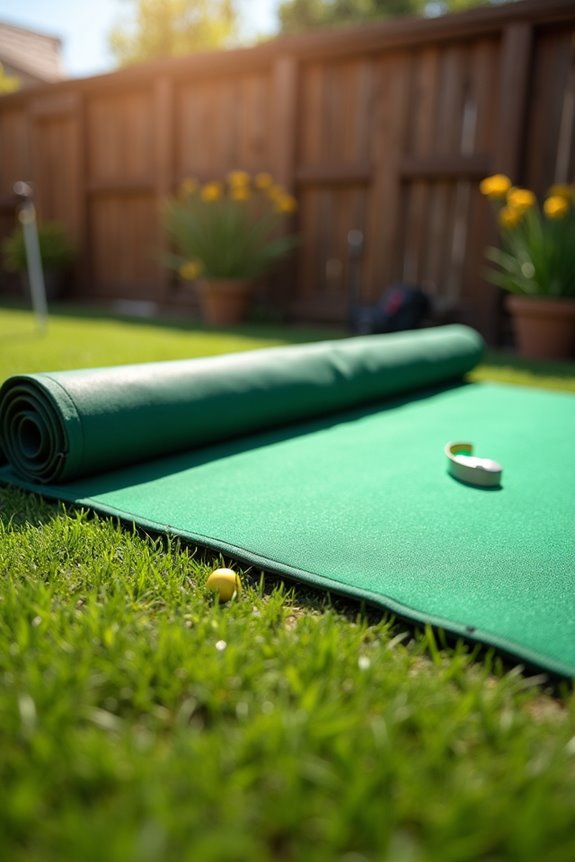
At the opposite end of the budget spectrum sits a far more modest solution for backyard putting practice. You’ll find portable roll-up mats create an accessible entry point for golfers seeking quick setup without permanent commitment. These mats typically range from $50 to $500, depending on size and turf quality.
Roll-up mats offer distinct advantages for your practice needs:
- Quick indoor or outdoor setup requiring minimal preparation time
- Temporary installation ideal for renters or those testing commitment levels
- Durable synthetic turf materials that withstand repeated use
The budget-friendly design does sacrifice some authenticity because manufacturers prioritize portability over professional-grade feel. However, these mats define practicality for casual practice. You’ll appreciate the convenience when weather permits outdoor sessions or when indoor space becomes available. Most portable options remain the most economical choice available today.
Budget-Friendly Shortcuts That Don’t Sacrifice Quality
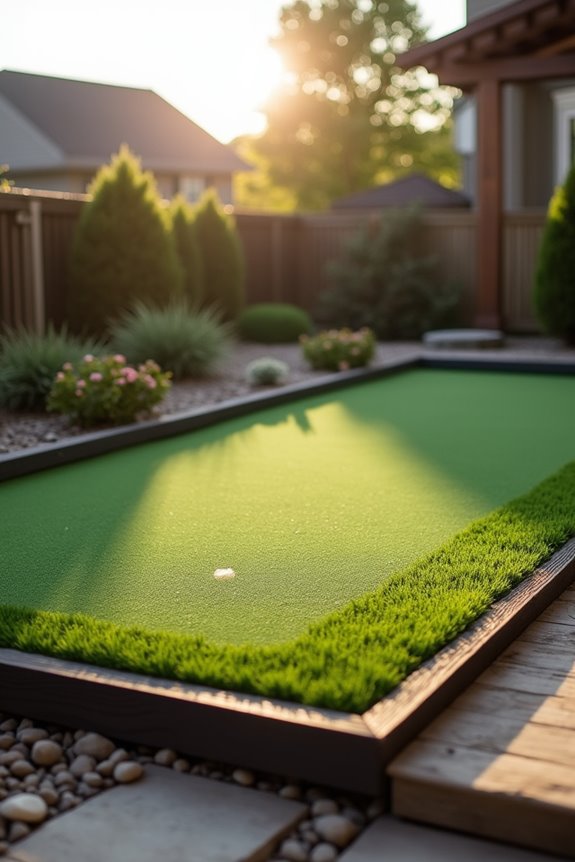
What separates a mediocre backyard green from a durable one isn’t always the price tag—it’s smart planning. You can build a quality DIY installation by selecting mid-range turf options instead of premium varieties. This choice creates significant savings without compromising playability.
Focus your budget on proper site prep rather than expensive components. The base preparation defines how long your green lasts because inadequate grounding causes drainage problems. Your kit investment pays off when you spend time leveling and compacting the foundation correctly.
Choose modular kit systems for 400–2,000 square feet projects priced at $20–$30 per square foot. These designs simplify installation while maintaining consistent quality. Compare turf grades carefully—basic synthetic grass performs well for casual use. Planning ahead prevents hidden costs that derail budget-conscious projects.
Hidden Costs No One Mentions Until It’s Too Late
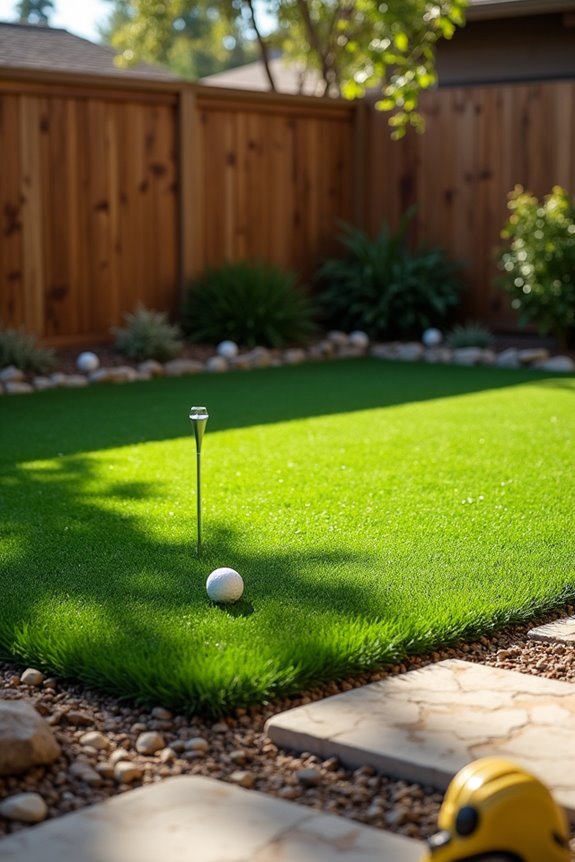
When you finalize your putting green quote, you’ll find that site preparation and grading often aren’t included in the base price, which creates unexpected expenses before installation even begins. Drainage and base materials—typically crushed stone, drainage fabric, and sand layers—require careful attention because poor drainage ruins your green’s playability within months. You’ll also need maintenance equipment like specialized brushes and sand spreaders, which defines the true cost of ownership beyond the initial installation.
Site Preparation & Grading
How much dirt’s actually hiding beneath your putting green estimate?
Site preparation and grading aren’t included in base prices, yet they fundamentally shape your project’s final cost. You’ll need proper excavation and compacting to create a stable surface. Drainage work—including underdrains, piping, and gravel layers—adds significant expenses beyond turf installation.
Your specific site conditions define labor requirements and equipment needs:
- Slopes, retaining walls, or limited access increase installation time and costs
- Soil disposal and erosion controls require separate budgeting
- Grading adjustments based on site conditions emerge unexpectedly
The gravel base works because compacted aggregate prevents settling and water pooling. Hidden expenses accumulate quickly when you account for these requirements. Understanding these upfront costs prevents budget surprises and keeps your putting green installation on track without unexpected financial strain.
Drainage and Base Materials
Once you’ve got the ground prepped and graded, the real expense emerges below the surface. Proper drainage determines whether your green thrives or deteriorates. You’ll need a 6–8 inch compacted aggregate base topped with 2–4 inches of gravel. This layering creates stable roll and manages water effectively.
Installation costs include trenching, drainage pipes, and pea gravel materials—expenses often overlooked during initial budgeting. The pipes do their job because they channel water away from the putting surface. Without adequate drainage, you’re inviting pooling, algae growth, and uneven terrain that demands costly repairs.
Base materials aren’t glamorous, but they’re required. Skipping proper foundation work leads to premature wear and escalating maintenance expenses. You’re investing now to prevent far greater long-term costs.
Maintenance Equipment Expenses
Most homeowners underestimate what it actually takes to keep a backyard green playable after installation’s complete. You’ll need specialized equipment that extends far beyond initial setup costs.
Natural grass greens demand:
- Walk-behind mowers for precise 1/8-inch cutting and frequent blade sharpening
- Irrigation monitoring tools and sprinkler line repairs throughout seasons
- Licensed pesticide applications requiring professional-grade handling
Synthetic surfaces require different tools. Debris clearance tools remove leaves and dirt regularly. Brushing and rolling devices maintain surface texture and prevent matting over time.
These hidden expenses add up quickly. Professional superintendent-quality maintenance often becomes necessary for natural grass. DIY approaches shift consumable costs and equipment upkeep directly onto you. Both options create ongoing financial responsibility that defines your green’s long-term budget reality.
Getting Your Custom Quote: What Information You’ll Need
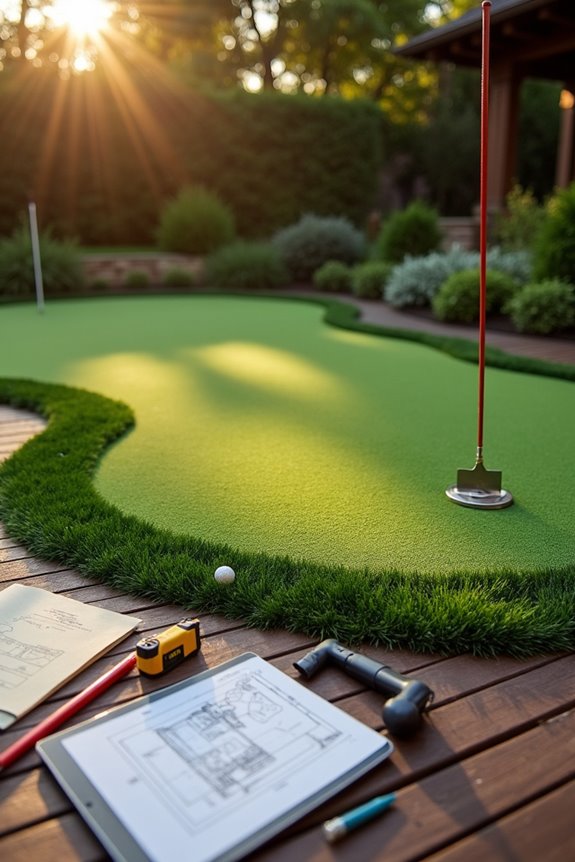
To receive an accurate custom quote, you’ll need to gather specific information about your project beforehand. Start by measuring your square footage precisely—this defines your base cost tier. Next, assess your site access, noting whether installers can easily reach your yard with equipment. Identify any custom features you want: undulations create natural slopes that define playing difficulty, while bunkers and water hazards add visual interest and functional challenges.
Document existing drainage patterns, as poor water management requires costly preparation work. Photograph your space from multiple angles, showing terrain and surrounding structures. Note any trees, slopes, or hardscaping that affects installation. List your preferred materials and surface colors.
Compile this information before contacting contractors. Complete details enable accurate estimates rather than inflated quotes based on incomplete assessments.