
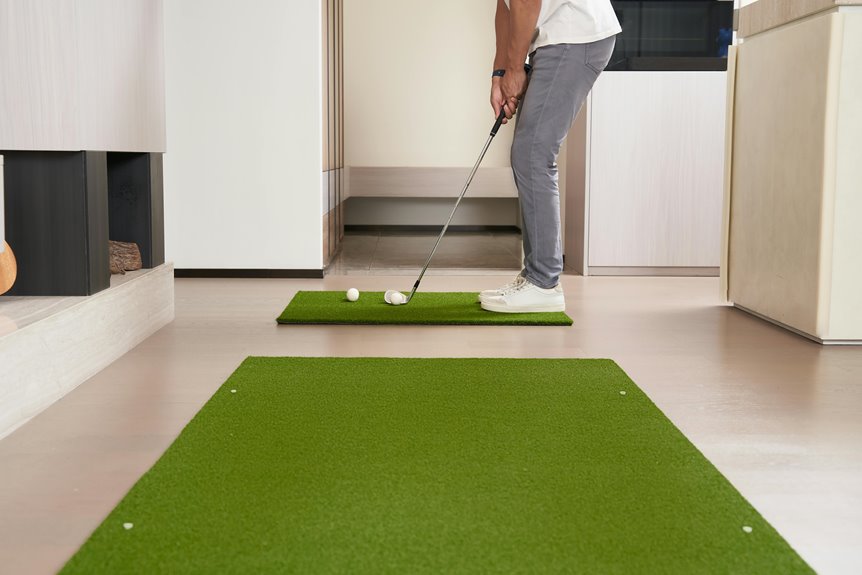
You’ll start by selecting a level site with minimal slope, then choose between synthetic or natural grass based on your maintenance capacity.
Next, gather crushed rock base, turf panels, and fastening supplies.
Excavate three to five inches of soil, compact a four-inch rock base to 90–95% density, and level thoroughly.
Roll out turf panels, secure seams with tape and staples, then fasten the perimeter with nails every foot.
Finally, run ball-roll tests to confirm speed consistency.
Each step builds on the previous one, creating a functional practice space that requires specific attention to detail.
Mark Out Your Putting Green and Check Yard Drainage
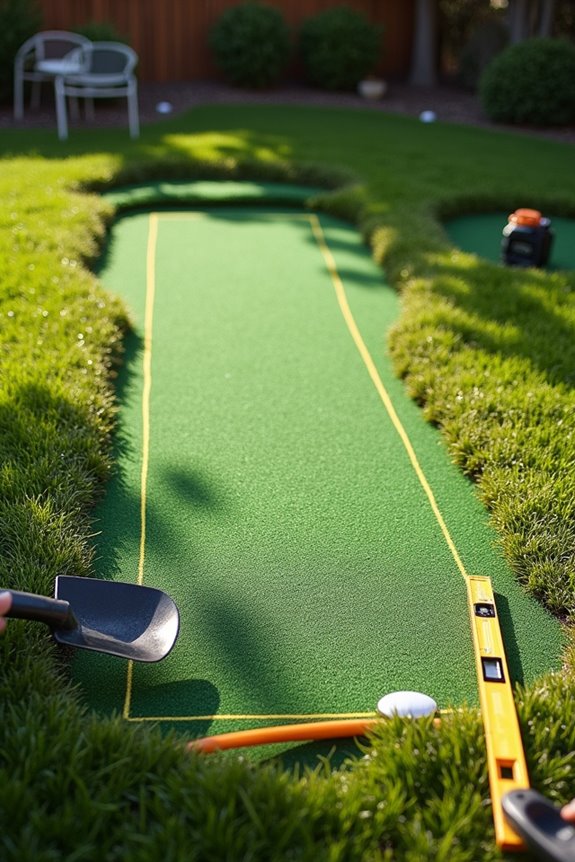
Before you install anything, you’ll need to find the right spot in your yard and prepare it properly. Choose a location with no more than a 3% slope, which creates ideal drainage away from your backyard putting greens. A flat, weed-free area provides your foundation for success.
Mark your kit outline with spray paint on the ground. The spray paint does the marking because it’s visible and temporary. Remove organic material like grass and weeds first. Clear remaining weeds using designated weed killer, then level the site with a landscape rake and plate compactor. This process creates a stable base that prevents shifting.
Verify your footprint aligns with target lines from your kit instructions. Check that your installation sequence accommodates drainage considerations, including geo-textile underlayment placement and proper ramp edges for water runoff.
Choose Synthetic or Natural Grass for Your Build
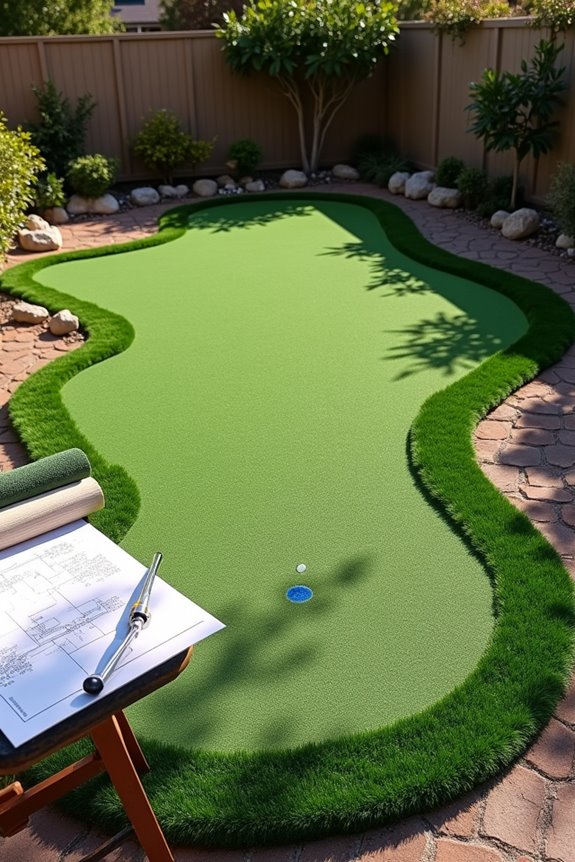
Your choice between synthetic and natural grass defines both your maintenance schedule and long-term budget. Synthetic greens require minimal upkeep and cost less over time, while natural grass demands dedicated irrigation systems, expert care, and ongoing licensed pest control. Your climate, available space, shade patterns, and financial capacity should guide this decision, since natural greens suit only committed golfers with the resources and conditions to sustain them.
Maintenance Demands and Time Commitment
Because maintaining a natural grass putting green demands constant attention, you’ll need to honestly assess whether you can commit to daily care routines. Your backyard green requires specialized equipment and licensed expertise that most homeowners lack.
| Task | Frequency | Time Required | Skill Level |
|---|---|---|---|
| Mowing | Daily | 30-45 minutes | Moderate |
| Fertilizing | Monthly | 2-3 hours | Advanced |
| Irrigation checks | Weekly | 1-2 hours | Moderate |
| Blade sharpening | Bi-weekly | 1 hour | Basic |
The irrigation system requires constant monitoring because water pressure and drainage directly affect turf health. Improper fertilizer application creates disease and turf death, even for experienced superintendents. Maintenance time commitment determines whether your backyard green succeeds or fails. Synthetic alternatives eliminate these demanding routines entirely.
Cost Comparison and Budget Planning
How much you’ll spend on your backyard putting green depends entirely on whether you choose synthetic or natural grass. Synthetic greens create predictable budgets with lower ongoing costs. Natural grass greens demand significant upfront investment, running roughly $18–$20 per square foot for materials alone. Beyond materials, natural installations require subsurface drainage systems, irrigation equipment, and expert construction—expenses that compound quickly.
Your maintenance commitment defines long-term spending too. Natural greens require daily mowing, specialized equipment, licensed chemical applications, and regular fertilization. These recurring costs accumulate substantially each season. Synthetic options eliminate these demands, reducing your annual maintenance burden considerably.
Complex natural installations can scale to multi-million dollar projects. Synthetic alternatives offer more predictable, lower-cost budgeting throughout their lifespan. Consider your available time and financial resources carefully before deciding which direction suits your situation best.
Climate and Property Suitability
Where you live and what your yard looks like determines which putting green option works for you.
Your climate suitability directly shapes whether synthetic greens or natural grass performs better. Synthetic greens work reliably in limited growing seasons, shaded yards, and drought-prone regions. Natural greens demand climate-appropriate grasses, consistent moisture, and year-round maintenance commitment.
| Factor | Synthetic Greens | Natural Greens |
|---|---|---|
| Climate Type | Any region | Moderate climates |
| Maintenance Level | Minimal | Extensive |
| Installation Cost | Lower | Higher |
| Long-term Commitment | Low | High |
Property features like slopes and restricted access matter considerably. Backyards with challenging terrain benefit from synthetic options because simpler construction logistics reduce complications. Drainage requirements define natural green installations—they need subsurface systems and USGA rootzone material. Evaluate your specific conditions honestly before committing resources.
Gather Materials and Tools for Your Backyard Putting Green
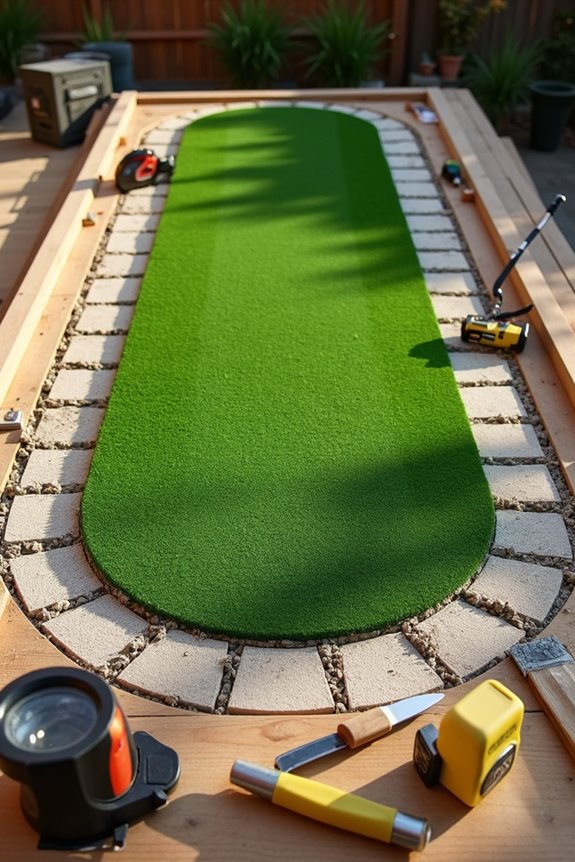
Gather Materials and Tools for Your Backyard Putting Green
Before you break ground on your putting green, you’ll need to gather specific materials and tools that create a stable, long-lasting surface. The foundation determines how well your green performs over time.
Collect these essential materials:
- Crushed rock base (4 inches for basic builds, 2 inches for premium)
- Seam tape for securing the sub-base perimeter
- Non-galvanized nails (5-inch and standard sizes)
- Decomposed granite topping (1/4 inch layer)
- Putting green turf and infill material
The crushed rock does the heavy lifting because it compacts to 90–95% density, creating proper drainage. Seam tape defines the perimeter by holding materials in place before fastening. You’ll also need a compactor, stapler, rake, and measuring tools. Having everything prepared prevents delays during installation and delivers professional results throughout your project.
Excavate and Prepare Your Base Foundation
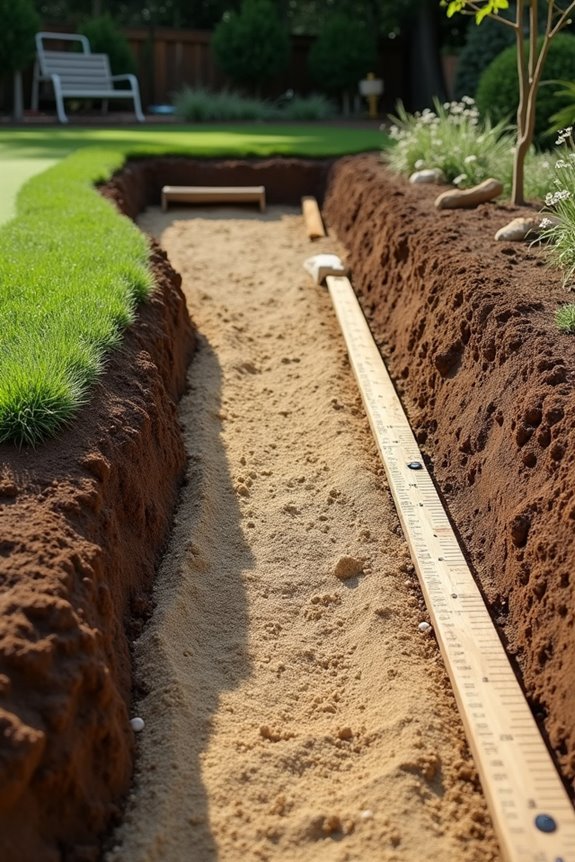
With your materials gathered and ready, the next phase involves preparing the ground itself. Begin your excavation by removing three to five inches of native soil where you’ll build your putting green. This excavation creates a stable foundation for all subsequent layers.
Next, lay down an optional weed barrier across the excavated area. This barrier prevents unwanted growth from compromising your green’s surface. Fill the space with four inches of crushed rock base and compact it to ninety to ninety-five percent density. The compacted rock provides the necessary stability for upper layers.
Leave approximately one inch of clearance before reaching the edge. Then apply a quarter-inch layer of decomposed granite on top. Your base preparation now creates a level, professional-quality playing surface ready for the next construction stage.
Compact and Level the Base Layer
Once you’ve applied the decomposed granite layer, your next task involves compacting everything into a unified, stable surface. This step creates the foundation that supports consistent ball roll across your putting green.
You’ll compact your base layer by following these key steps:
- Use a plate compactor to press the crushed rock to 90–95% density evenly
- Work systematically across the entire surface in overlapping passes
- Check levelness frequently with a long straightedge tool
- Maintain drainage pathways that slope slightly away from play areas
- Leave approximately one inch clearance before reaching the concrete edge
The compacted base layer performs its function because density eliminates shifting and settling. Your finished surface should feel firm underfoot and resist movement when you walk across it. Proper compaction determines whether your green performs reliably or develops problem areas over time.
Test Levelness and Mark High Spots
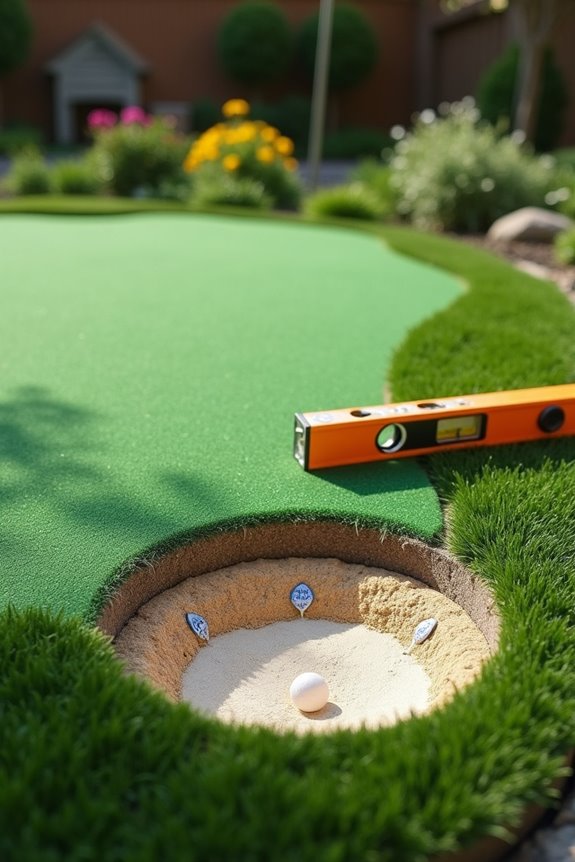
How can you know if your compacted base truly sits level throughout? Use a long straightedge or string line to verify flatness across your entire area. The straightedge reveals high spots because it bridges gaps between uneven sections of base material. Mark these problem areas with chalk lines or spray paint for easy identification.
Recheck levelness in multiple directions: length, width, and diagonals. This comprehensive testing creates a uniform surface that supports proper drainage and ball roll. The diagonal checks matter because they catch high spots you’d miss testing only two directions.
Document your final target height relative to your bend-a-board or edge guides. This reference point maintains consistent topping and edging during installation. Adjust by adding or compacting base material until you achieve a consistent plane across the entire space.
Lay Down Your Turf Surface
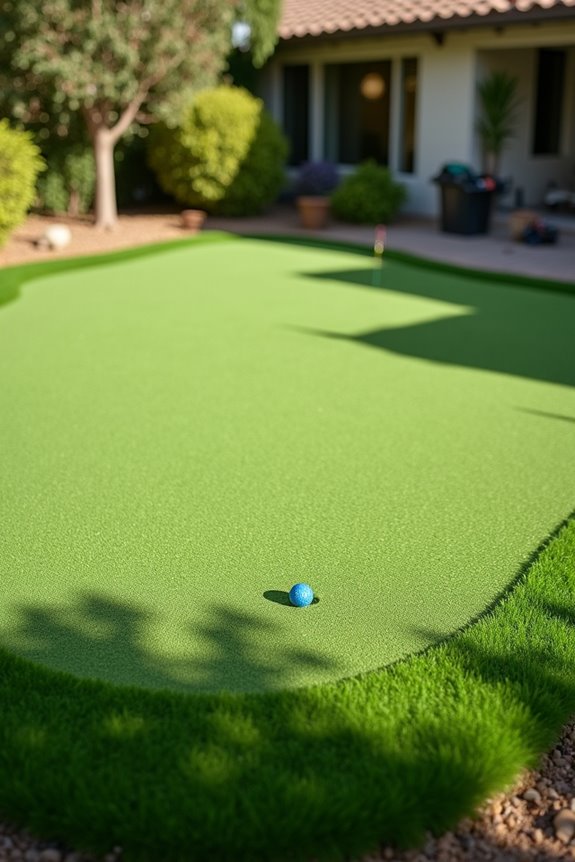
Your level base is now ready for the turf that’ll define your putting surface. Pre-cut turf panels come sized for efficient installation, with 16–18 inches of fringe extending beyond each edge. This fringe creates overlap that you’ll secure and finish later.
Begin laying turf systematically:
- Roll out panels across your base, positioning them side by side
- Align fringe edges flush with adjacent panels for seamless seams
- Use a staple gun to secure fringe to base materials underneath
- Apply a carpet kicker and seam roller along panel joints
- Press turf firmly to eliminate air pockets and wrinkles
The seams define your playing surface because they determine ball roll consistency. Flush alignment prevents catching and provides smooth transitions between panels. Once turf is secured and seams are blended smoothly, you’re ready to cut holes and install flags.
Secure Seams and Fasten the Perimeter
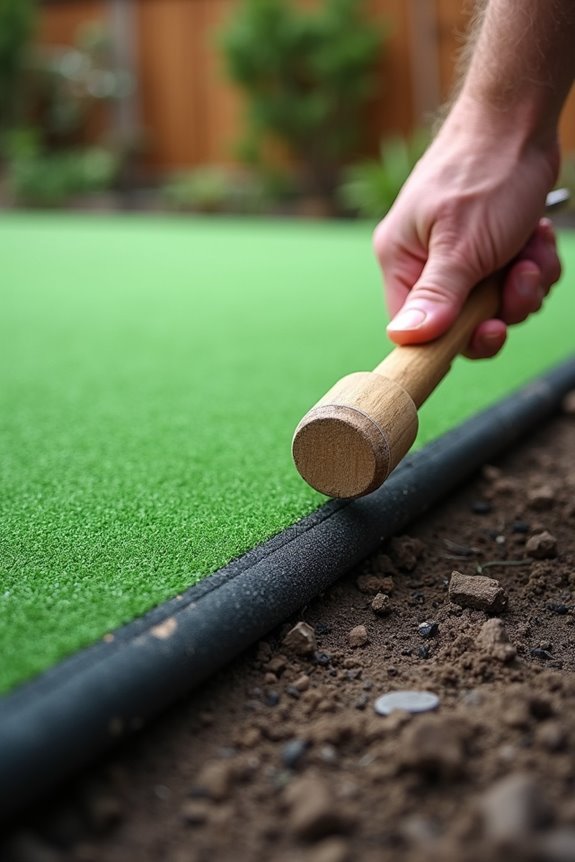
You’ll secure the seam tape to your sub-base using either 5-inch nails or 1-inch staples spaced every foot, depending on your build type. Next, you’ll glue the putting green onto the tape and fasten its outer edge with nails positioned every 3–6 inches around the perimeter, which creates a stable boundary that prevents shifting. This fastening pattern directly affects how well your green resists movement during use and seasonal changes.
Seam Tape Application Methods
What keeps your putting green’s seams from separating under foot traffic? Seam tape application methods create the foundation for durability. You’ll secure the tape to your sub-base using fasteners strategically placed for stability.
Your fastening approach depends on your installation type:
- Basic installations require 5 inch nails every foot along the perimeter
- Premium variants use 1 inch staples every foot for flexibility
- Interior seams need staples every 3 square feet for reinforcement
- Fringe versions require nails around the perimeter and interior staples as needed
- Gluing the putting green onto the tape after fastening defines structural integrity
The seam tape works because proper fastening prevents movement under weight. Once secured, you’ll attach your perimeter nails every 3–6 inches, creating a tight, flush edge that withstands regular play.
Nailing Pattern and Spacing
Once your seam tape is fastened to the sub-base, the nailing pattern around the perimeter creates the final seal that holds everything together. You’ll secure the putting green material onto the seam tape with nails spaced every 3–6 inches around the exterior edges. For basic builds, use 5-inch nails along the perimeter seam every foot. Premium bend-a-board variants require 1-inch staples at the same spacing instead. This fastening method defines a secure boundary that prevents shifting. The interior demands staples every 3 square feet for both build types. Fringe versions need additional perimeter nailing with 5-inch non-galvanized nails and interior staples matching standard spacing. Consistent fastening prevents material separation and maintains surface integrity throughout your green’s lifespan.
Perimeter Fastening Techniques
After you’ve applied seam tape beneath the putting green’s edges, securing the perimeter creates the final boundary that holds everything in place. Your perimeter fastening approach defines how well your seams resist lifting and shifting over time.
You’ll choose between two fastening methods:
- Basic installations: 5-inch nails spaced every foot around the perimeter
- Premium installations: 1-inch staples positioned every foot for tighter edges
- Fringe variants: 5-inch nails around perimeter plus 1-inch staples every 3 square feet inside
- Interior support: staples every 3 square feet prevents sagging between perimeter points
- Edge alignment: proper fastening maintains seamless connections with adjacent panels
The nails do their job because they anchor tape securely into the base. Space fasteners consistently to distribute pressure evenly. This technique prevents edge lift while keeping seams invisible and aligned throughout your green.
Run Final Roll Tests and Adjust as Needed
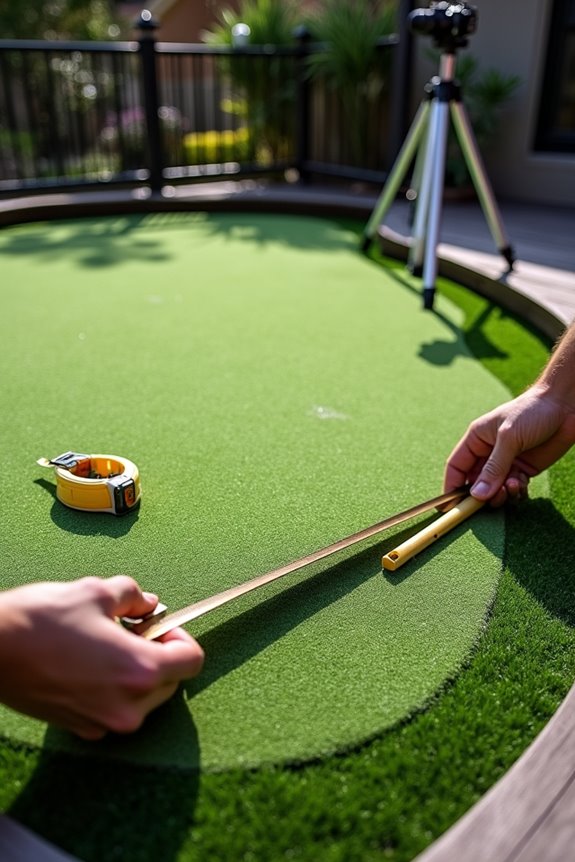
Your newly installed putting green needs thorough testing before it’s ready for play. Strike balls across various distances to check for consistent roll patterns. The seam flushness defines how smoothly your ball travels, because any creases or gaps disrupt its path. Inspect all edges carefully during this process.
| Test Type | Distance | Purpose | Adjustment |
|---|---|---|---|
| Short putt | 3-6 feet | Basic roll consistency | Infill reseating |
| Mid-range | 10-15 feet | Speed verification | Surface leveling |
| Long putt | 20+ feet | Distance accuracy | Fringe reshaping |
| Angled putt | Various | Direction control | Edge stability |
Run multiple test putts from different angles. Use a Stimpmeter-like method to confirm your target speed range. Reseat any loose infill and retest until ball roll matches your desired play characteristics. Make final fringe adjustments as needed.
Fix Common Issues and Set Up Your Maintenance Schedule
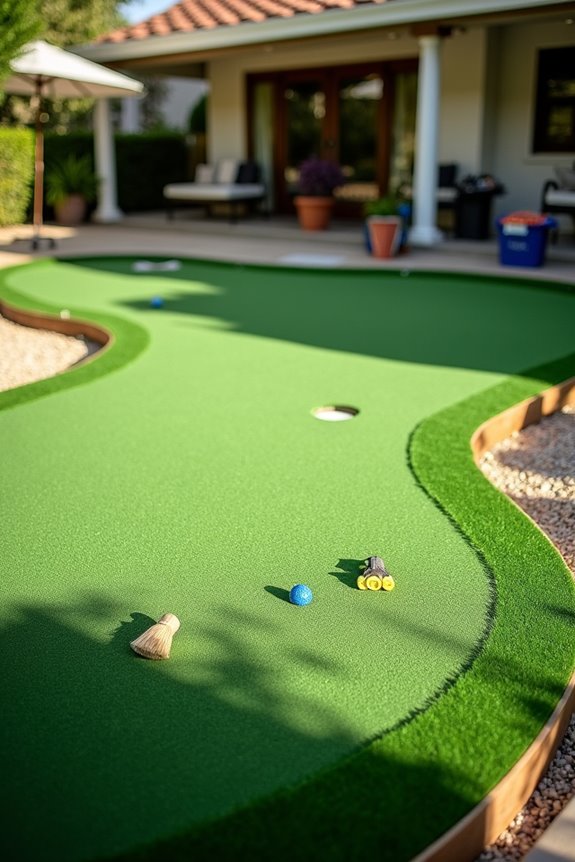
How do you keep a putting green performing at its best once the initial setup is complete? You’ll need a solid maintenance schedule that addresses your specific green type and climate conditions.
Your maintenance tasks include:
- Daily mowing during growing season at 1/8 inch height with a walk-behind mower
- Regular fertilizer and pesticide applications using licensed products
- Irrigation system inspections for leaks and uneven watering patterns
- Debris clearance and sand adjustments for synthetic greens
- Seam and edge checks for wear on synthetic surfaces
Natural greens demand frequent turf management and ongoing equipment costs. Synthetic greens require less intensive care but still need periodic attention. Contact a local superintendent or maintenance company to develop a tailored program. This guidance defines realistic expectations and prevents costly failures specific to your location.