You’ll determine your ideal lamp count by layering ambient, task, and accent lighting—each type solves different illumination needs. Measure your room’s dimensions and ceiling height, then map functional zones like seating and reading areas.
Match lamp placement to your room’s size; large spaces need multiple fixtures to avoid dark corners, while compact rooms require strategic selection.
Test placements before committing to permanent fixtures, account for natural light variations, and adjust based on your daily activities.
The specific strategies for each tip reveal how to create balanced, functional lighting that adapts to your lifestyle.
Tip 1: Start With the Three-Layer Lighting Foundation
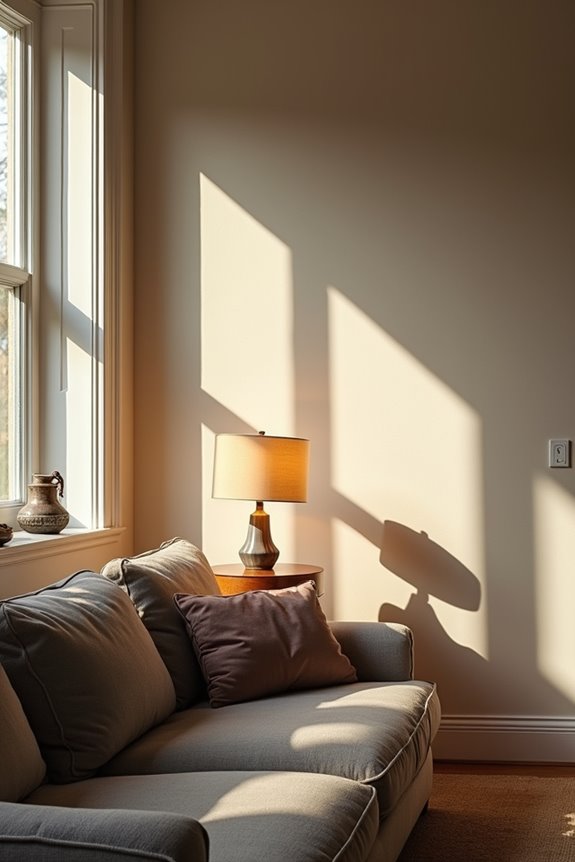
How do you know if your living room has enough light? You’ll want to start by building a three-layer lighting foundation. This approach creates balanced illumination throughout your space.
Your first layer, ambient lighting, provides general brightness across the entire room. Overhead fixtures or large floor lamps accomplish this effectively. This layer sets the mood and establishes your room’s overall atmosphere.
Task lighting forms your second layer. Table lamps positioned near seating or desks support reading and working activities. These fixtures define functional zones within your living room.
Your third layer, accent lighting, highlights artwork and architectural features. Wall sconces or picture lights add depth to your space. The layered lighting foundation works because each layer solves a different illumination need. Together, they create focal points and visual interest throughout your room.
Tip 2: Measure Your Room and Calculate Basic Requirements
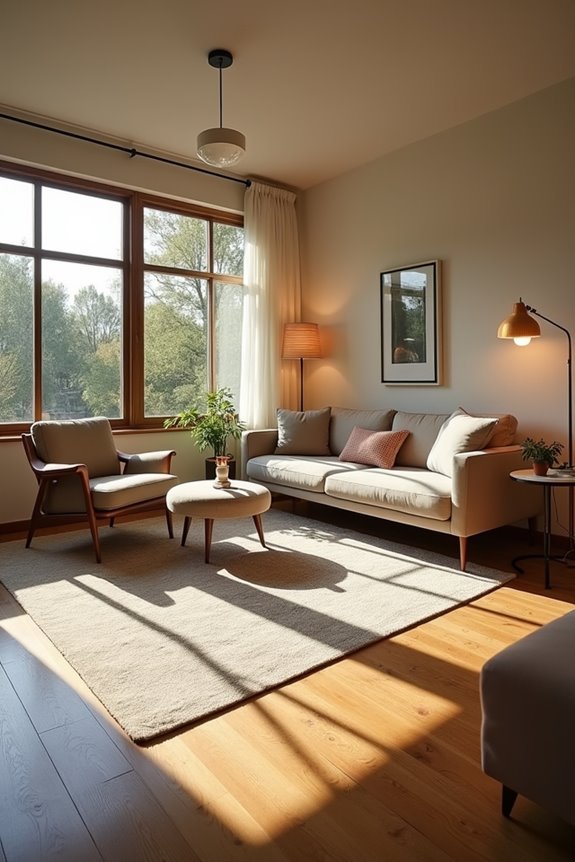
Now that you’ve understood the three-layer approach, it’s time to apply it to your specific space. Measure your room’s length, width, and height carefully. These room dimensions determine how many lighting zones you’ll need. A standard 8-foot ceiling requires fewer fixtures than a 10–12-foot one because taller ceilings distribute light less efficiently across the floor.
Next, identify distinct functional areas. Your seating zone needs ambient lighting. Your reading corner requires task lighting. These lighting zones define where you’ll place lamps strategically.
Create a lighting plan by accounting for natural light from windows. Dark wall colors absorb light, demanding more fixtures. Furniture layout influences lamp placement too. The spacing between pieces affects how evenly illumination reaches corners because shadows form around obstacles.
These calculations create your baseline fixture count before final decisions.
Tip 3: Map Zones Before Placing Your Lamps
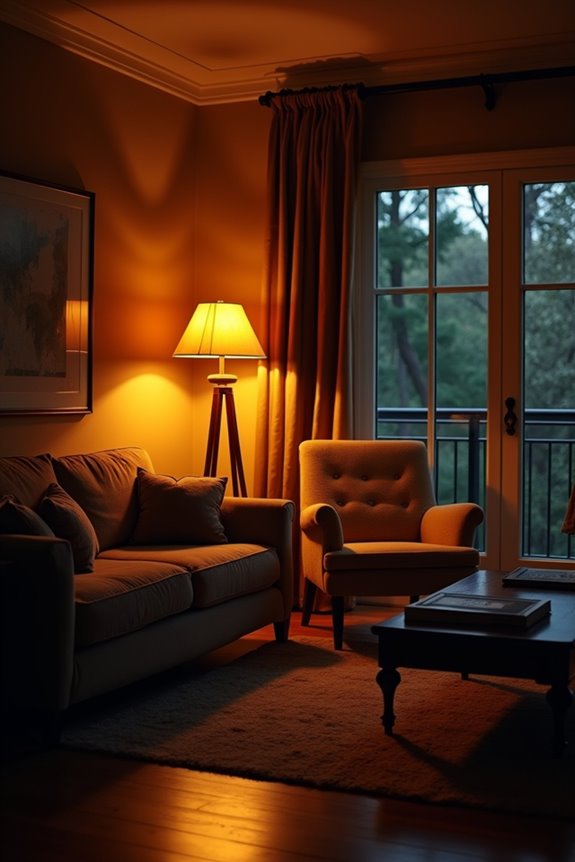
Before you buy a single lamp, sketch out distinct functional zones throughout your living room. Identify where you’ll sit, read, entertain, and move through the space. Each zone requires a specific lighting purpose: ambient lighting for general balance, task lighting for reading nooks or work areas, and accent lighting for highlighting features.
Your lighting plan defines how many fixtures you’ll actually need. Place fixtures strategically within zones to avoid shadows and glare on seating areas. A floor lamp near your reading nook serves task lighting effectively. Wall sconces beside artwork provide accent lighting without obstruction.
Pathway clearance matters significantly—keep routes between zones unobstructed. The fixture placement works because thoughtful positioning creates balanced illumination across your entire room. This zone mapping approach reduces over- or under-lighting mistakes.
Tip 4: Match Lamp Count to Room Size and Height
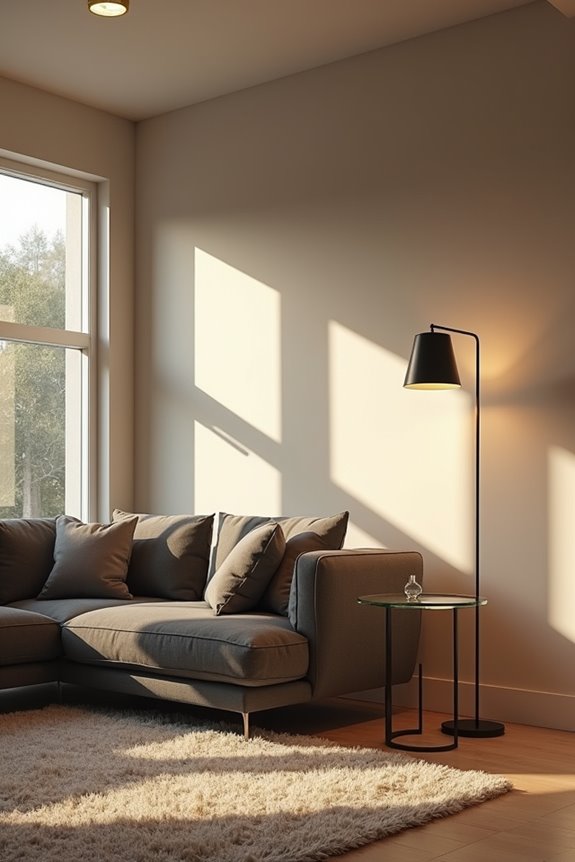
You’ll find that large rooms demand multiple lamps because expansive floor plans absorb light and create dark corners without adequate fixtures. Compact spaces, by contrast, require you to select lamps strategically so they illuminate functional zones without cluttering limited surfaces. Your room’s dimensions—both width and ceiling height—fundamentally define how many lamps you’ll need to achieve balanced, functional lighting.
Large Rooms Need Statement Pieces
Why do large living rooms often feel underlit despite having multiple lamps? Small fixtures scattered throughout create dark pockets rather than cohesive lighting layers. Large floor lamps like tall arc or oversized models solve this problem effectively.
These prominent fixtures define room zones while maintaining proportional balance with high ceilings. A brass arc lamp spanning 80 inches fills vertical space without cluttering surfaces. Floor lamps positioned near seating areas deliver task lighting where you actually read. Corner placements add ambient lighting that reaches distant walls.
Distribute large fixtures strategically across zones—one near your sofa, another anchoring a reading nook. This approach creates intentional coverage rather than random placement. Your large room works better when you prioritize bold fixtures that match its scale and fill its breathing space deliberately.
Compact Spaces Require Strategic Selection
How does a small living room avoid feeling cramped while still getting proper lighting? You’ll find success by selecting two to three multi-functional lamps rather than overcrowding your space.
Strategic lamp placement creates balanced lighting layers without consuming your surface footprint:
- Wall sconces beside seating eliminate table clutter while defining ambient lighting zones
- Slim floor lamps positioned in corners provide task lighting without blocking sightlines
- Smaller lampshades on compact end tables maintain proportion and prevent visual overhang
The lamp scale matters because oversized fixtures overwhelm confined areas. Your space planning should prioritize shade heights near eye level when seated, preventing glare during evening hours. Combining wall sconces with one floor lamp provides adequate coverage while preserving your room’s openness. This approach gives you layered, functional lighting without compromise.
Tip 5: Balance Three Lighting Types in Your Room
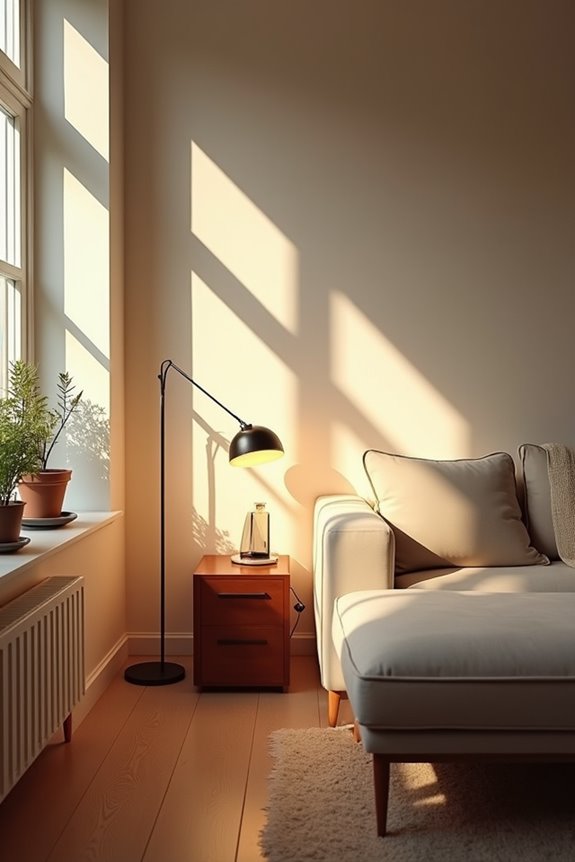
Rather than relying on a single overhead fixture, layering three distinct lighting types creates depth and flexibility throughout your living room. Ambient lighting provides general coverage from ceiling fixtures or wall sconces. Task lighting focuses on specific areas where you read or work, using table or floor lamps. Accent lighting highlights artwork or architectural features, defining your room’s character.
This balance of lighting types solves the problem of dark corners and uneven illumination. The three-layer approach works because it distributes light from multiple sources at varying heights. Install dimmers on overhead and table lamps to shift quickly between bright task light and soft, atmospheric settings. Aim for at least three active lighting sources in each zone. This strategic combination allows your living room to adapt smoothly to different activities and times of day.
Tip 6: Choose Lamps for Each Zone’s Purpose
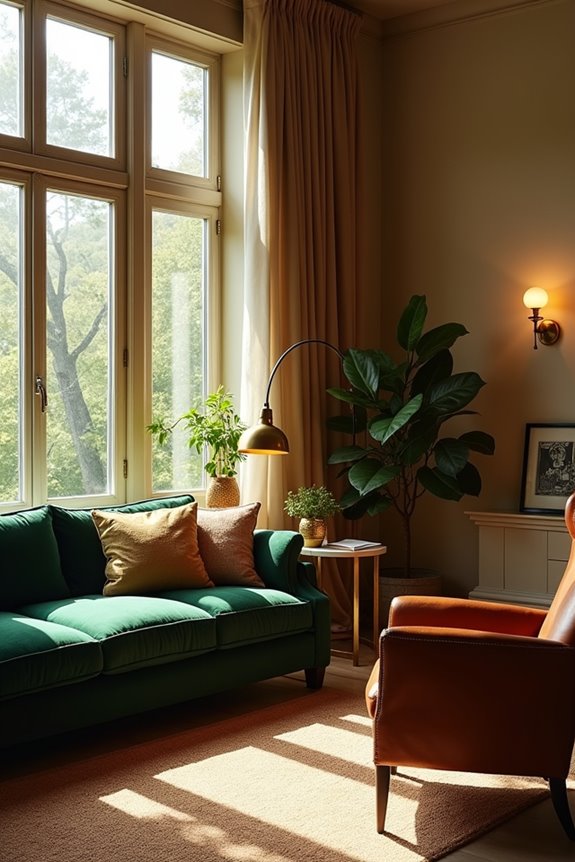
Once you’ve layered your three lighting types, the next step is matching specific lamps to what each zone actually does.
Each zone deserves dedicated lighting that supports its function. Consider these placements:
- Reading nook: Position a floor lamp or table lamp at eye level to deliver focused task lighting without glare, enabling comfortable reading and detailed work.
- Seating area: Combine overhead ambient lighting with a floor or table lamp to eliminate shadows and balance the entire space.
- Accent features: Place accent lamps to spotlight artwork or architectural details, reinforcing visual interest without adding unnecessary brightness.
Layering light across zones creates depth and defines purpose. A medium-sized room typically needs three to six strategically placed lamps. This approach provides every area with appropriate task lighting, ambient lighting, or accent lighting for cohesive functionality.
Tip 7: Use Dimmers to Adjust Light Without Extra Fixtures
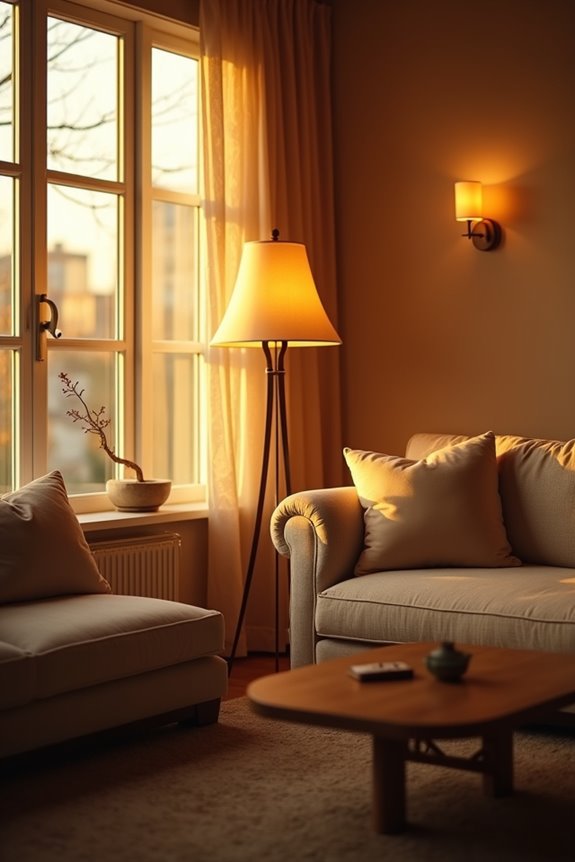
Installing dimmers gives you control over your room’s brightness without adding extra lamps. You’ll adjust ambient lighting from 10% to 100%, creating mood lighting that matches your activities and time of day. This single solution reduces the number of fixtures you need overall.
Dimmers work best on your main overhead light and one key floor or table lamp. The overhead light covers your entire room. Adding a dimmer to a secondary lamp gives you flexible task lighting for reading or working.
Pairing dimmers with LED bulbs extends bulb life while maintaining color accuracy across all brightness levels. You’ll also achieve significant energy efficiency by lowering brightness during gatherings or evenings. This approach lets you adapt your space without buying more lamps.
Tip 8: Test Placement and Fix Dark Corners and Glare
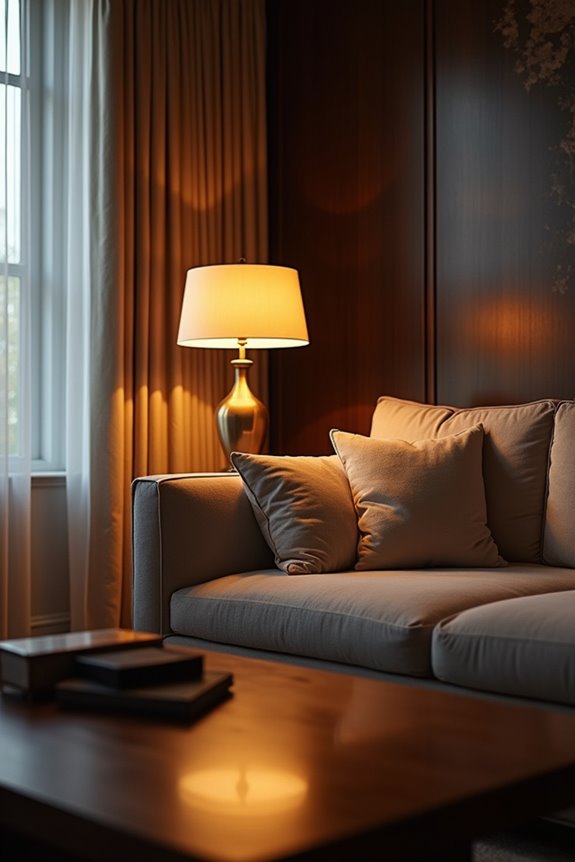
You’ll identify problem areas by sitting in your primary seating spots and noting where shadows pool or glare hits screens and mirrors. Strategic light adjustment—moving lamps away from direct sight lines and positioning them to illuminate faces and artwork—creates even illumination while eliminating harsh hotspots. Test each placement from different angles and times of day, because your room’s lighting needs shift with natural light changes and varied activities.
Identifying Problem Areas
How does your living room actually perform once the sun sets? You’ll notice dark corners and glare hotspots that weren’t visible before. Identifying problem areas requires systematic observation and intentional testing.
Start by examining these key zones:
- Corner spaces where walls meet—these naturally trap shadows and need uplighting to bounce illumination across surfaces.
- Seating areas where you read or watch television—position yourself in typical spots to detect whether lamps create direct glare in your eyes.
- Pathways and transitions between furniture—shadows here define safety and visual flow throughout your room.
The placement of each light source creates either balanced coverage or concentrated shadows because positioning determines how light disperses. Test positioning with temporary lamps on chairs or boxes before committing to permanent fixtures. This approach eliminates costly mistakes while solving your actual lighting coverage challenges.
Strategic Light Adjustment
Once you’ve identified your room’s problem areas, the next step involves testing lamp placements to solve dark corners and glare hotspots. Start by positioning a large lamp in a shadowy corner to reveal how light distributes throughout your space. This initial placement creates the foundation for your lighting layers.
Next, assess where glare control matters most. Reflective surfaces like glass tables or screens need directed task lighting positioned at angles that prevent harsh reflections. Adjust ambient lighting to balance these zones without overcrowding surfaces.
After furniture rearrangement, reposition lamps so each seating area receives balanced illumination. Use temporary shading or dimming to test comfort levels before finalizing placements. This iterative approach identifies dark spots along walls and behind furniture, allowing you to add lightweight sconces where needed. Strategic adjustments create an inviting ambiance.
Tip 9: Factor in Natural Light When Assessing Lamp Needs
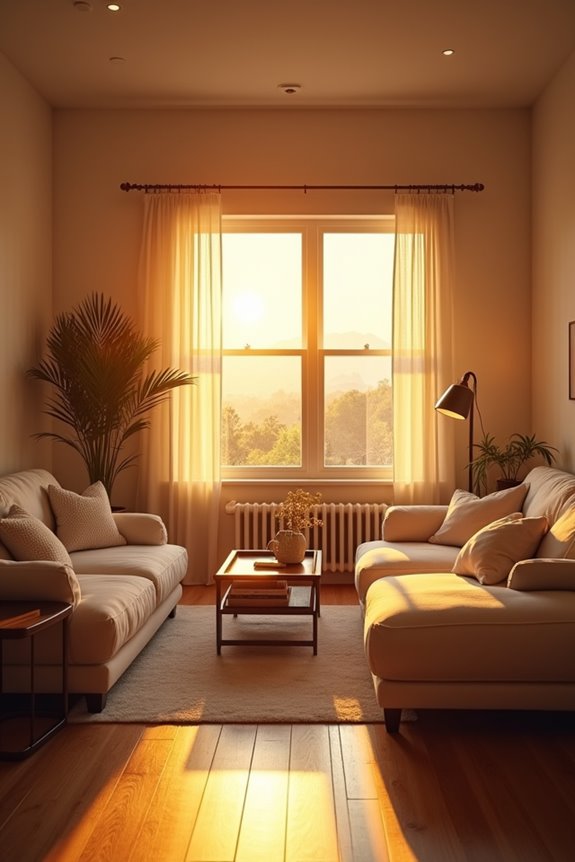
Natural light serves as your living room’s first lighting layer, and it directly shapes how many lamps you’ll actually need. Before purchasing additional fixtures, assess your room’s daylight levels throughout the day and across seasons.
Consider these three factors when evaluating natural light:
- Window orientation and size – South-facing windows deliver abundant daylight, reducing lamp needs, while north-facing spaces require more artificial lighting to maintain mood and function.
- Wall color and reflectivity – Light-colored walls reflect natural light effectively, potentially decreasing the number of lamps you need compared to dark surfaces.
- Seasonal variations – Daylight shifts between seasons, so plan a flexible lighting arrangement that adjusts accordingly.
Daylight-rich rooms still need task and accent lamps for evenings. This balanced approach creates a sustainable lighting plan that works year-round.
Tip 10: Let Your Lifestyle and Activities Drive Final Decisions
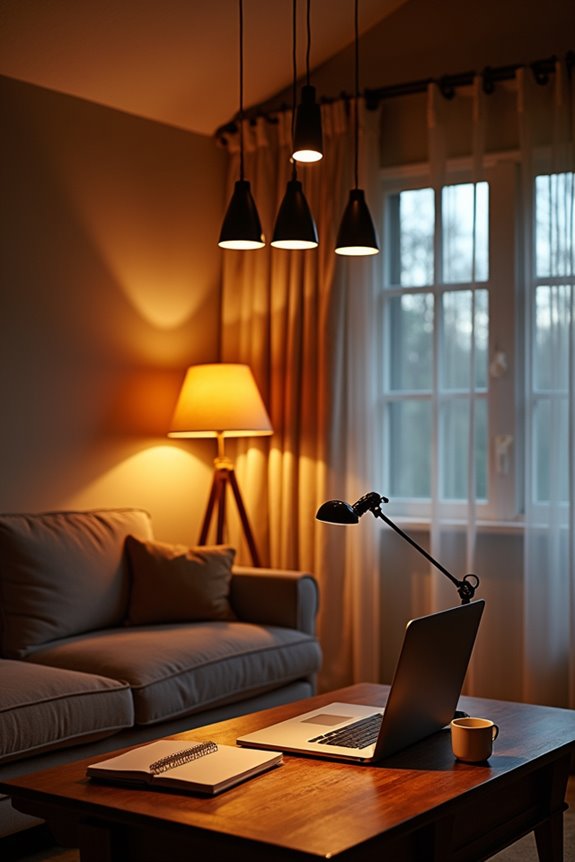
Your daily activities and how you actually use your living room should guide your lamp count more than any design rule. If you read frequently, you’ll need dedicated task lighting near seating areas. Hosting gatherings regularly? Plan for 5–6 lamps that create layered ambient, task, and accent lighting. Solo evenings demand different setups than entertaining nights.
| Activity | Lamp Count | Lighting Type | Dimmable? |
|---|---|---|---|
| Reading/Work | 3–4 | Task + Ambient | Yes |
| Entertaining | 5–6 | Layered Mix | Yes |
| Media Watching | 2–3 | Ambient + Accent | Yes |
| Small Rooms | 2–3 | Primary + Task | Yes |
Multiple functional zones—seating, dining, play—each need their own lighting layers. Dimmable lamps adapt the same fixtures for various activities without adding or removing them. This approach creates a living room setup that matches your lifestyle and practical needs.