
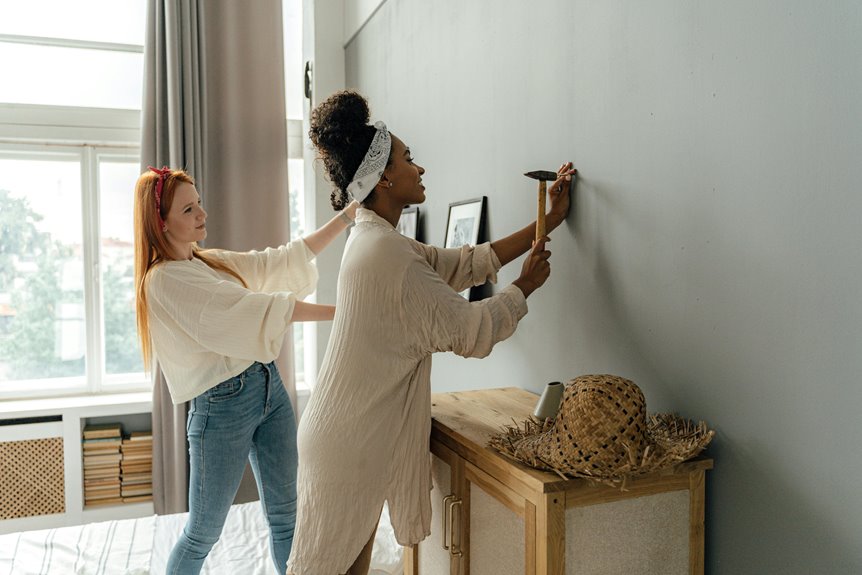
Start by positioning your frames at eye level—approximately 57 inches from the floor—because this creates optimal viewing comfort. Plan your entire layout using painters tape or craft paper templates before hanging anything; this prevents costly repositioning mistakes. Finally, maintain 3–6 inch gaps between frames and position bottoms 6–8 inches above furniture to establish visual harmony. These three fundamentals define a polished gallery wall. Understanding the specific mechanics behind each principle reveals how professional designers achieve cohesive results.
Start With Eye Level When Hanging Pictures
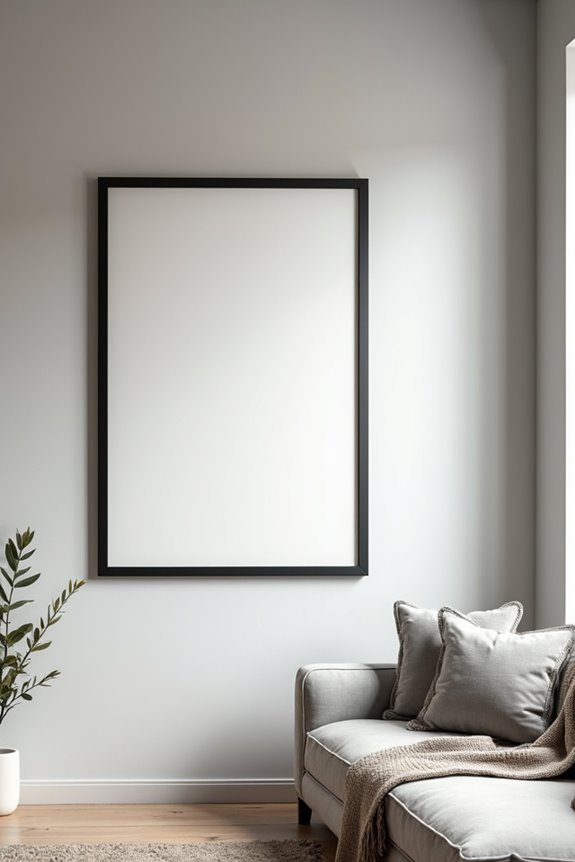
Why does eye level matter when arranging wall art? Your picture placement directly affects viewing comfort and how you experience your space. The standard eye level sits around 57 inches from the floor, matching where most people naturally look when standing or sitting. This hanging height creates a direct connection between you and your wall art.
To find your focal point, identify the midpoint of each piece. Position this center height at 57 inches for optimal viewing. The top of frame placement depends on your artwork’s dimensions. If hanging above furniture, adjust accordingly so the frame sits 6–8 inches above the furniture alignment line. For a gallery wall, anchor your entire arrangement around this 57-inch focal line. This approach defines balanced picture placement throughout your living room.
Plan Your Gallery Wall Layout Before Hanging
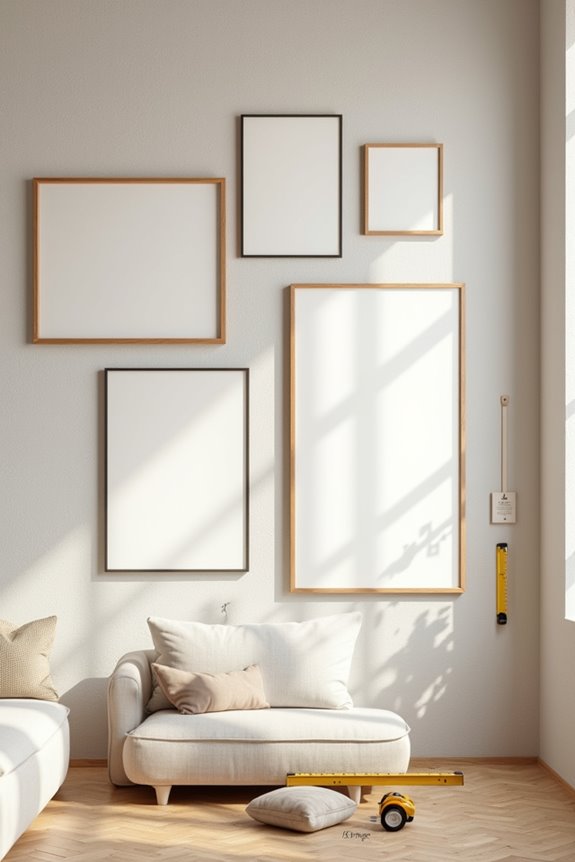
Before you drill holes or drive nails, take time to visualize your entire gallery wall arrangement on the actual wall surface. Using painters tape, outline your central piece at eye level and position surrounding frames around it. This layout planning approach creates a cohesive group as composition rather than scattered individual pieces.
A floor-to-wall planning method prevents mistakes. Lay out your wall dimensions on the floor, arranging all frames to test spacing and overall balance. Craft paper templates labeled with precise measurements transfer these spacing decisions accurately to your wall.
Maintain ideal gaps of 3–6 inches between works, which defines visual harmony within your gallery wall. This spacing prevents cramping and establishes rhythm. Your measurement transfer approach keeps each frame hanging exactly where you’ve planned, eliminating costly repositioning later.
Space and Secure Frames for a Level Wall
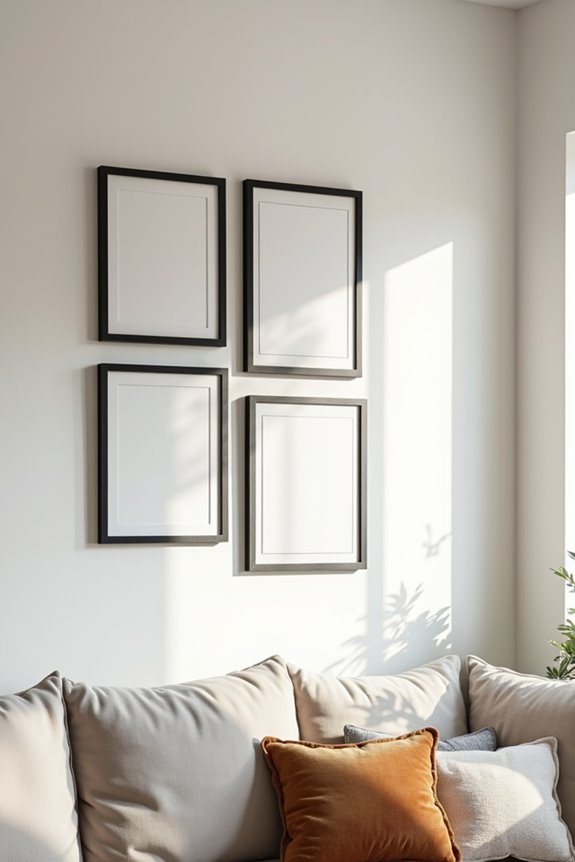
How you position and fasten your frames determines whether your gallery wall looks intentional or haphazard. Using a spirit level creates properly aligned hanging art that appears cohesive and planned.
Start with your central piece at the 57-inch center-eye-line, then hang outward in sequence. Space frames 1.5–2 inches apart to maintain frame alignment without overcrowding. Adjust wire tension to preserve vertical positioning throughout your display.
For furniture placement, position frame bottoms 6–8 inches above the edge. This distance from furniture prevents visual crowding and establishes proper proportion.
Command Strips secure your display without additional wall damage. Check alignment frequently from distance to verify wall level consistency. Step back often—observation defines successful spacing. These practical steps create a polished, unified gallery wall that reflects your design choices.
| Design Element | Result |
|---|---|
| Spirit level use | Properly aligned frames |
| 1.5–2 inch spacing | Cohesive grid appearance |
| 6–8 inch furniture clearance | Balanced proportions |
| Command Strip fastening | Damage-free walls |