
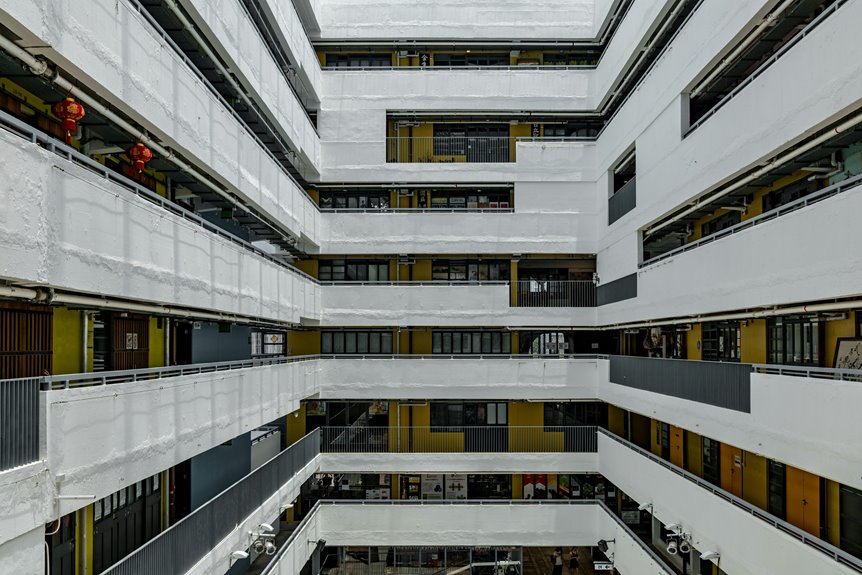
An interior balcony—called a cantilevered platform, mezzanine, or overlook depending on your design—requires balancing safety codes with sightlines before you start. You’ll define your purpose first: workspace, gallery, or viewing platform. Then you’ll choose between cantilevered or supported structures based on aesthetics and loads. Building codes set railing heights at 42 inches, require 7-foot clearance above and below, and limit mezzanine size to one-third of room area. Material choices like polished concrete and warm lighting create functional, cohesive spaces. Getting these fundamentals right prevents costly oversights later.
What Is an Indoor Balcony Called?
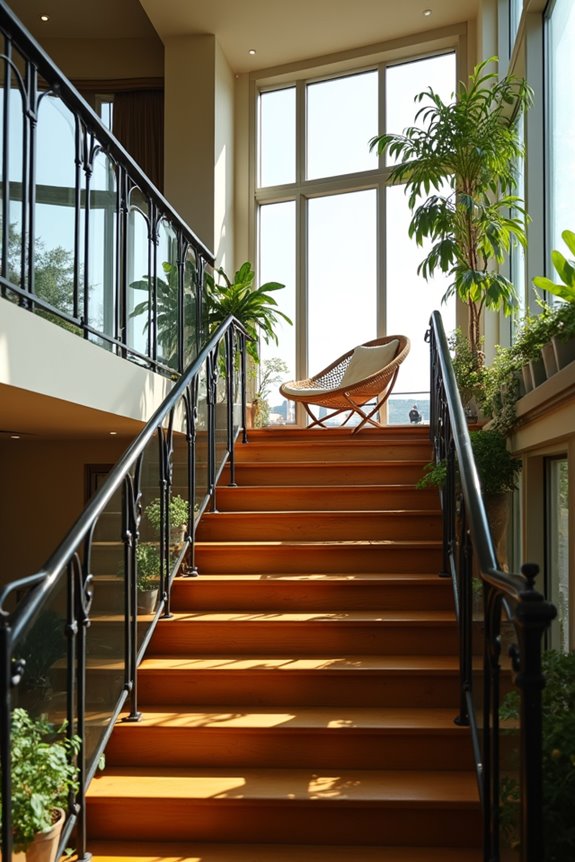
An interior balcony defines a platform that extends inward from a wall and overlooks a lower floor within the same building. You’ll find this feature called by different names depending on its design and function. The term interior balcony works best for straightforward descriptions of this architectural element. However, you might encounter the term mezzanine when the upper level functions as a partial second floor with open space beneath. A cantilevered balcony represents another variation where the structure protrudes from the wall without visible supporting columns underneath. In architectural plans, you’ll see labels like “open to below” or “overlook” describing how these spaces visually connect upper and lower floors. Understanding these distinctions helps you communicate clearly with designers about your interior balcony project and its specific spatial characteristics.
Interior Balcony vs. Mezzanine: What’s the Difference?
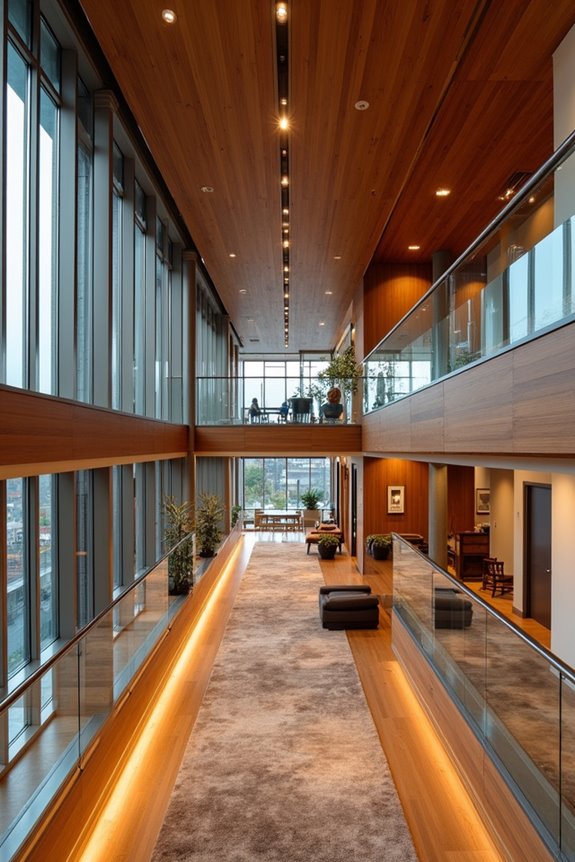
You’ll need to understand how structural support, code requirements, and functional purposes create distinct design solutions for each feature. Interior balconies rely on cantilever or edge-support systems that don’t span full floor areas, while mezzanines occupy partial floors and require different fire-safety pathways and egress routes. These differences define how each element affects your building’s floor area calculations and vertical circulation planning, making your choice dependent on your specific spatial and regulatory needs.
Structural Support Differences
The way you support an interior balcony versus a mezzanine creates entirely different structural requirements and design outcomes. Interior balconies often use cantilever design, extending from the wall without visible supports underneath. This approach maintains clean sightlines and maximizes the space below. Mezzanines, however, require more substantial structural systems because they span larger floor areas and carry heavier loads. You’ll typically use beams, columns, or full floor-ceiling assemblies to support a mezzanine. The mezzanine requires additional support because it functions as a complete intermediate floor within your space. Interior balconies work with minimal under-structure because they occupy smaller, more limited areas. Your choice between these systems defines how your room functions, what you can store underneath, and how visible structural elements appear in your design.
Code Compliance Requirements
Building codes treat interior balconies and mezzanines differently because they affect safety and occupancy calculations in distinct ways.
| Feature | Interior Balcony | Mezzanine |
|---|---|---|
| Floor Area | No size limit | Max one-third room area |
| Height Clearance | Varies | Min. 7 feet above |
| Egress Treatment | Overlook feature | Separate floor level |
| Fire Calculations | Not counted | Counted in fire area |
The distinction matters because codes define mezzanines as intermediate partial floors within occupied spaces. Interior balconies function as railing-edge features instead. You must verify which classification applies to your design since terminology varies by region. When planning, consult your local building department early. The mezzanine creates stricter requirements, while interior balconies offer design flexibility. This choice directly impacts your project timeline and construction costs.
Functional Design Distinctions
Understanding whether your design uses an interior balcony or mezzanine shapes how you’ll organize the space and meet code requirements. An interior balcony projects from a wall and creates an open viewing platform over a lower level. A mezzanine, by contrast, defines an intermediate floor that occupies partial square footage within your room.
The interior balcony functions as a railed opening because it doesn’t consume floor area below. A mezzanine requires careful planning since codes typically limit it to one-third of the room’s floor area. Both need minimum clear heights—above the mezzanine and below it—to meet safety standards.
Your choice depends on your functional goals. Choose a balcony when you want visual connection between levels. Select a mezzanine when you need additional usable workspace or storage without blocking sightlines entirely.
What Building Codes Actually Require
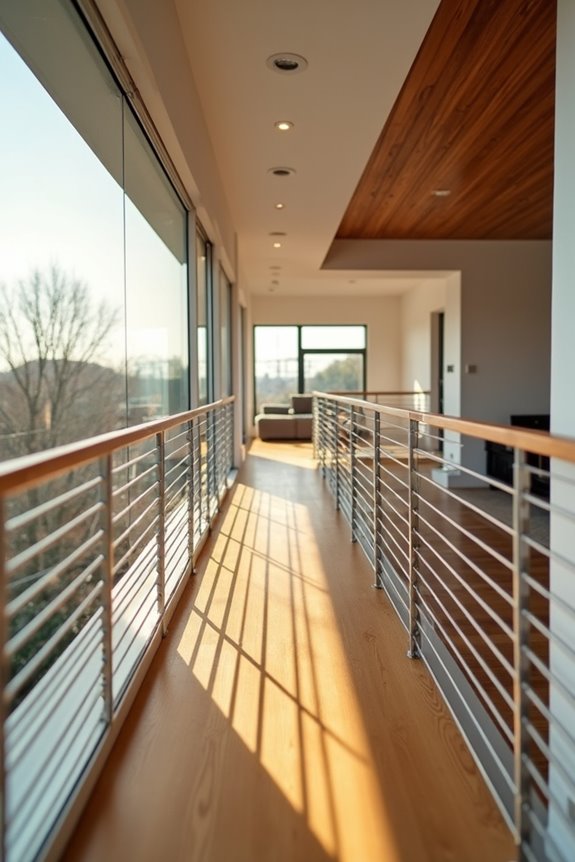
When you design an interior balcony, you’re bound by strict area and height rules that your local building code enforces. Your mezzanine can’t exceed one-third of the room’s floor area, and you’ll need at least seven feet of clear height both above and below the platform—this separation creates safe passages and prevents cramped, unsafe conditions. These limitations define how much usable space you actually gain, so understanding them early shapes your entire project’s feasibility.
Mezzanine Area Limitations
Why do building codes limit mezzanine size? They protect occupant safety and maintain proper fire egress. Your mezzanine can’t exceed one-third of the room’s floor area as a standalone structure. When you add equipment platforms beneath it, the combined total can’t surpass two-thirds of the underlying space.
| Scenario | Maximum Mezzanine Size |
|---|---|
| Standalone mezzanine | One-third of room area |
| Mezzanine plus equipment | Two-thirds of room area |
| Clear height requirement | Minimum 7 feet above/below |
| Fire area classification | Counted as building floor |
These restrictions create safer layouts by preventing overcrowding and maintaining clear evacuation routes. Your design must account for stair placement and guardrails without obstructing exits. The mezzanine defines how occupants move through your space efficiently.
Clear Height Requirements
How much headroom do you actually need beneath a mezzanine? Building codes mandate minimum 7 feet of clear height below your balcony or mezzanine. This requirement creates safe vertical travel paths for stairs and corridors. The space allows people to walk upright without obstruction.
You’ll find that codes define clear height as the unobstructed vertical distance from floor to ceiling. This measurement includes structural elements, mechanical systems, and any protruding fixtures. Your design must account for these obstacles when planning layouts.
Clear height requirements also define how you’ll position your balcony relative to the level below. A cantilevered interior balcony demands careful calculation of vertical clearance. These measurements keep your space safe and compliant with code standards without compromising usability or occupant comfort.
Do You Need Structural Support or Can You Cantilever?
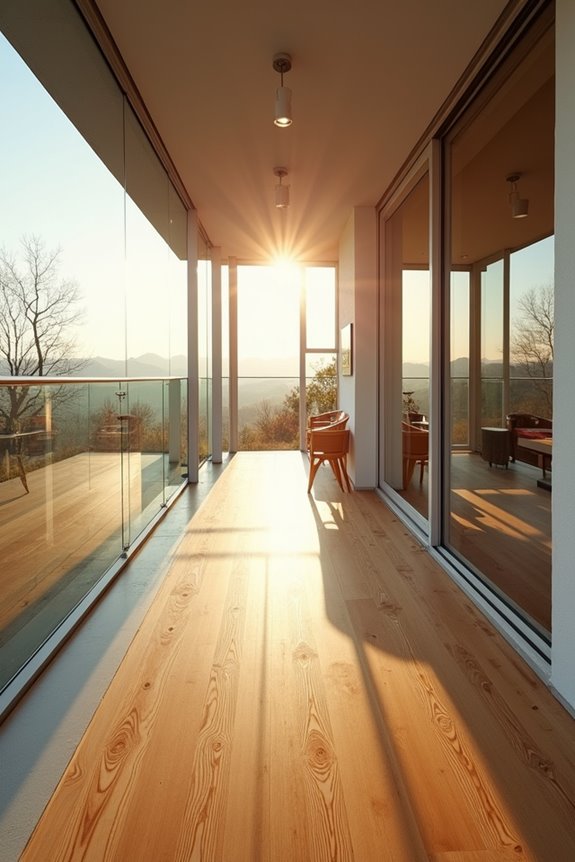
One of the first decisions you’ll make involves whether your indoor balcony should cantilever or rely on visible structural support. A cantilevered design creates a floating appearance. However, it demands precise structural calculations for moment, shear, and deflection.
| Support Type | Load Capacity | Visibility |
|---|---|---|
| Cantilever | 40–60 psf | Hidden |
| Bracket System | 40–60 psf | Visible |
| Concealed Beam | 40–60 psf | Hidden |
The cantilever requires more engineering because it extends without underneath bracing. Hidden brackets or shallow concealed beams transfer loads to load-bearing walls instead. Both approaches meet code requirements. Your choice defines the room’s visual character and construction complexity. Building codes require structural redundancy regardless of your method, guaranteeing safety.
Define Your Purpose Before You Design
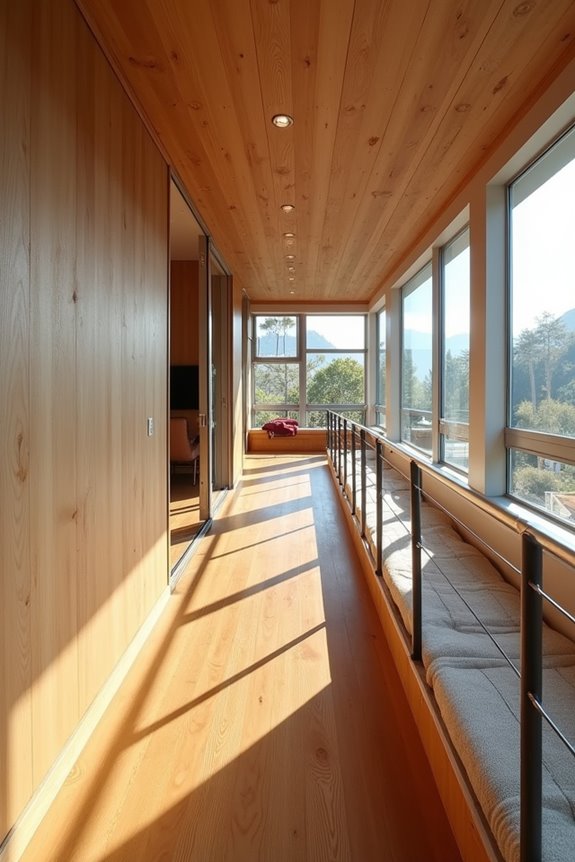
Before you sketch a single line, determine what your interior balcony will actually do. Will it serve as a viewing platform, a workspace, or a gallery display area? Your answer shapes every decision that follows.
Consider how people will use the space. An overlook creates visual connection between levels because it extends sightlines downward. A workspace demands different railing heights and surface treatments than a display gallery. The balustrade you choose—whether glass, metal, or solid panels—defines both safety and sight lines.
Think about traffic patterns. Does your interior balcony connect two corridors, or does it simply observe the floor below? This distinction determines whether you need wide railings or open sightlines.
Purpose drives layout. Layout drives materials. Materials drive atmosphere. Start here, and your design unfolds logically.
Plan Your Sightlines and Railing Height
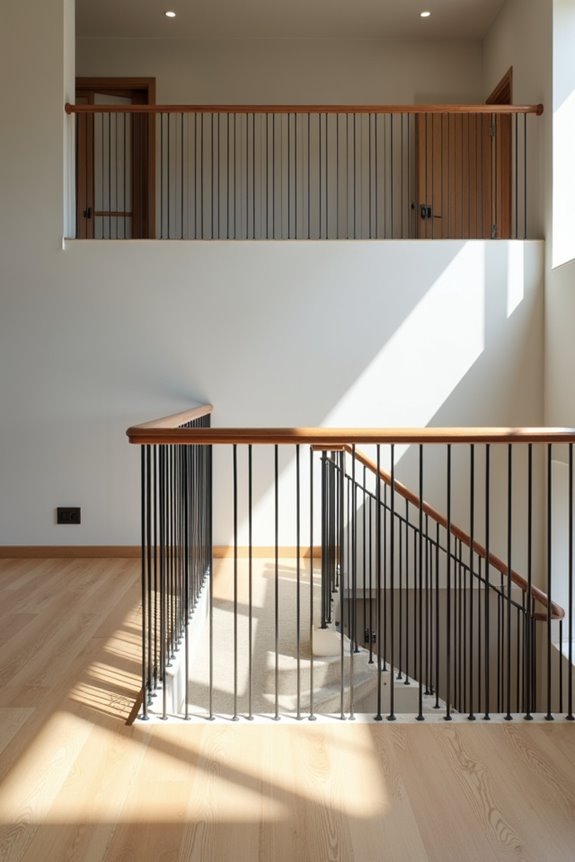
You’ll need to position your interior balcony edge to create clear views downward without blocking natural light or foot traffic below. Standard railing heights around 42 inches define safety while maintaining sight lines, because this measurement balances code compliance with your ability to see the lower floor. Your structural system—whether cantilevered or column-supported—directly affects railing placement and load paths, so you must coordinate these elements early in your design process.
Sightline Considerations And Views
Because balconies function as viewing platforms within interior spaces, their design must prioritize clear sightlines and purposeful sight lines. You’ll create better experiences by following these key considerations:
- Maintain 32–42 inches of balustrade height for safety while preserving your view downward
- Position railings to frame focal points like stairs, seating, or artwork rather than blank walls
- Keep balusters spaced no more than 4 inches apart to prevent objects from passing through
- Balance rail height with balcony depth so your eye level aligns comfortably with interior openings
Your indoor balcony design should avoid blocking natural light from atrium galleries. The railing does its job because it protects while remaining visually open. Strategic alignment makes your balcony a purposeful viewing space that connects interior levels with intention.
Railing Height Code Requirements
What height should your indoor balcony railing actually be? Building codes typically mandate railing heights between 36 and 42 inches, depending on your space’s occupancy type. You’ll want to verify your local requirements before finalizing your design.
The railing creates a safety barrier because it prevents accidental falls from elevated surfaces. Balustrade heights must also accommodate handrails, which sit around 34 to 38 inches for comfortable gripping. Your vertical balusters should have openings small enough that a 4-inch sphere can’t pass through, reducing climbing risks for children.
Coordinating railing height with your sightlines defines how occupants experience the space below. A properly positioned railing maintains unobstructed views while fulfilling protective requirements. This balance allows you to meet code requirements without sacrificing the visual connection that makes indoor balconies valuable design elements.
Safety And Structural Planning
Beyond meeting railing height requirements, your indoor balcony’s design hinges on how well you plan sightlines and structural capacity together.
You’ll want to address four key planning areas:
- Sightline planning – Position your balcony so it overlooks the lower level without blocking views or emergency exit routes.
- Headroom clearance – Confirm sufficient vertical space beneath the balcony to avoid conflicts with doors, stairs, or furniture placement.
- Load capacity verification – Confirm your balcony floor structure supports live loads of 40–60 pounds per square foot safely.
- Fire and egress routes – Maintain uninterrupted exit paths from both levels and appropriate fire-rated separation where applicable.
The balcony’s floor structure does support dynamic use because proper reinforcement distributes weight evenly. Your planning creates safer spaces where occupants move freely without obstruction.
How Much Weight Can Your Balcony Actually Hold?
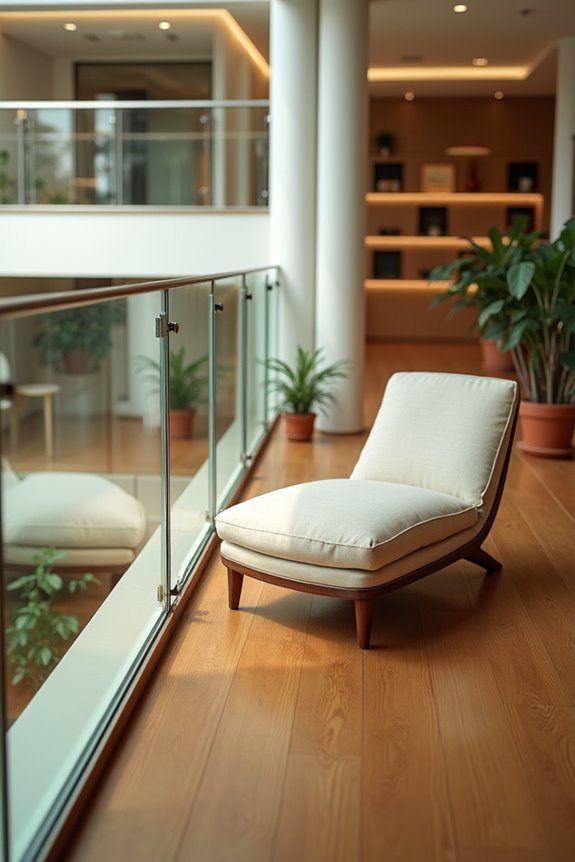
Just how much weight your indoor balcony can support depends on its structural design and the materials used in construction. Building codes typically require residential indoor balconies to handle 40 pounds per square foot of live load. This standard creates safety margins for normal occupancy, furniture placement, and movement.
Your balcony’s capacity increases with steel or reinforced concrete construction, which provides stronger load-bearing capabilities than wood alone. Cantilevered designs require robust anchoring because they lack visible support posts underneath. The connection points carry the weight since they transfer loads directly into your building’s frame.
You’ll want a structural engineer to evaluate your specific indoor balcony. They’ll assess beam depth, material quality, and attachment methods. Knowing your balcony’s actual weight limit prevents overloading and keeps everyone safe.
Flooring, Finishes, and Fire-Rated Materials
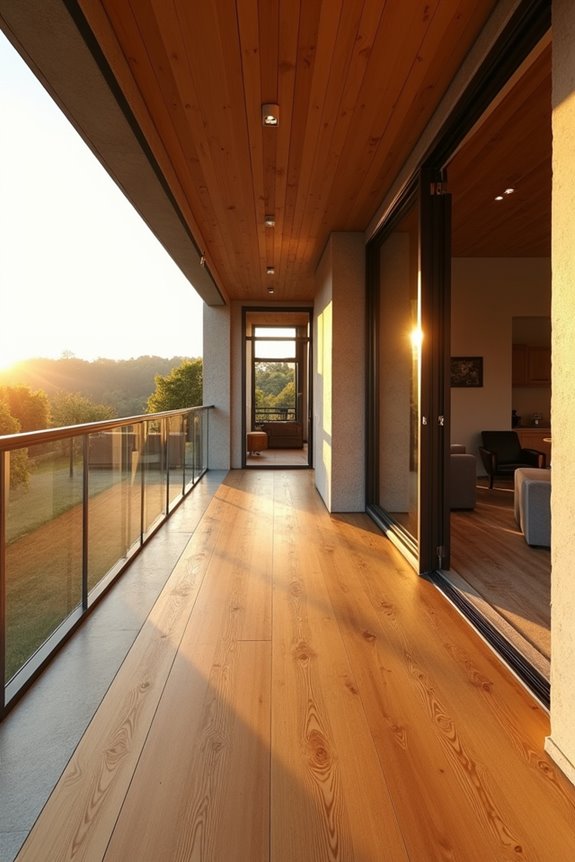
How you finish your indoor balcony’s surface shapes both its safety and appearance. You’ll want materials that meet fire codes while creating durable, visually cohesive spaces. Consider these essential elements:
Indoor balcony finishes must balance fire code compliance with aesthetic appeal and durability for safety-conscious design.
- Non-combustible flooring like polished concrete or porcelain tile
- Fire-rated paint and sealants on wood or composite surfaces
- Metal or glass balustrades that complement your floor finish
- Slip-resistant coatings to prevent accidents
The flooring does the heavy lifting because it endures foot traffic and defines the mezzanine’s character. Fire-rated materials become mandatory in many jurisdictions, so check local codes before selecting finishes. Your balustrades should coordinate with flooring choices—dark metal railings contrast nicely against light stone, for example. This integrated approach creates spaces with deliberate design and safety standards.
Lighting Strategies for Upper-Level Balconies
You’ll maximize natural light by positioning operable skylights or windows adjacent to your balcony, which reduces your reliance on artificial fixtures. Your artificial lighting plan should layer ambient, task, and accent scenes using recessed downlights or wall-washed fixtures—this approach creates even illumination while controlling glare on the lower level. Strategic placement of these lights defines your balcony edge and provides safe navigation, because proper visibility prevents missteps along the perimeter.
Natural Light Maximization Techniques
Where does daylight travel in a two-story space with an interior balcony? You control this through strategic design choices. Light-colored finishes and open balustrades define how illumination moves through your space. The balcony creates minimal shadowing because cantilevered designs allow light to pass between levels.
Consider these techniques for natural light maximization:
- Position the balcony near large vertical windows on the upper level
- Use light-transmitting railings that avoid blocking daylight penetration
- Align the balcony edge with your main light source
- Maintain clear height above openings—at least 7 feet—for unobstructed light travel
These indoor balcony design elements work together. Open balustrades create visibility while preserving brightness. The cantilever structure eliminates heavy supports underneath. Daylight reaches deeper into lower areas through thoughtful planning.
Artificial Illumination Design Options
Strategic lighting on upper-level balconies extends visibility and creates functional zones without relying solely on natural light. Layer your approach indoors by combining ambient, task, and accent lighting sources.
Recessed ceiling fixtures provide even illumination across the balcony surface. They work well because they don’t obstruct sightlines or create visual clutter. Pendant lights suspended at varying heights define seating areas and add visual interest.
The railing does double duty because you can integrate LED strips along its edge, casting soft light downward. This technique creates safety while establishing the balcony’s boundaries.
Wall sconces flanking an interior balcony reduce glare on lower levels. They achieve this by directing light upward and outward, avoiding harsh shadows. Consider warm white tones (2700K) to establish an inviting atmosphere that encourages gathering.
Balcony Visibility And Safety
Beyond creating atmosphere, your lighting plan must address the practical demands of upper-level balconies where safety and sightlines directly impact the spaces below.
Your indoor balcony requires strategic illumination to prevent accidents and shadows:
- Position accent lights along the balcony edge to highlight the balustrade without creating glare on lower floors
- Install ambient lighting that distributes even brightness across the entire upper level
- Use recessed fixtures within the ceiling line to maintain clean sightlines from below
- Choose warm white bulbs (2700K-3000K) that reduce eye strain during transitions between levels
The balcony edge needs consistent lighting because visitors navigate between levels safely. Your cantilevered design appears to float—proper illumination defines this structural feature while eliminating dark pockets. Even distribution creates visual clarity. Avoid bright spotlights that cast harsh shadows downward, disrupting the lower floor’s visual continuity.
Controlling Sound Transfer Between Levels
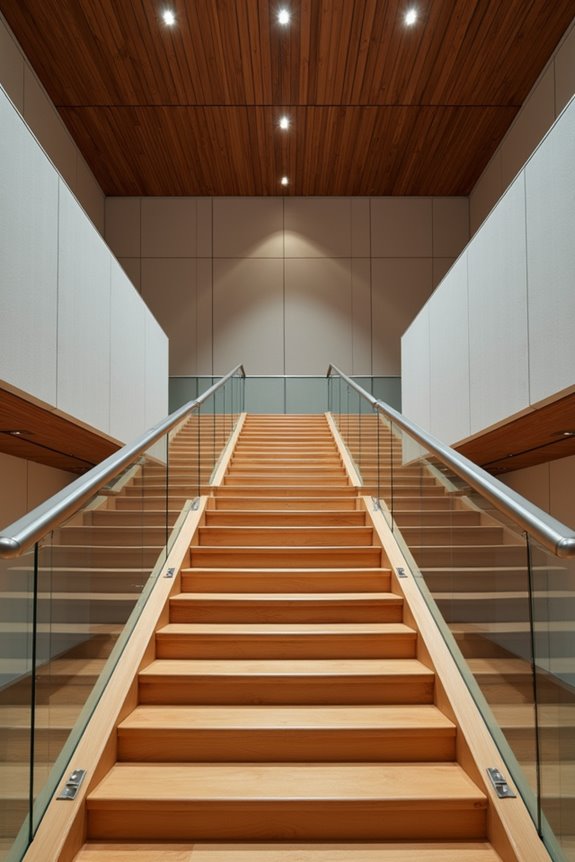
How can you prevent noise from traveling up or down through an open indoor balcony? You’ll want to seal the opening with solid parapets and acoustic-rated balustrades that block sound transmission. Adding mass-loaded vinyl or secondary floor assemblies creates effective sound barriers between levels. The floor assembly reduces vertical sound transfer because high STC-rated materials resist noise passage.
You should install sound-absorbing materials on adjacent walls, ceilings, and floors near the balcony opening. Acoustic clouds or absorptive soffits near the edge define quieter zones by capturing sound before it travels. Continuous wall detailing and sealed door closures at access points minimize flanking sound paths where noise escapes around barriers.
These design strategies work together, addressing the open-to-below condition that otherwise transmits sound freely between your indoor balcony levels.
Humidity, Ventilation, and Condensation Prevention
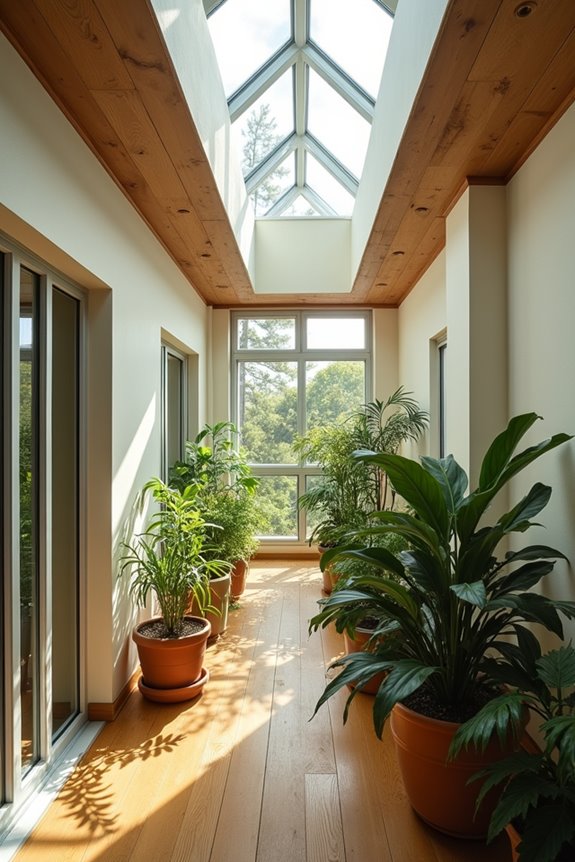
Why does condensation form on indoor balcony surfaces when you don’t control humidity properly? Warm, moist air rises from below and meets cooler balcony surfaces, creating water droplets. You’ll prevent this problem by implementing these strategies:
- Install operable windows or mechanical exhaust systems for adequate ventilation
- Apply vapor-retardant materials and finishes to walls and floors
- Add insulation to reduce temperature differences between levels
- Establish continuous air barriers around balcony openings
The air barrier works by stopping moisture from penetrating into wall cavities. For mist-prone climates, cross-ventilation paths that move humid air away from the balcony provide significant benefits. These design choices create comfortable humidity levels throughout adjacent spaces while protecting structural integrity from water damage.
Getting Stairs and Access Points Right
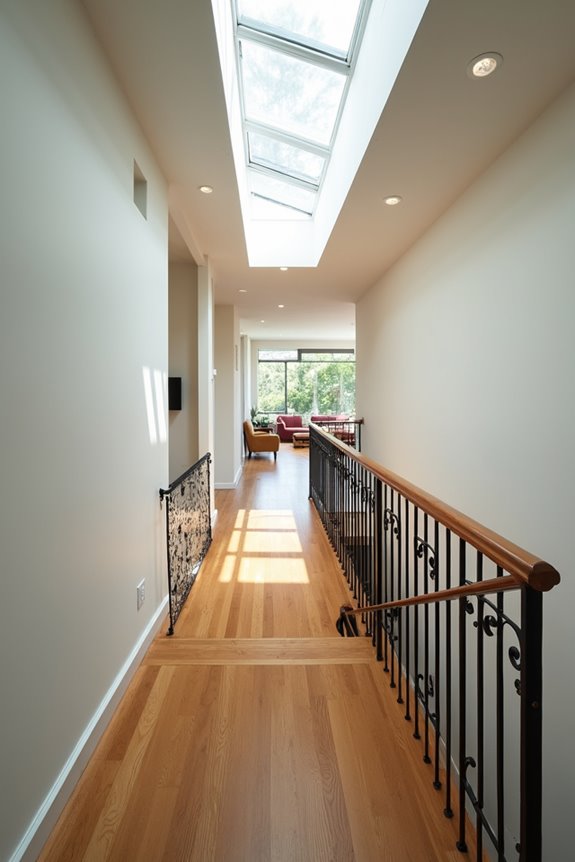
When you’re planning stair placement and balcony access, the location you choose directly defines how people move through your space. Position your stairs where they align with main circulation routes on the second floor, avoiding obstruction of your indoor balcony’s sightlines. This placement creates clear pathways that feel natural to users.
The stairwell does more than connect levels because it anchors your entire layout. Maintain adequate headroom above stairs and sufficient landing width for safe egress, following local building codes. A cantilevered balcony design eliminates visible supports, giving you flexibility in access point positioning without compromising the visual flow between floors.
Plan labels like “open to below” guide your stair placement decisions. Strategic access placement creates unity throughout your indoor balcony design while maintaining functional safety standards.
Gallery, Workspace, or Seating: Choose Your Function
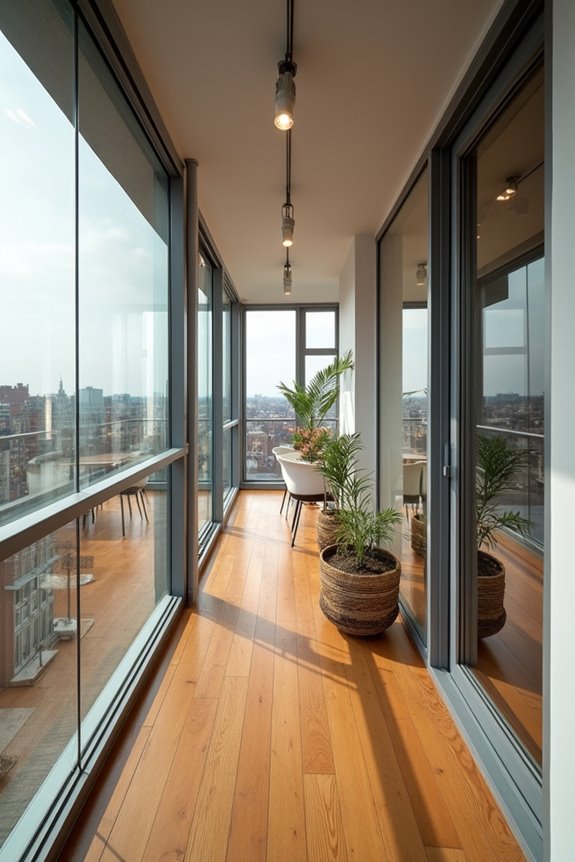
Once you’ve positioned your stairs and access points, your next decision shapes what happens on that upper level. Your interior balcony’s purpose defines how you’ll design it.
Consider these functional options:
- Gallery space – Display artwork or collections with track lighting overhead
- Home office – Install a desk facing the lower level for natural light and openness
- Reading nook – Position comfortable seating near windows for quiet retreat
- Recreation area – Create flexible zones for games or hobbies with durable flooring
The material you choose communicates function. Polished concrete suggests professional workspace. Warm wood tones create intimate seating areas. Your interior balcony works best when form follows its intended use, not the reverse.
Storage Solutions Without Clutter

Your interior balcony’s function shapes what you’ll store there, and smart storage keeps the space functional without overwhelming it. Built-in cabinets along the mezzanine’s perimeter create hidden storage while preserving sight lines to the lower floor. Vertical shelving units define the space efficiently because they maximize limited square footage without consuming floor area. Neutral tones—soft gray, warm white, or natural wood finishes—recede visually and prevent the balcony from feeling cramped. Rolling carts positioned against the wall serve dual purposes: they’re accessible yet moveable when you need them elsewhere. Low-profile storage boxes under seating maintain the overlook’s open quality. The balustrade should remain visible because it maintains safety while your storage solutions stay deliberately restrained.
Six Life-Safety Oversights That Cost Money
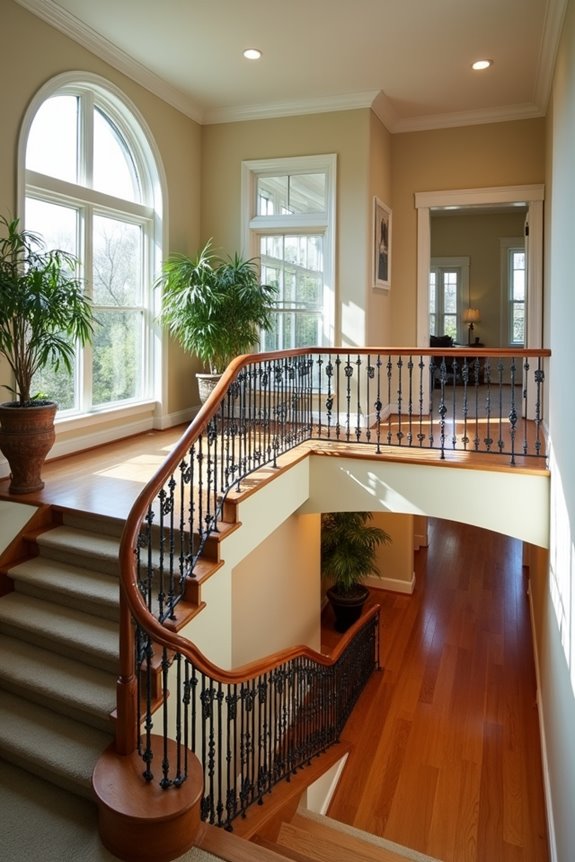
What happens when you overlook a single safety detail on your indoor balcony? You’re inviting costly repairs and potential injuries.
Your indoor balcony demands attention to detail. Consider these critical oversights:
- Inadequate balustrade height – Code requires 42 inches minimum; shorter railings create fall risks.
- Weak railing connections – Loose fasteners fail because vibration loosens bolts over time.
- Missing fire-rated barriers – Open-to-below spaces need rated walls; omitting them violates building codes.
- Poor drainage design – Water pooling on flooring causes structural rot and expensive replacement.
These safety gaps create liability issues. Your balustrade defines whether occupants remain protected. Building code violations define expensive retrofits. Proper planning prevents these costly mistakes from happening at all.