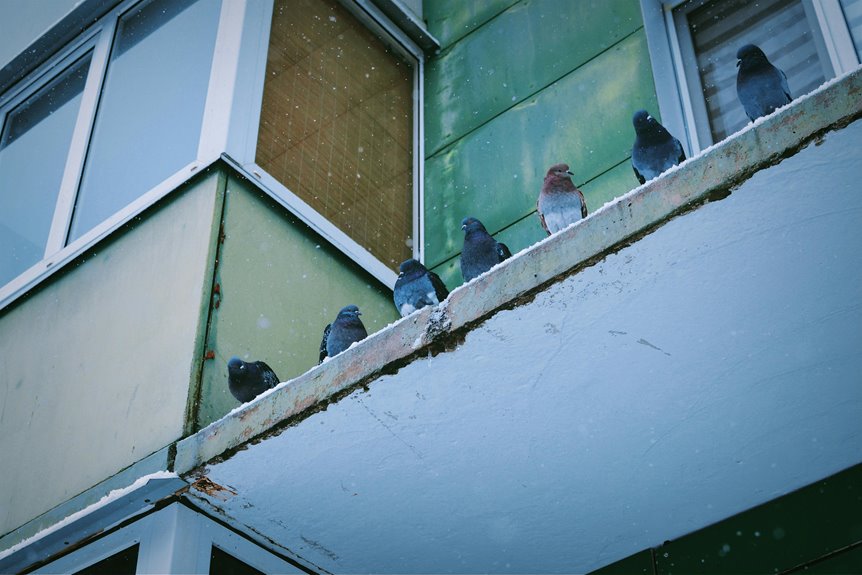
You’ll eliminate pigeons by tackling five key areas. First, remove all food scraps, standing water, and debris—pigeons won’t linger without sustenance. Second, seal gaps and cracks with ½-inch metal screening to block entry points. Third, install physical barriers like spikes, netting, or wires depending on your space’s wind exposure. Fourth, layer gel deterrents and reflective surfaces onto existing barriers. Finally, monitor weekly activity and rotate deterrents every two weeks to prevent habituation. Each step builds on the previous one, creating a comprehensive defense that addresses what attracts them while making landing impossible—discover specific installation techniques for maximum effectiveness.
Step 1: Remove Food Sources and Clean Your Balcony Thoroughly
Step 1: Remove Food Sources and Clean Your Balcony Thoroughly
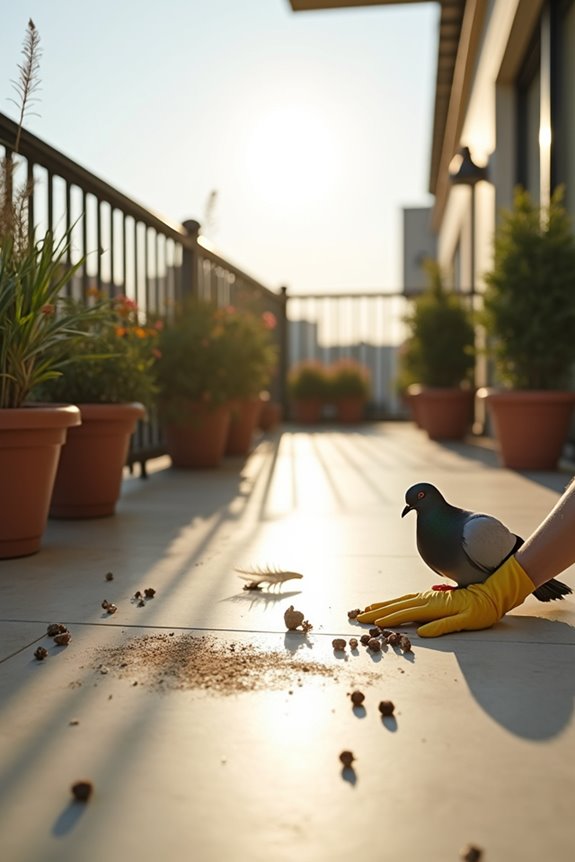
Why do pigeons keep returning to your balcony? They’re attracted to food sources and debris. Start by removing all food scraps, standing water, and garbage that create inviting conditions. The balcony does attract pigeons because accessible food rewards their visits.
Next, thoroughly clean the entire space. Sweep away droppings, feathers, and nesting materials that linger after pigeons depart. These remnants signal safety to returning birds, undermining your deterrence efforts. Pigeons form strong habits around previously marked areas, so complete cleaning is necessary.
If you discover active nests with young birds, contact a bird control professional before proceeding. They’ll safely remove nesting materials and structures.
Finally, eliminate hiding places where pigeons shelter. Remove attractants consistently. This cleanliness defines your space as uninviting, making repel strategies more effective and preventing reentry.
Step 2: Seal Gaps and Block All Pigeon Entry Points
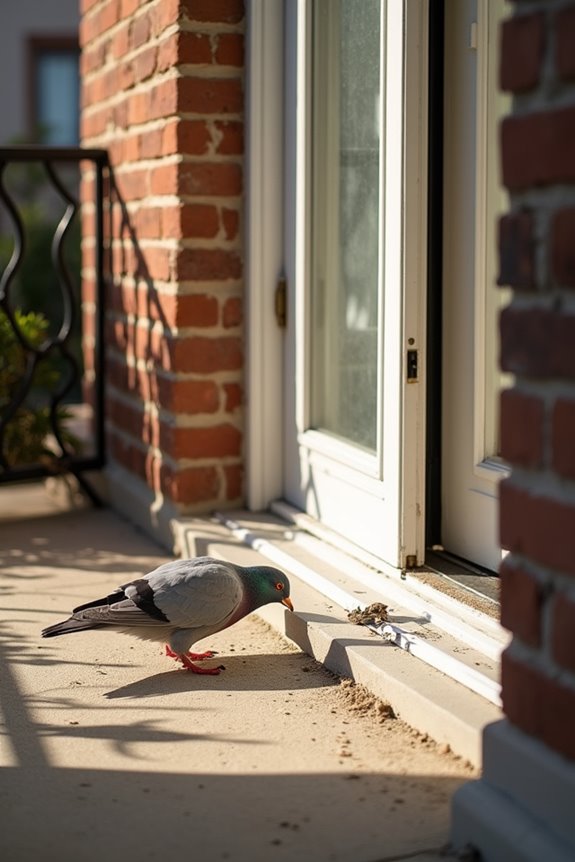
Now that you’ve cleaned your balcony and removed food sources, it’s time to physically prevent pigeons from entering. Inspect all balcony gaps carefully for cracks and holes where pigeons can squeeze through. Use ½-inch metal screening over vents and openings to seal openings effectively. This screening creates a barrier that keeps pigeons out while allowing air circulation.
Install PVC mesh between your balcony and ceiling to hide entry points. The mesh blocks access while preserving visibility. Stretch lightweight wire along rails with approximately 3-inch spacing. Wire spacing defines the distance pigeons need to land safely.
Your netting barriers and weatherproof seals require regular maintenance checks. Inspect these protections monthly for wear, gaps, or sagging sections. Prompt repairs maintain a continuous barrier against pigeon access throughout all seasons.
Step 3: Choose Your Barrier: Spikes, Netting, or Wiring
Once you’ve sealed the major entry points, you’ll need to decide which barrier method works best for your balcony. Plastic spikes create a low-profile pigeon deterrent that prevents landing without harming birds. They’re effective for small areas and require minimal maintenance.
Netting provides a complete physical barrier, making it your strongest long-term solution for persistent problems. However, netting raises safety and aesthetic concerns you’ll want to consider carefully.
Wires and rails stretched along your balcony function as lightweight barriers that deter perching effectively. PVC mesh between your balcony and ceiling blocks entry while remaining transparent, preserving your outdoor views.
The barrier installation you select depends on wind exposure, maintenance capacity, and coverage completeness. Each bird control option affects your space differently, so choose based on your specific needs.
Step 4: Layer In Deterrents That Match Your Space
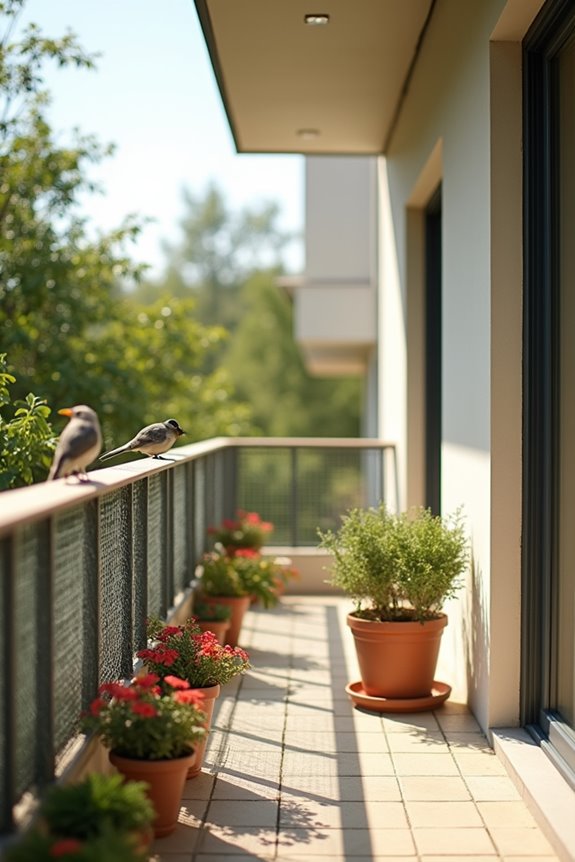
Your physical barriers work best when you add multiple deterrent types that target pigeons’ different senses. Layering balcony deterrents creates a comprehensive approach that prevents habituation and maintains long-term effectiveness.
After installing physical barriers like low-profile spikes or wire mesh, apply gel-based deterrents on rails and flat surfaces. The tacky gel works because pigeons dislike the uncomfortable sensation on their feet. Add optical deterrents such as reflective tape or UV-visible cups alongside these methods.
- Gel-based deterrents exploit sensory discomfort without harming birds
- Reflective tape creates visual confusion that deters landing attempts
- Combined approaches prevent pigeons from adapting to single solutions
Include sonic or visual deterrents like ultrasonic devices to further discourage perching. Preventive maintenance and regular inspections keep your non-lethal deterrents working effectively. This layered strategy defines successful pigeon control on your balcony.
Step 5: Monitor Results and Reinforce What Works
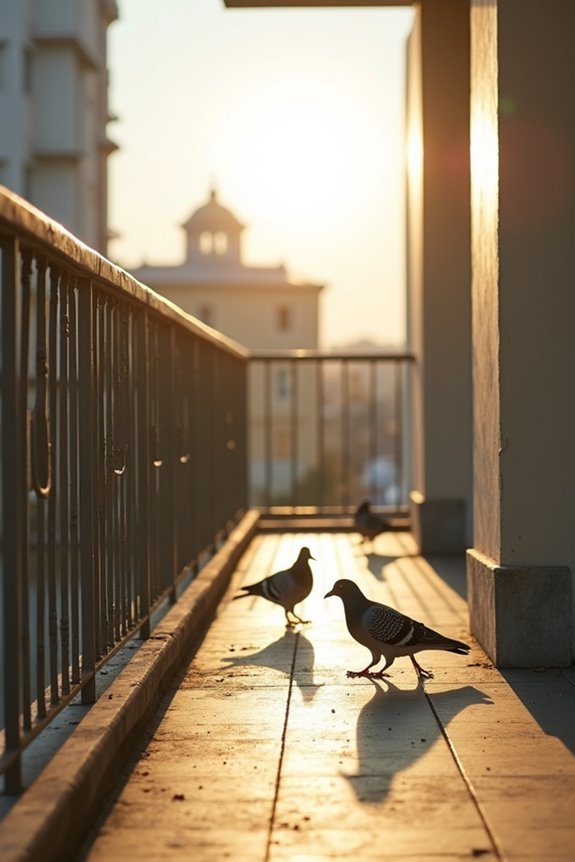
Installing multiple deterrents gives you a solid foundation, but their success depends on consistent tracking and adjustment. Document pigeon activity by noting frequency, duration, and nesting attempts weekly. This pigeon activity documentation defines which deterrent effectiveness matters most for your space.
Track deterrence progress by observing whether spikes, gels, or decoys reduce droppings significantly. The spike placement works because pigeons avoid landing on sharp surfaces. Rotate deterrents regularly to prevent habituation; move decoys every two weeks and refresh reflective surfaces monthly.
Reinforce effective methods by maintaining whatever works best. Reapply gels, reposition decoys, and adjust spikes as needed. Continue cleanliness and access removal practices since they reduce attraction directly.
When pigeon activity increases again, escalate your tactics or combine additional deterrents strategically.